
Hi everyone! Welcome back for another (and last) Back-To-School DIY.
Today I want to share with you how I made my drawing pocket. I have wanted one for years. And a few days ago, I decided to finally make my own.
I used a briefcase(something like that) as a template for cuting my fabric.

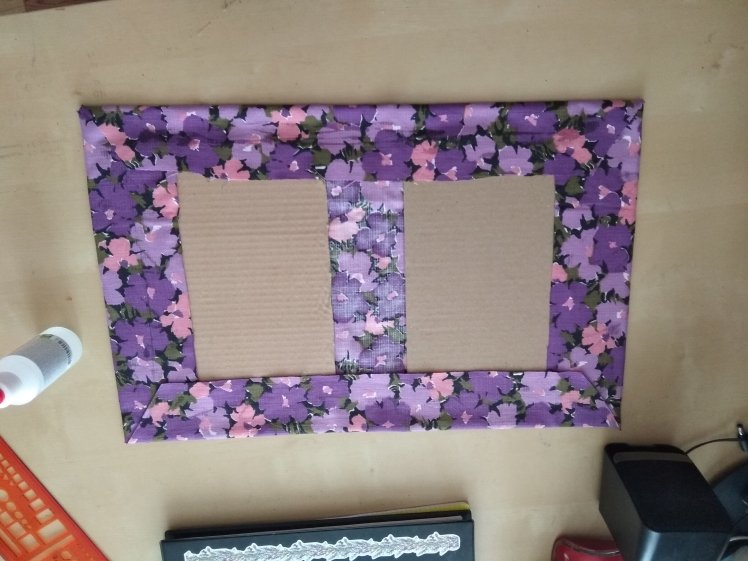
I took two cardboard pieces to strengthen it. And I glued down the edges, to make a clean finishing.
Then, I cut another piece of fabric for the inside. I chose a different one.


Now, time for the fun part. I used some fabric pieces to make storage for my pencils, and ties for the ruler and the paper pad. For the eraser, I decorated and glued a TicTac box inside and for the sharpener, I glued a small pouch.


This is how it turned out. I like it.
That was my last Back-To-School DIY for this year. Hope you liked them.
I’ll talk to you soon in a next post,
Until then, take care of yourself ❤
Ady ❤


One thought on “Back-To-School: DIY Drawing Pocket”