
Hello everyone! How are you?
Today I’m gonna share with you some organizing DIYs, for your desk, your closet, your dressing table and others.
A few posts ago, I’ve already shared with you some DIYs about reorganizing one’s closet, so if you are interested, go have a look here
In that post, I didn’t share any ideas for shoe storage, because I didn’t have any at this time. But recently I found something, so I’ll share it with you today.
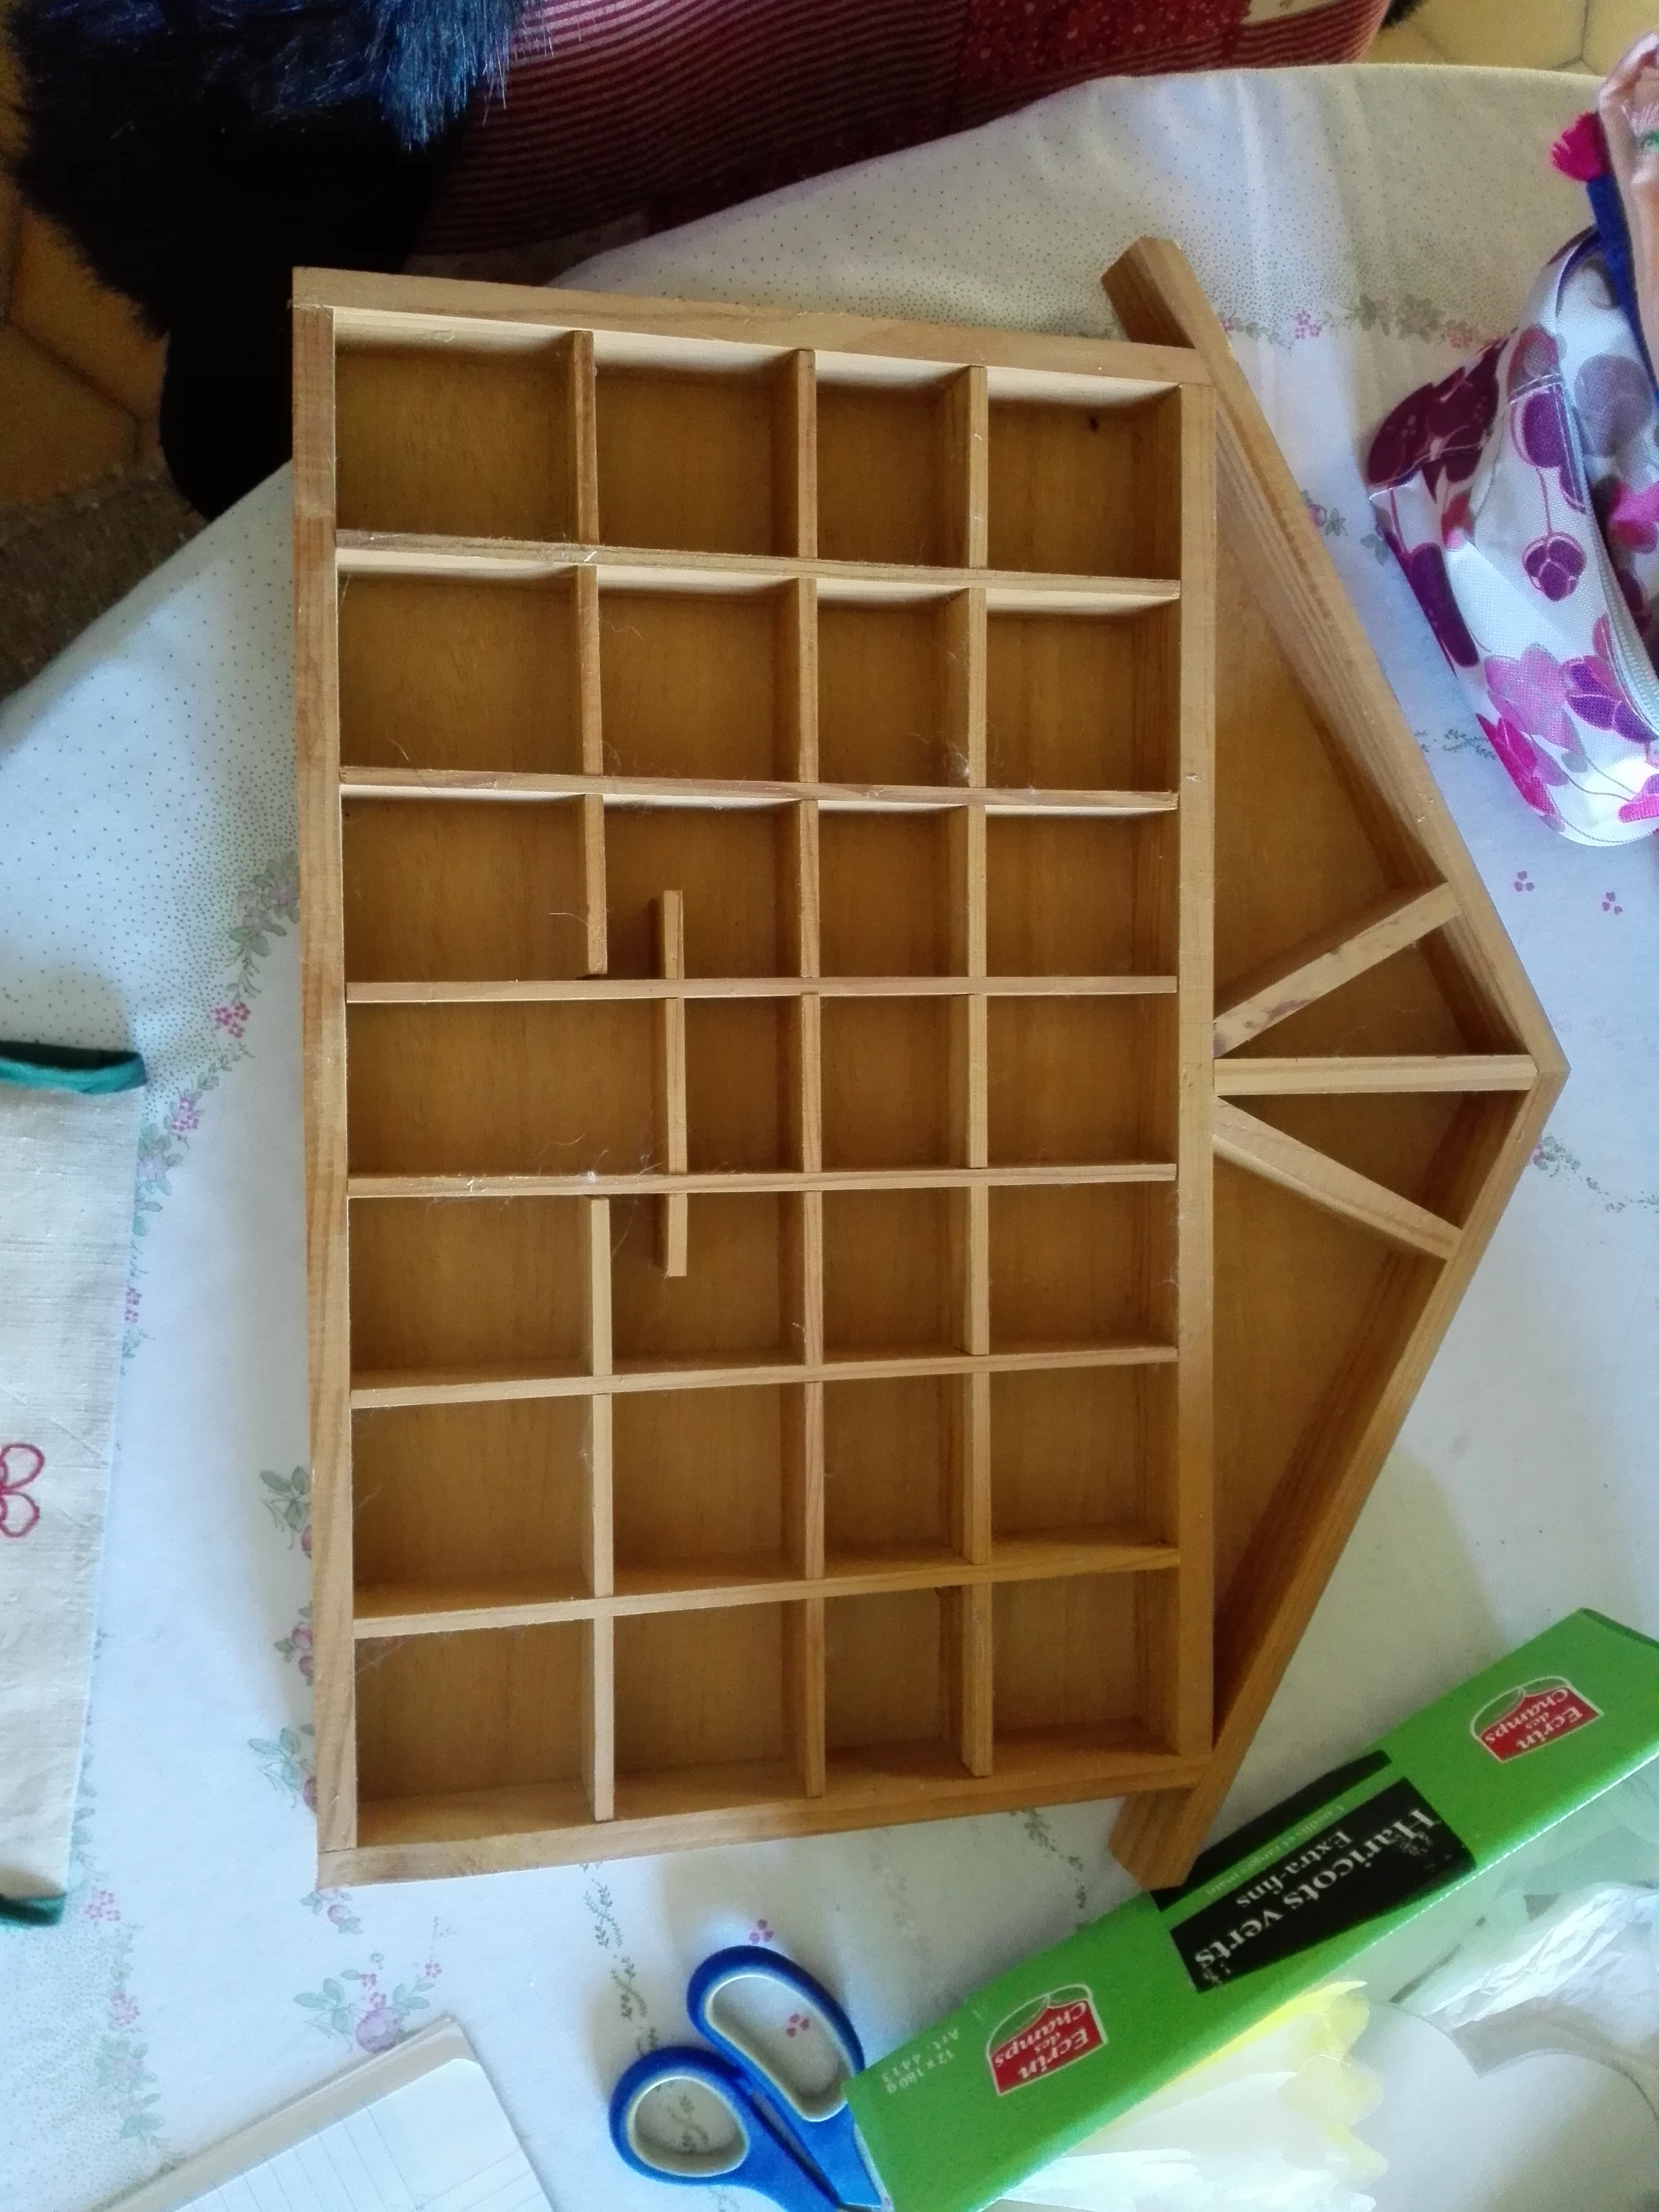
You’ll need this kind of boxes (mine were made of cardboard, it works perfectly, but you can use wooden boxes if you prefer)

Depending on your closet, you may have one or two or three levels. In my case, I could have only two levels.
Here I cut into the big box to get a smaller one to fit in the space with the other box I had.
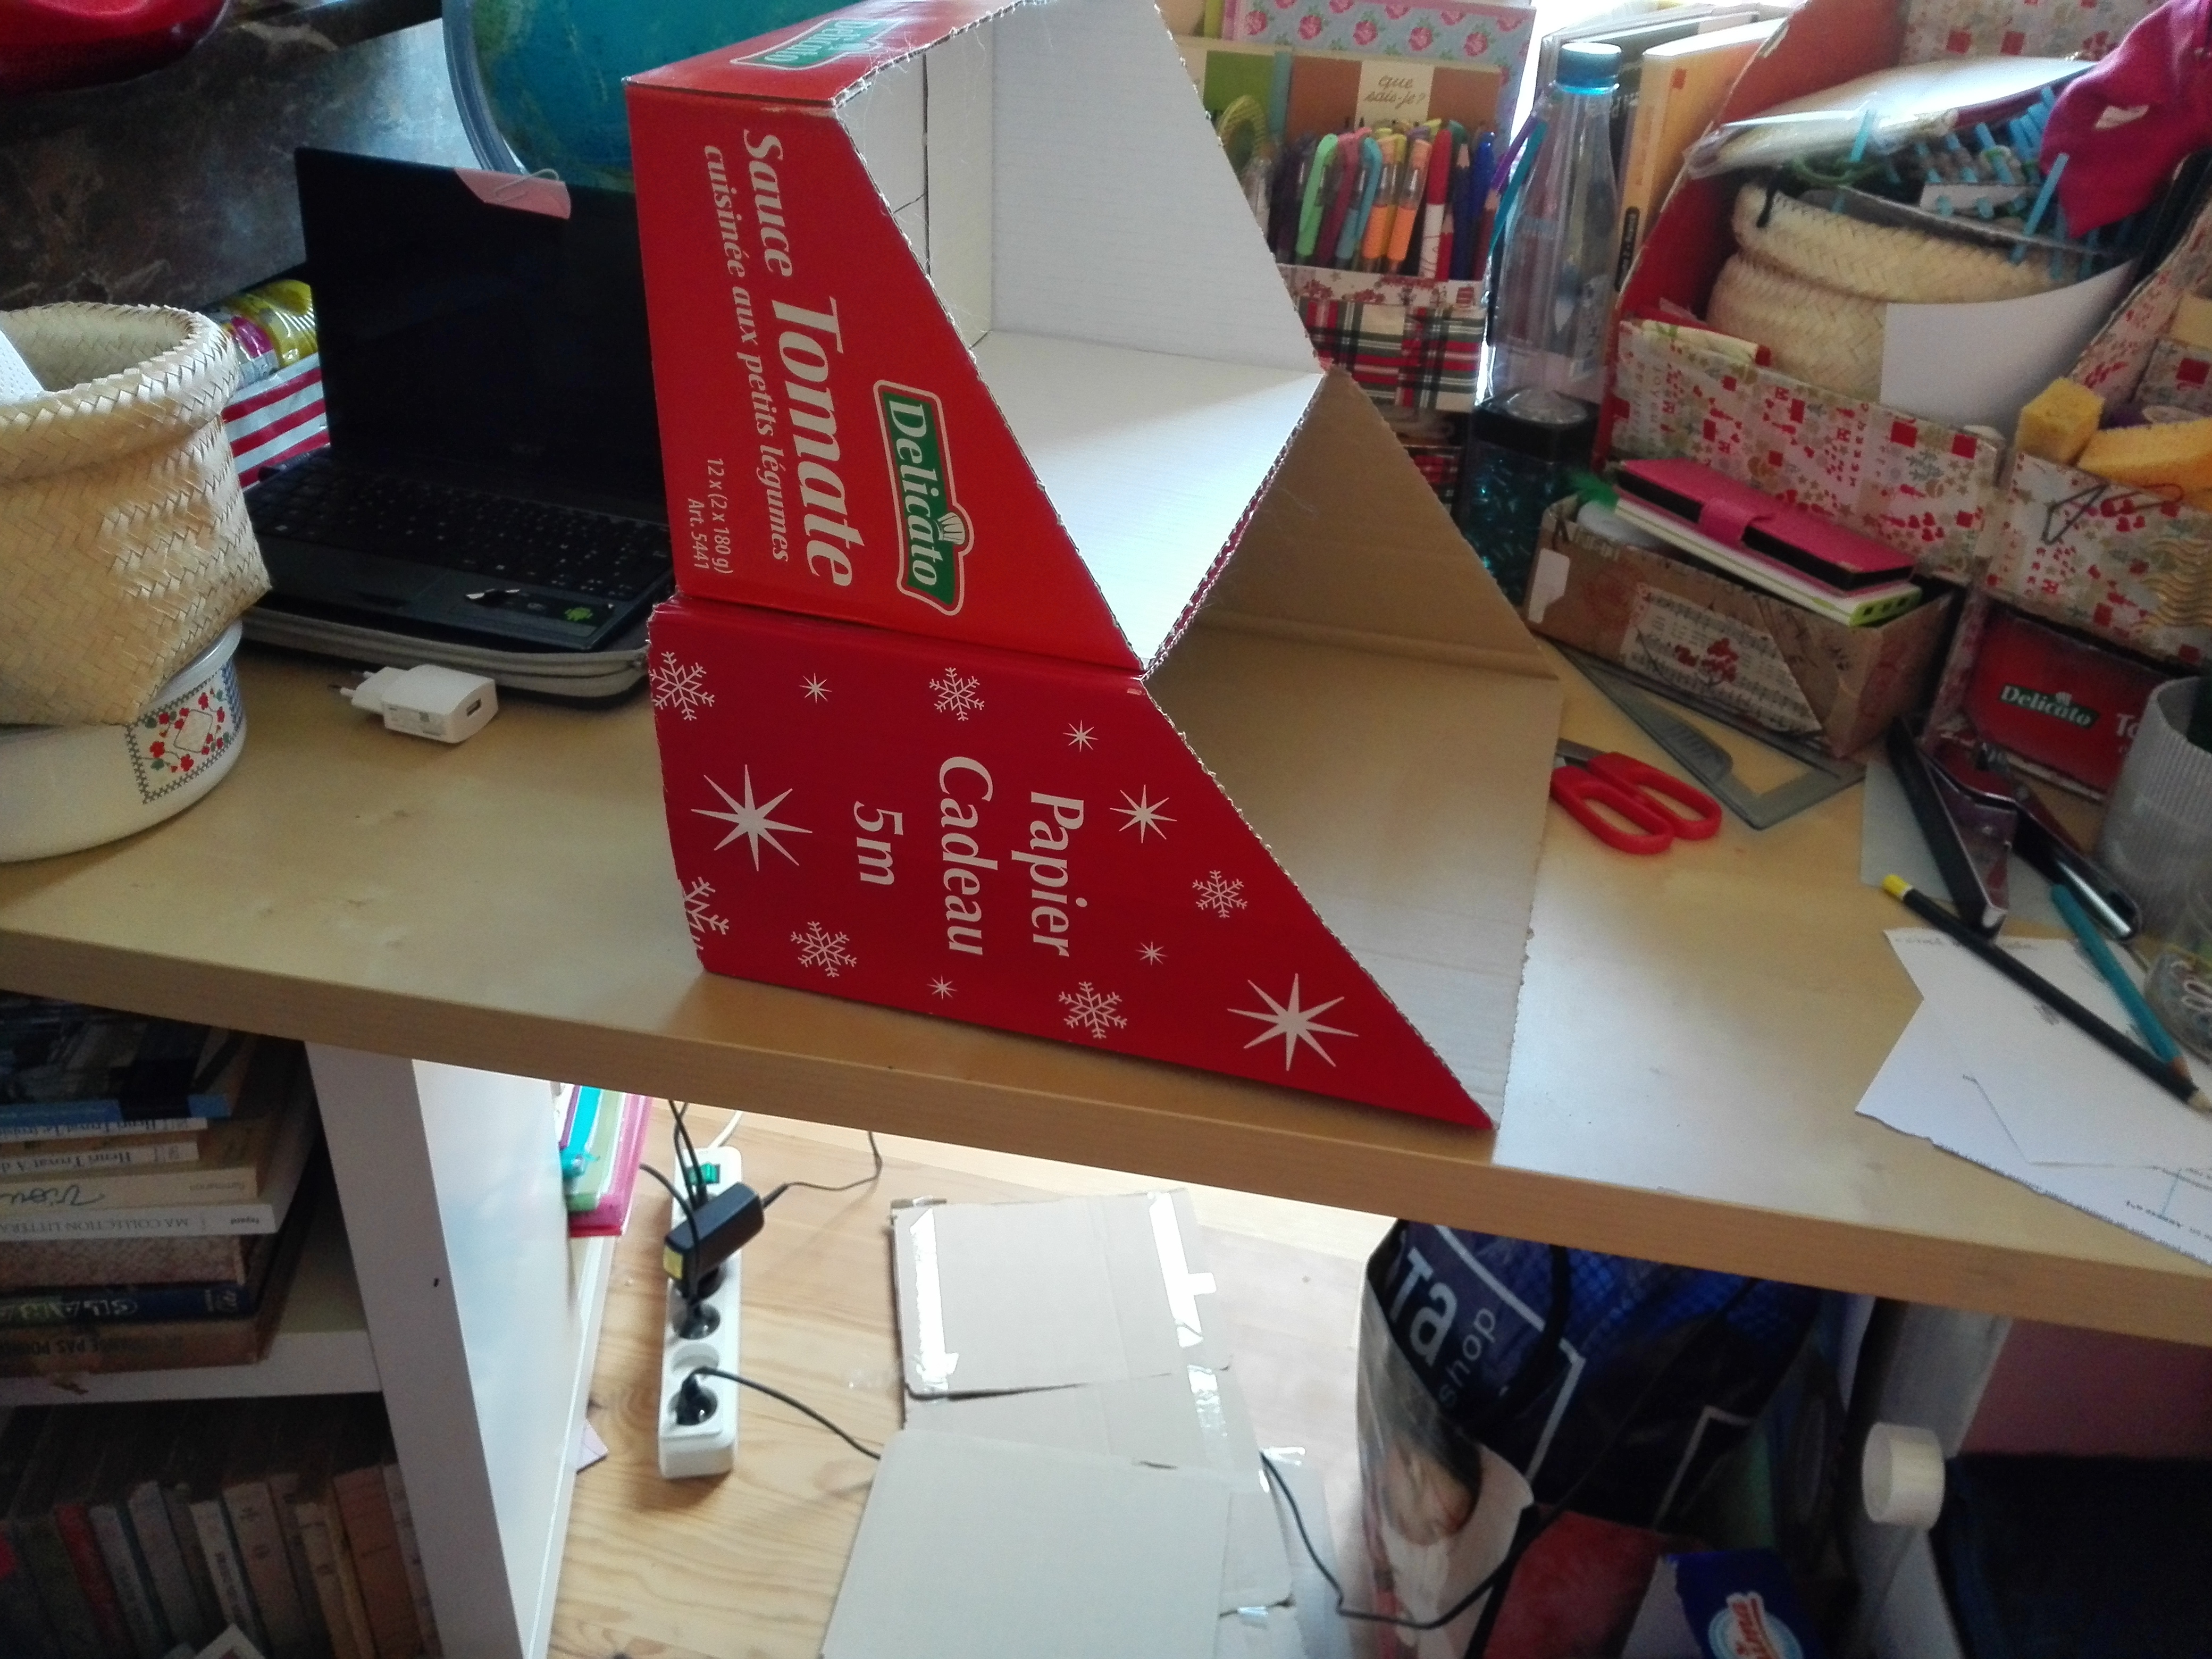
As you can see, the idea is to get something like a staircase. Glue or clip together the different levels. And tack it in the corresponding space.
 I also used smaller boxes to store smaller shoes, and put them on the side.
Now, let’s have a look on an other DIY. Did you know you could use your bedroom door as a storage space?
I will show you how to use it.
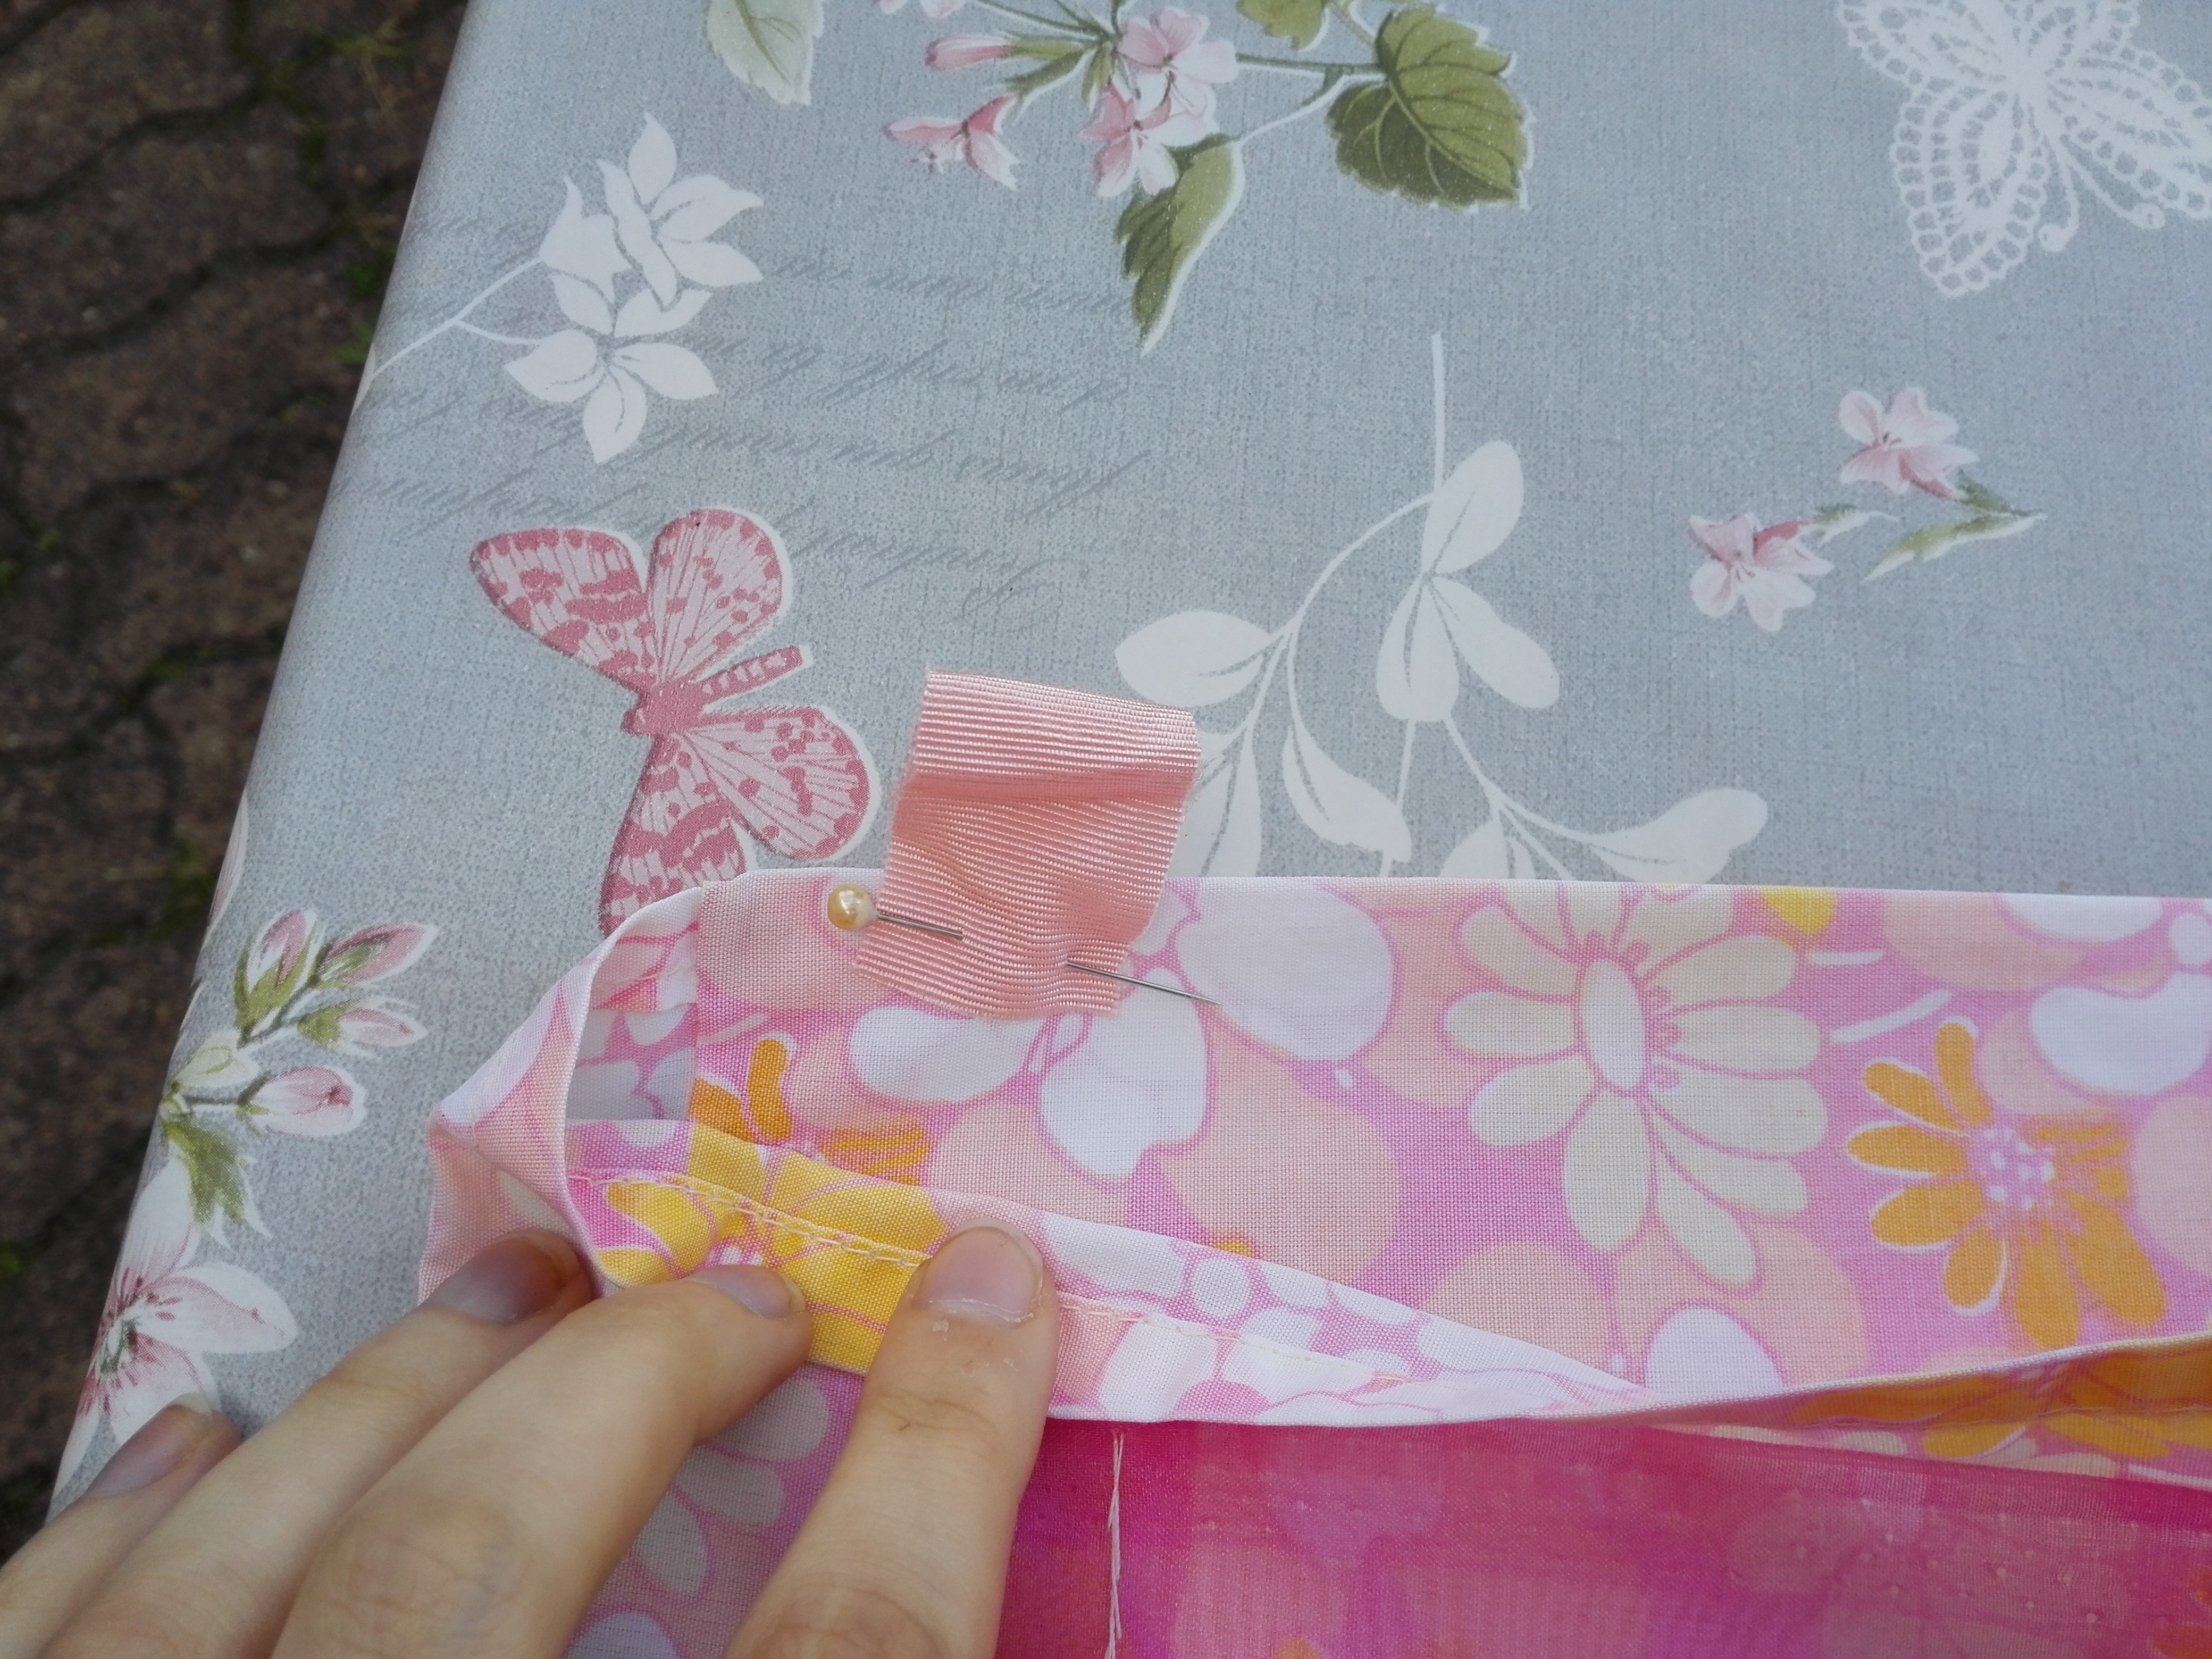
Take a pillow case that you don’t use, and some pieces of fabric.
Hem these pieces of fabric we’ll use them as pockets.

Sew them on the pillow case, be careful, only sew three sides or these pockets won’t be very useful ;’)

Take two small pieces of fabric to make handles at the back of the pillow case to hang it to the door.

Sew them on the back of the pillow case.
Now, hang it on the door. Thread a string or a stick into handles. Put two nails into the door to hang on the whole thing.

You can use this storage for things that don’t go on the desk or on your dressing table. I used it to store purses,stuff for hair….
There is another space to use as a storage, it’s the side of your bed.
Let’s have a look on the DIY.
You’ll need a large piece of fabric and smaller pieces from the same fabric. With the small pieces, made pockets like in the previous DIY.


Sew the pockets on the larger piece of fabric that you previously hemmed. Be careful, sew them on only one side of the fabric, because you’ll slip the other side between the mattress and the spring—bed.

I think that storage is one of the most useful I have ever done. You can use it to store your glasses, your diary, a pen or the book you are reading…
Now, let’s talk about organizing your desk. My brother needed a desk organizer, but when we saw prices in shops… 😥 Then we decided I would make him one. I’m gonna show you how to make one, using cardboard food boxes(cereals, cookies….)

First of all, you have to cover all the boxes with paper or paint it. I covered with paper, because it’s easier and quicker.
Now let’s put together all the pieces to make the organizer.
I used two identical narrow and deep boxes to make drawers. On top of it, I put a box shaped like a crate. Then in this box, I put cookieboxes, cereal boxes, teabag boxes… I previously removed their tops. These will be used to store pens, papers, notebooks, eraser….

You see ? Easy as ABC!! This DIY is one of the coolest, so easy, so useful and the result is very strong, it won’t collapse the next day. My brother was very pleased with it. Especially because I carefully chose the paper( it wasn’t a pink one ;D )
Now, let’s move to the dress table ladies ! This DIY is for you. I’m gonna show you how to organize your jewels in a cute way. Let’s get started !
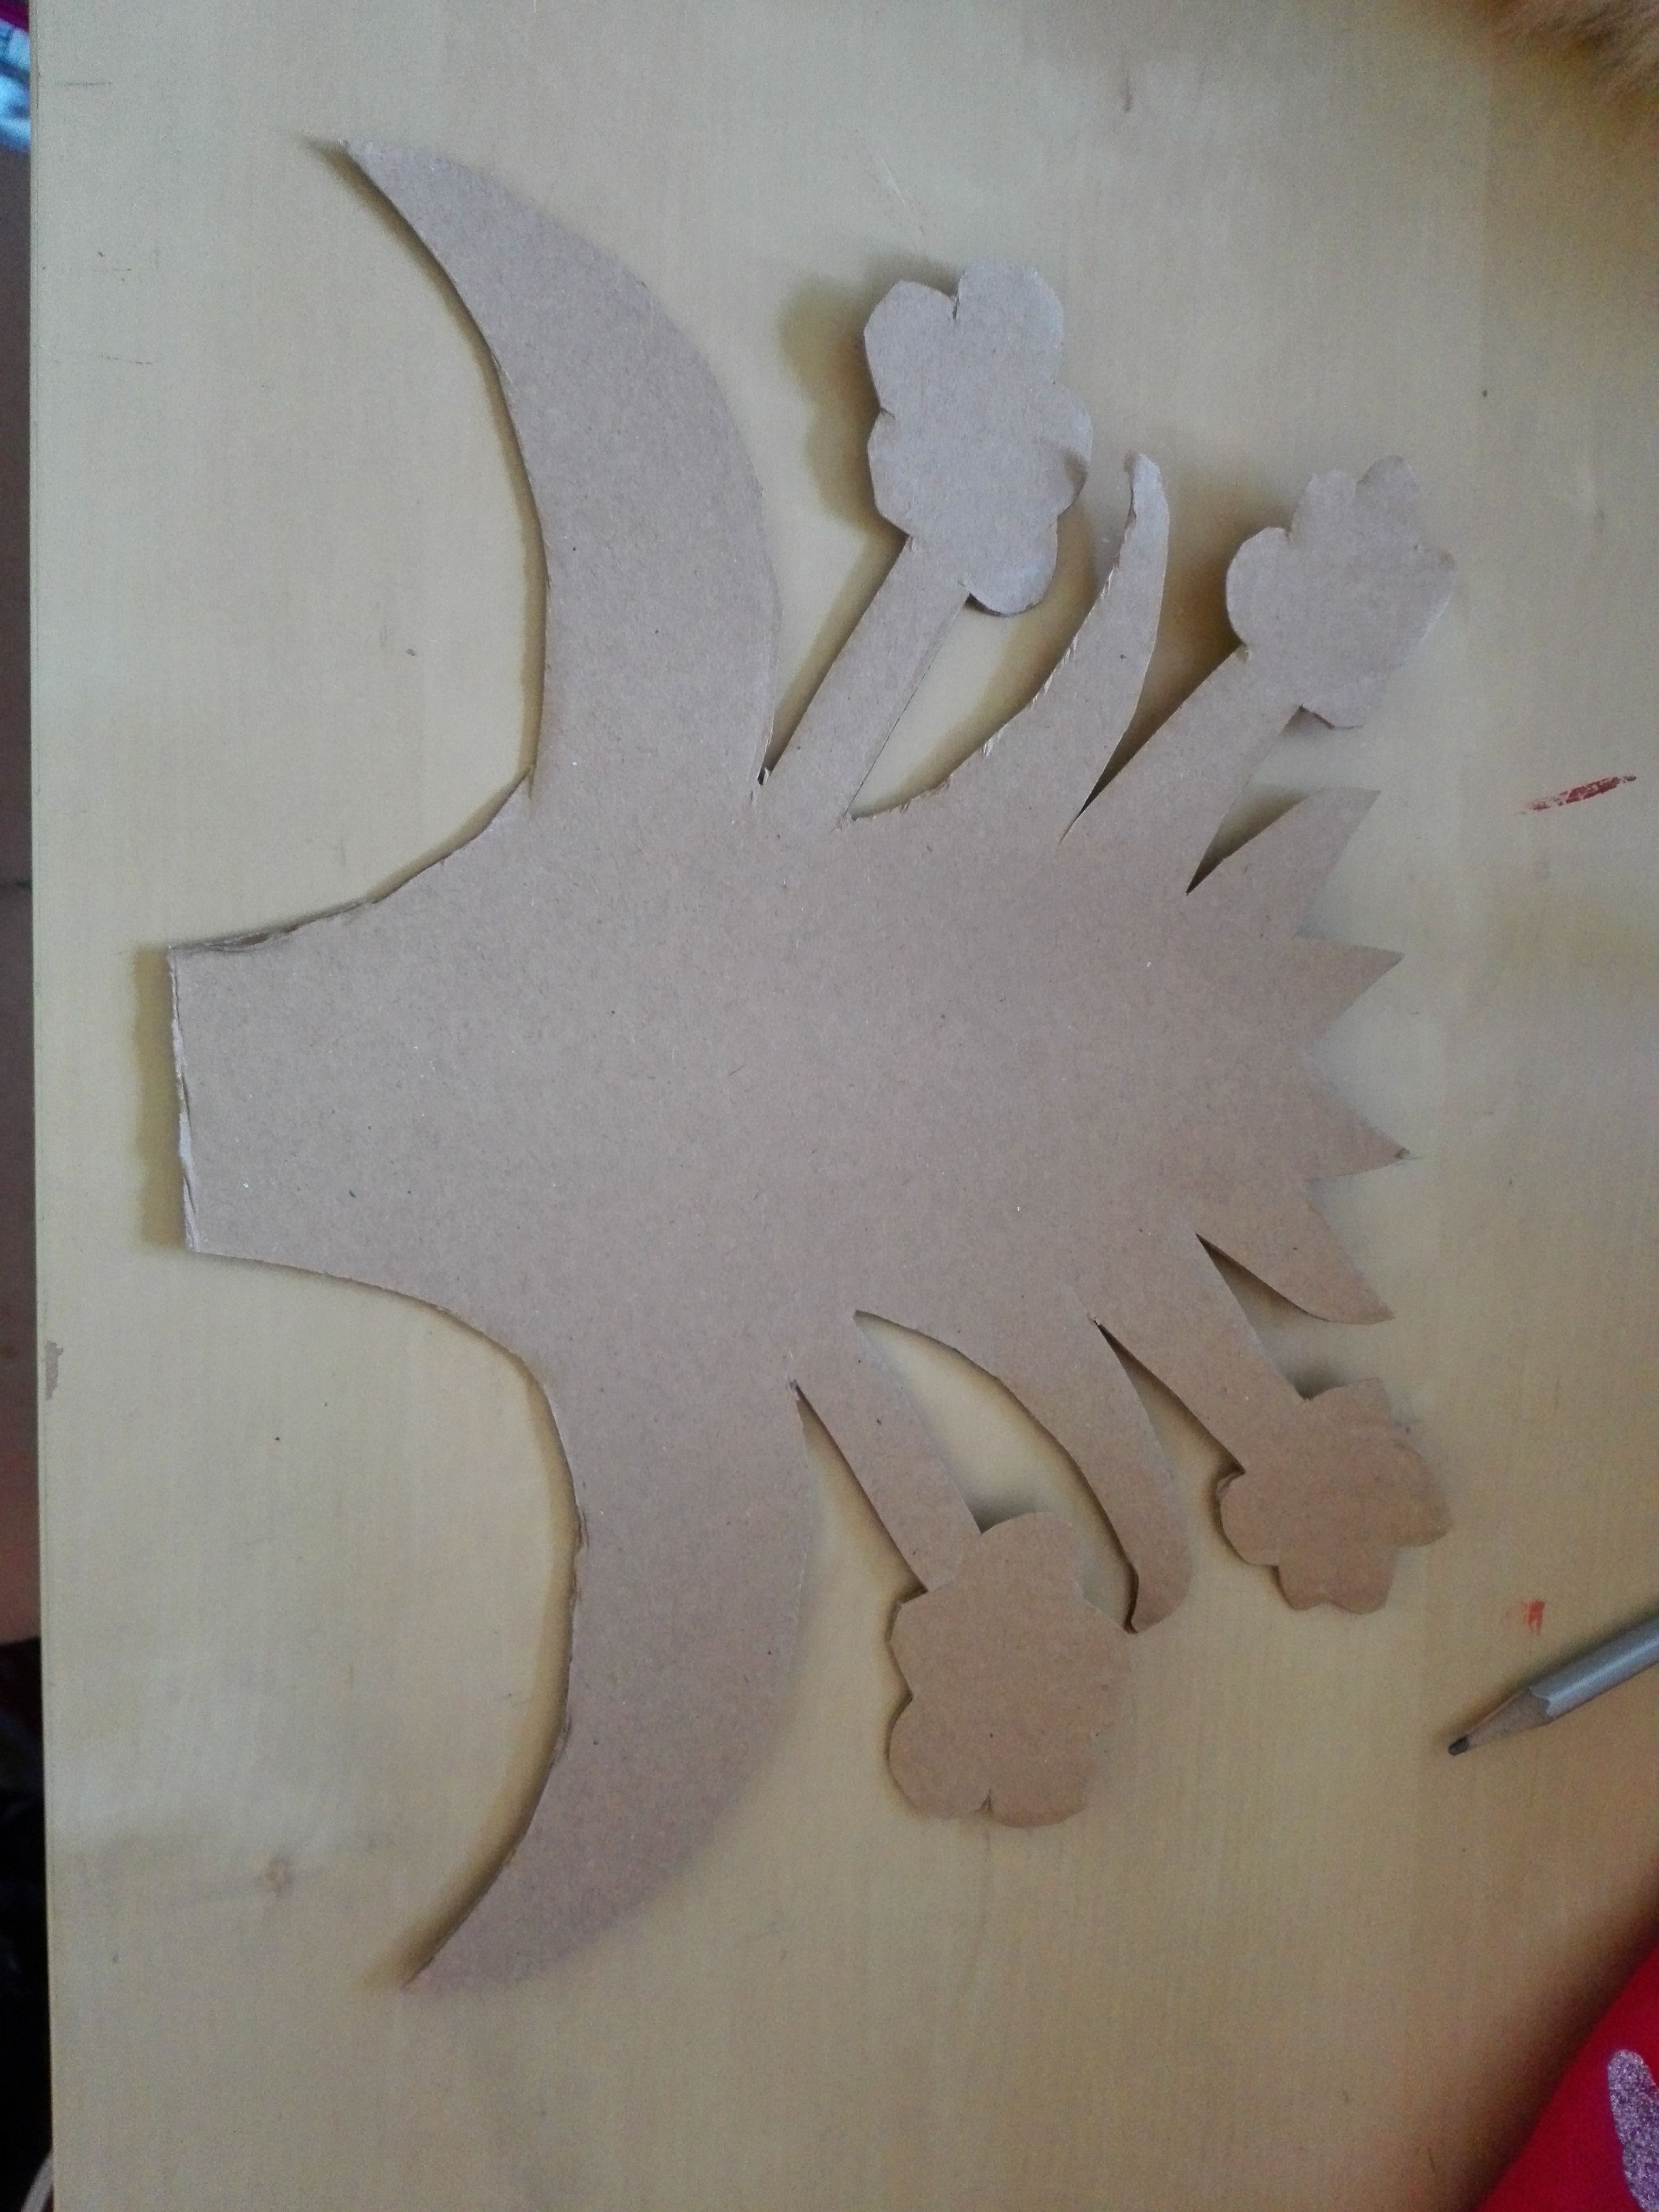
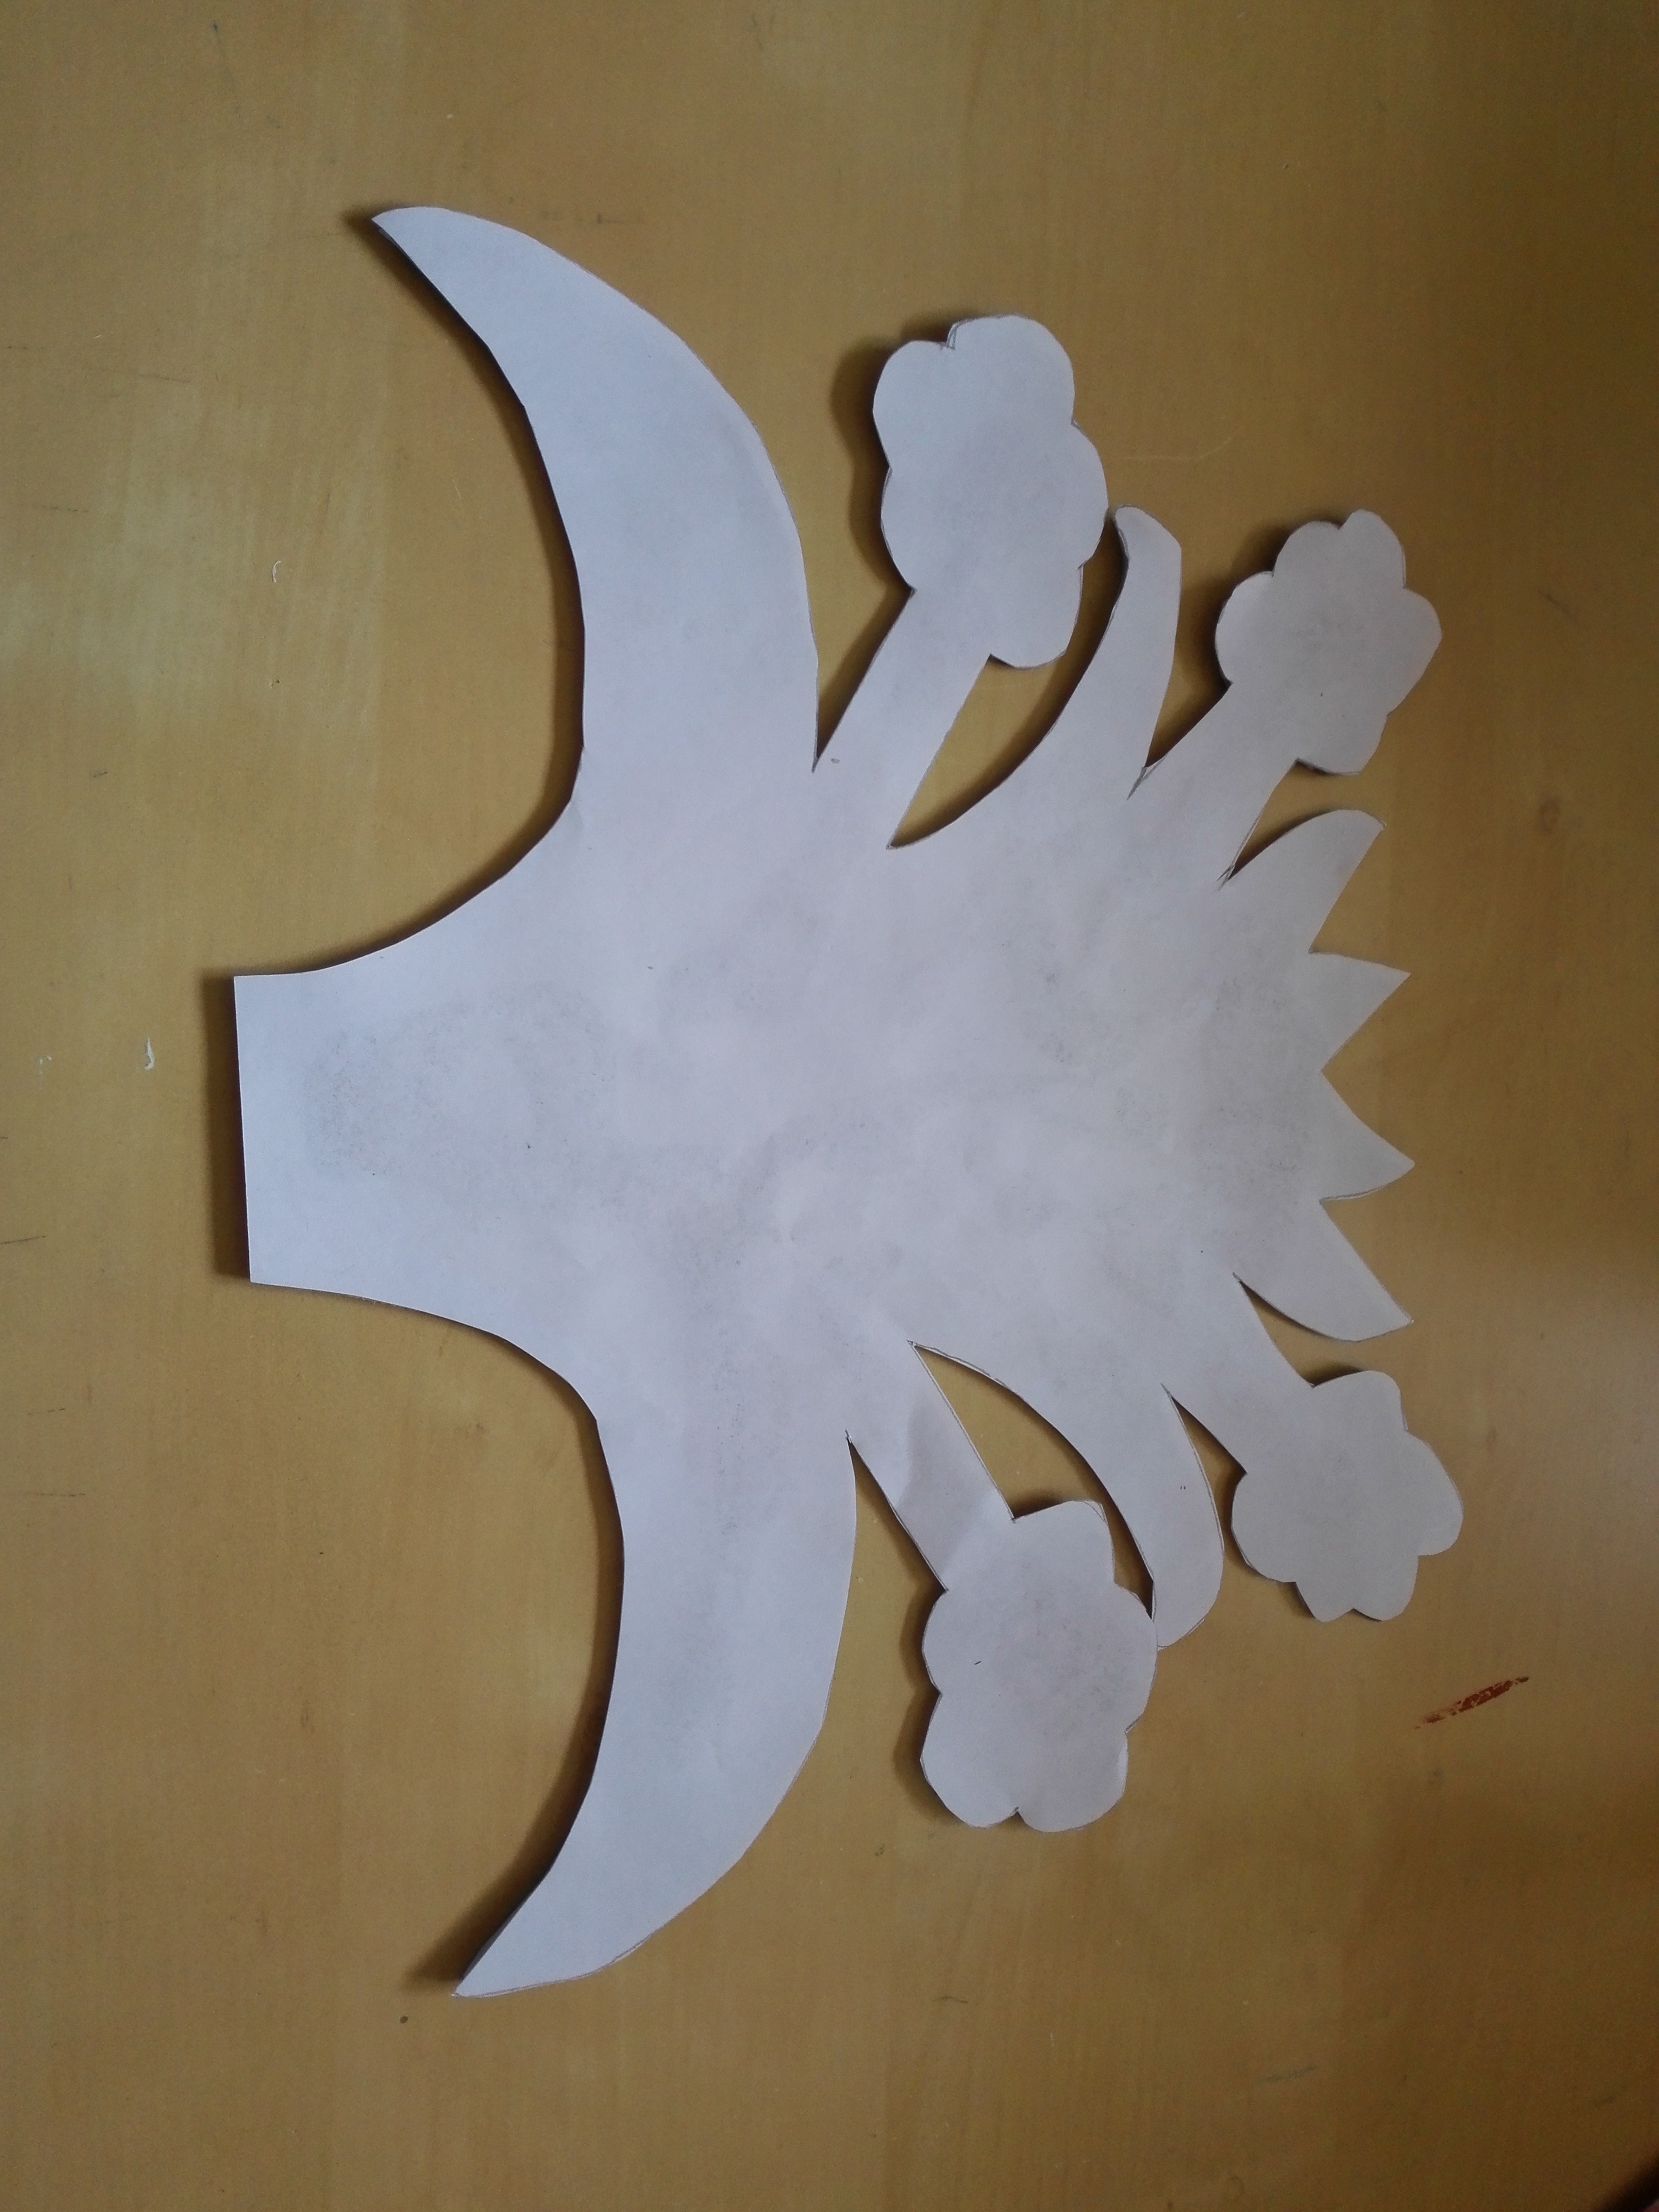
For this DIY, you’ll need cardboard, scrapbooking or colored paper and washi tape. First, cut into the cardboard a flower bouquet.
 Cut it into the scrapbooking paper too.
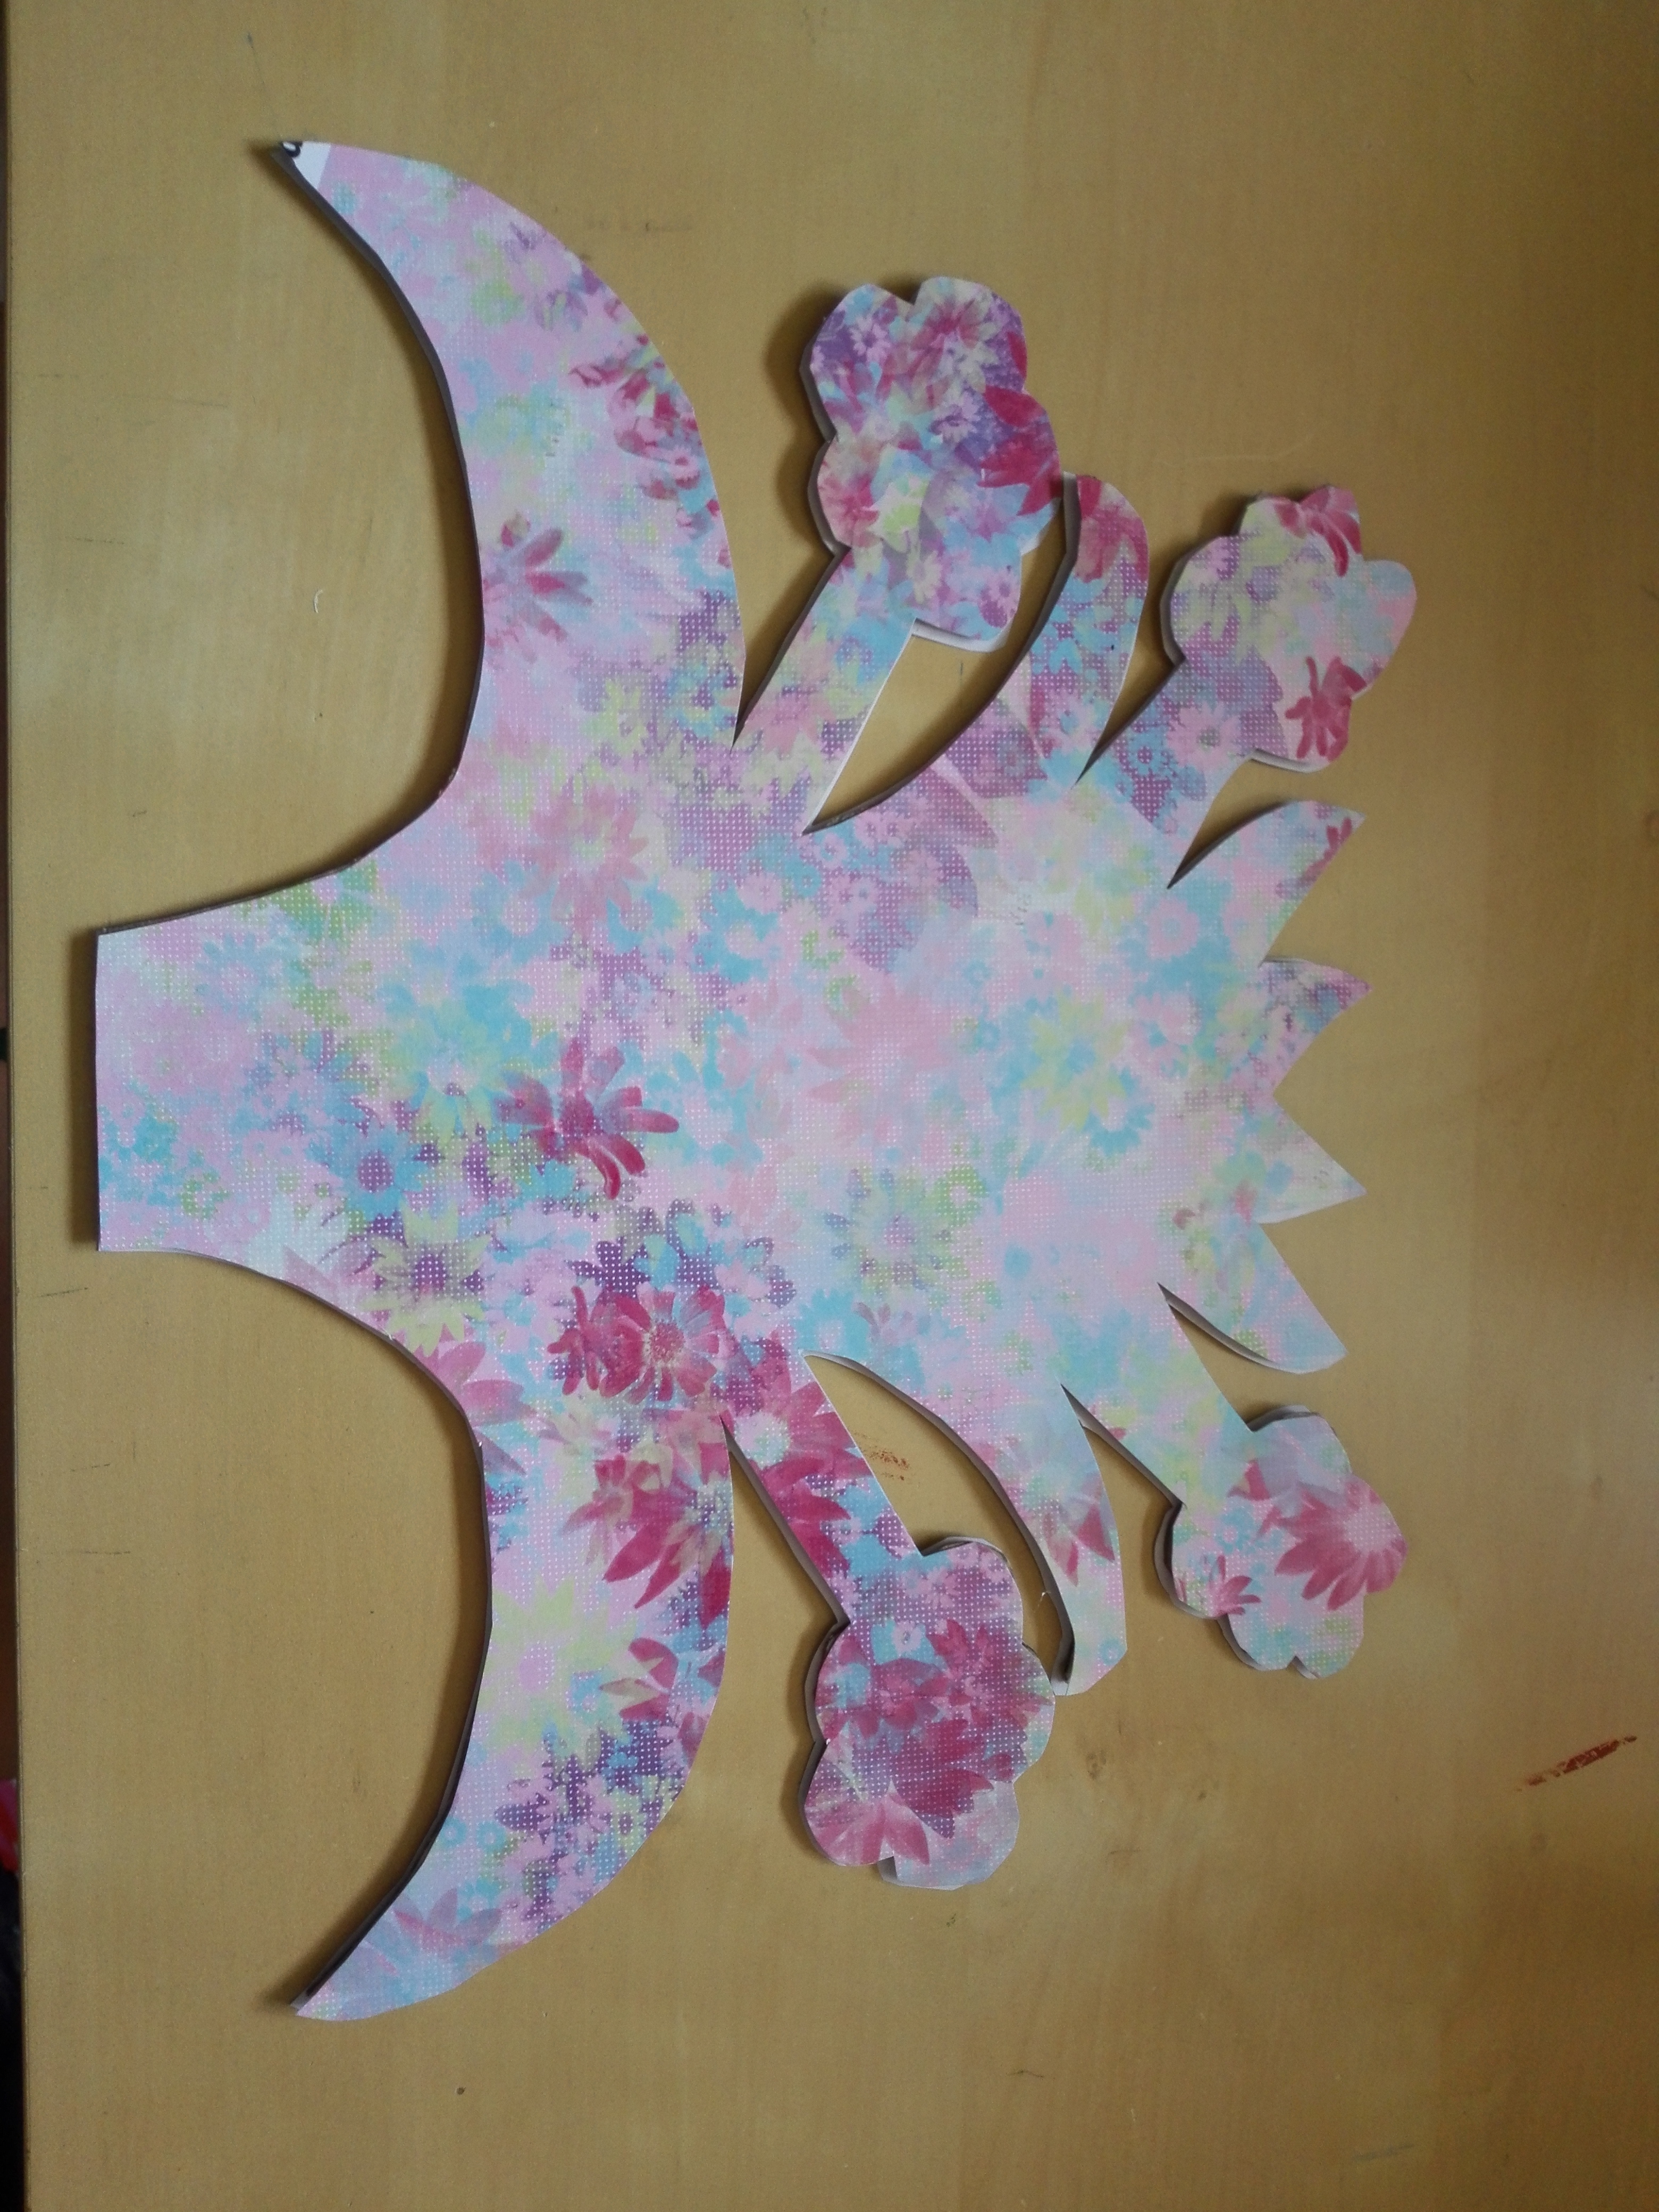
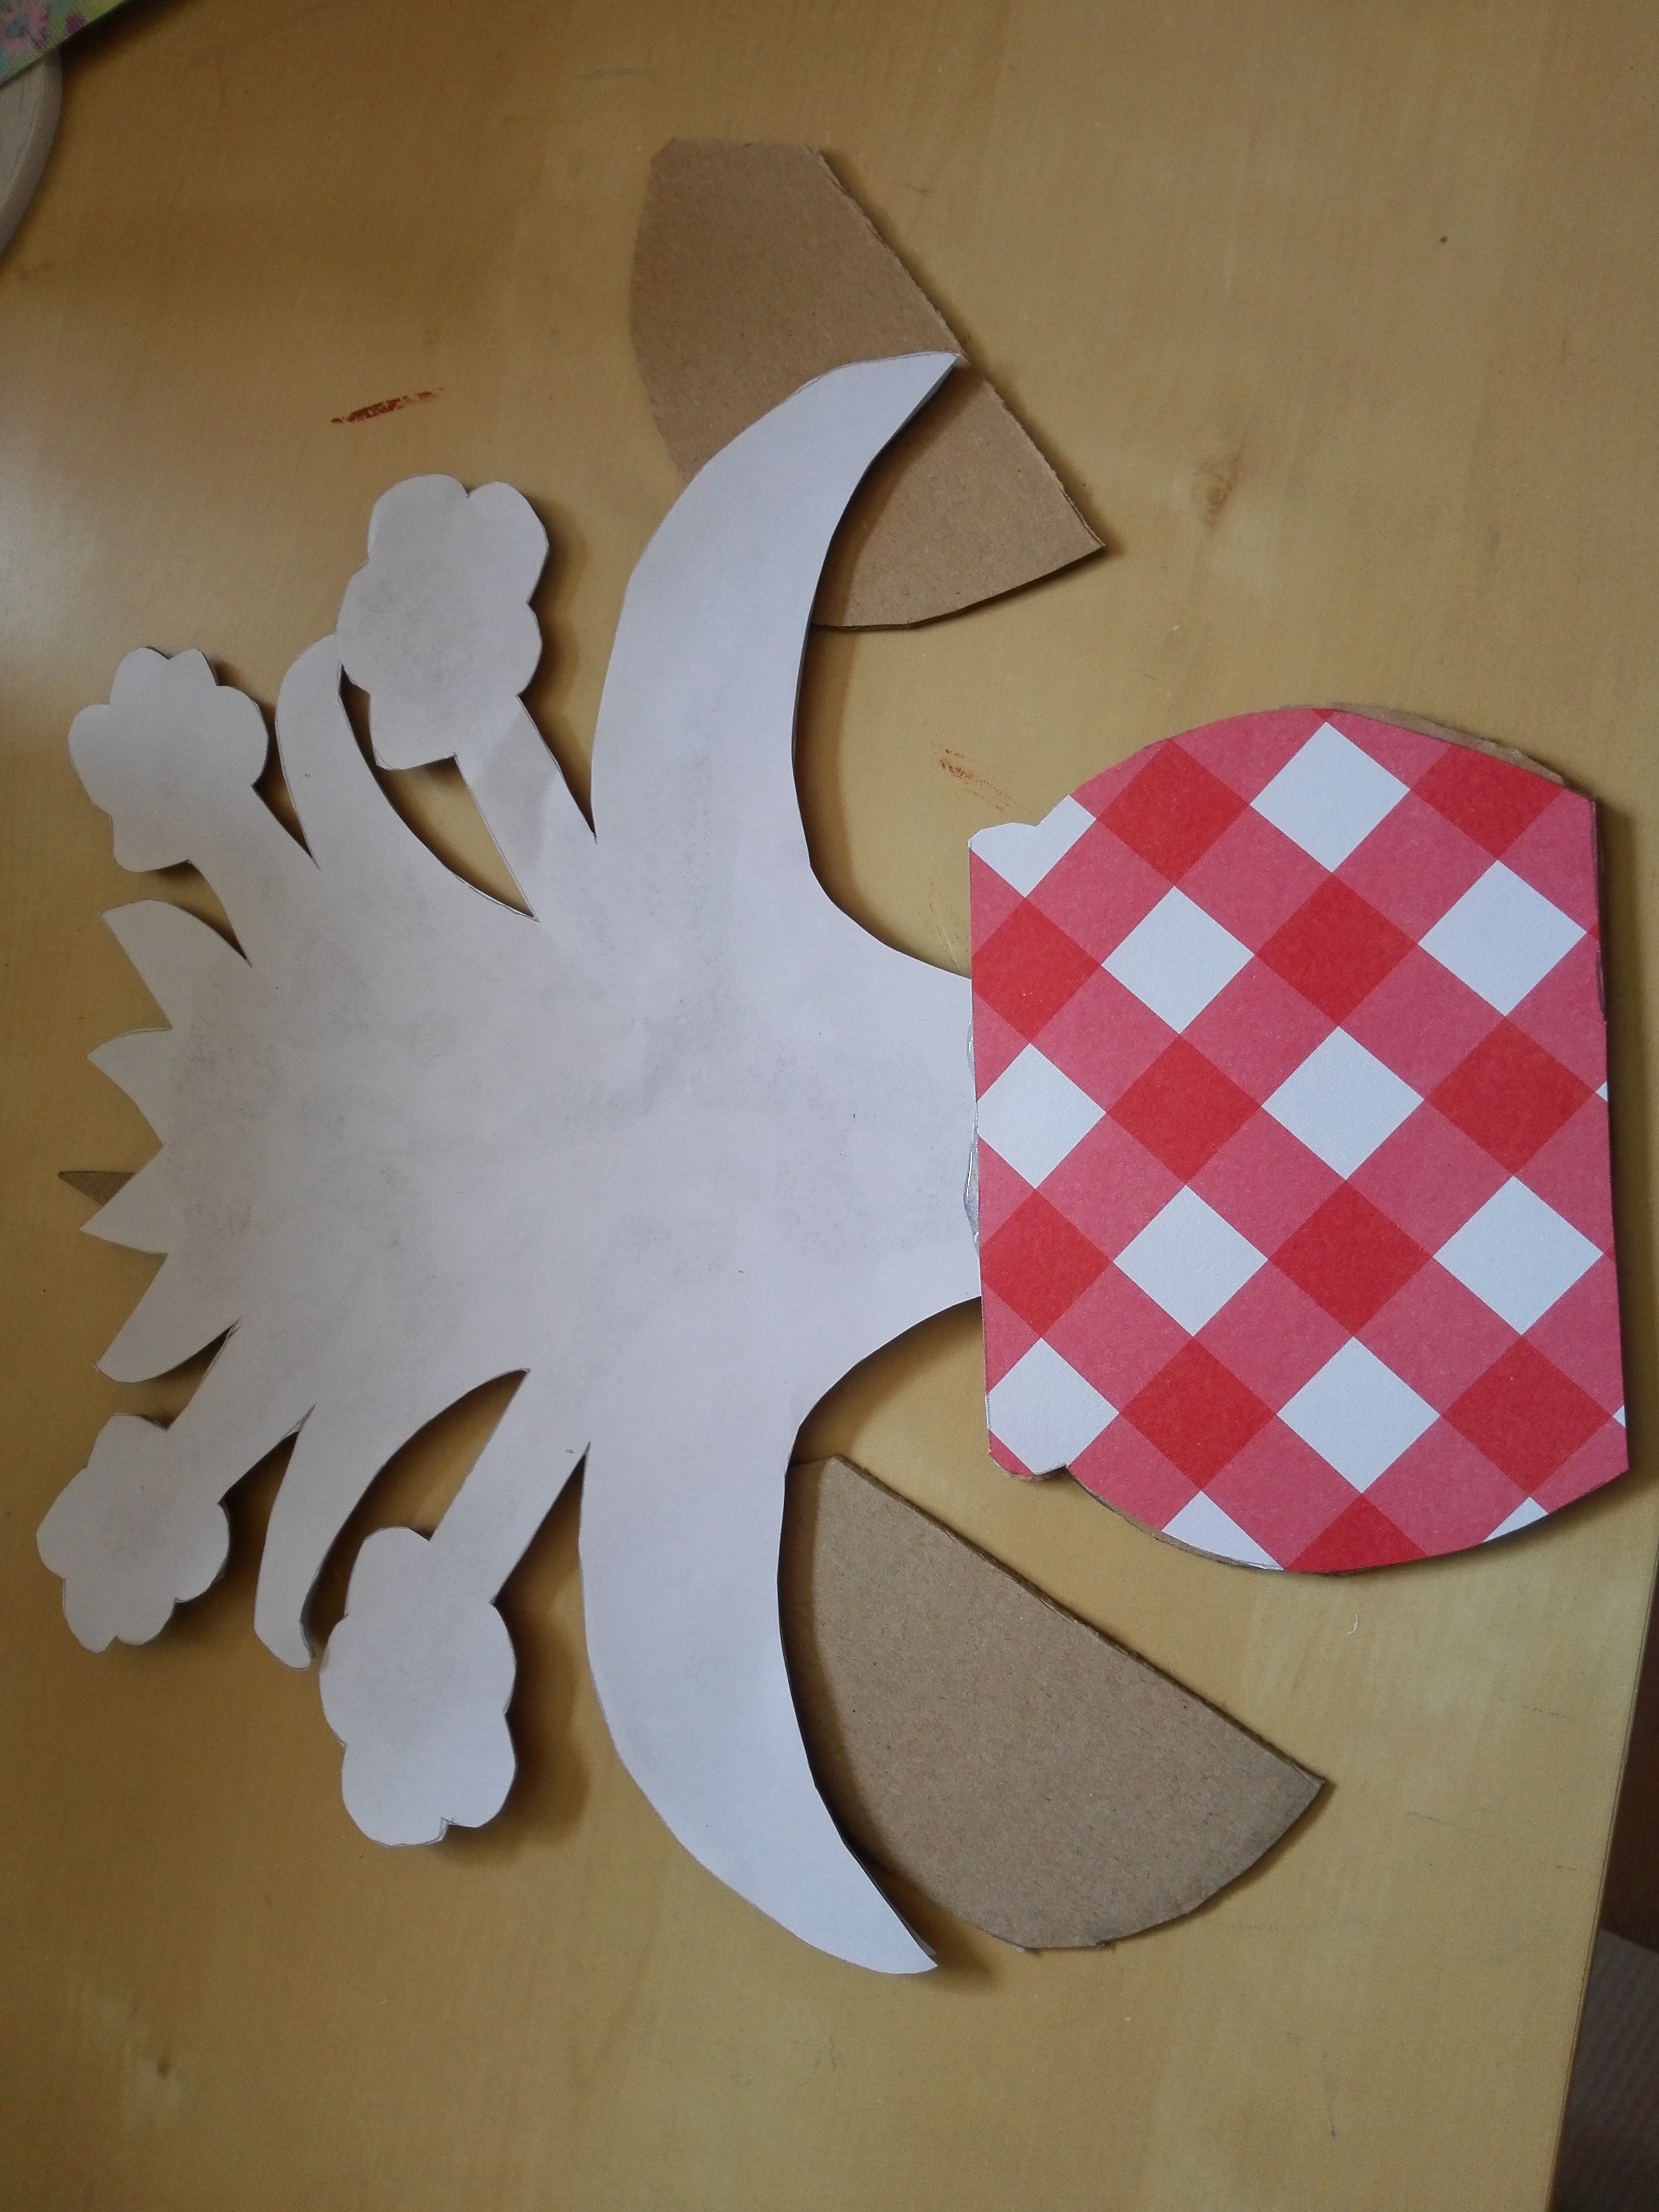
Cover one side with the scrapbooking paper and the other side with white paper.
Now for the base of the holder. Cut into the cardboard the following pieces:

Cover the big piece with paper. And glue it to the base of the bouquet.
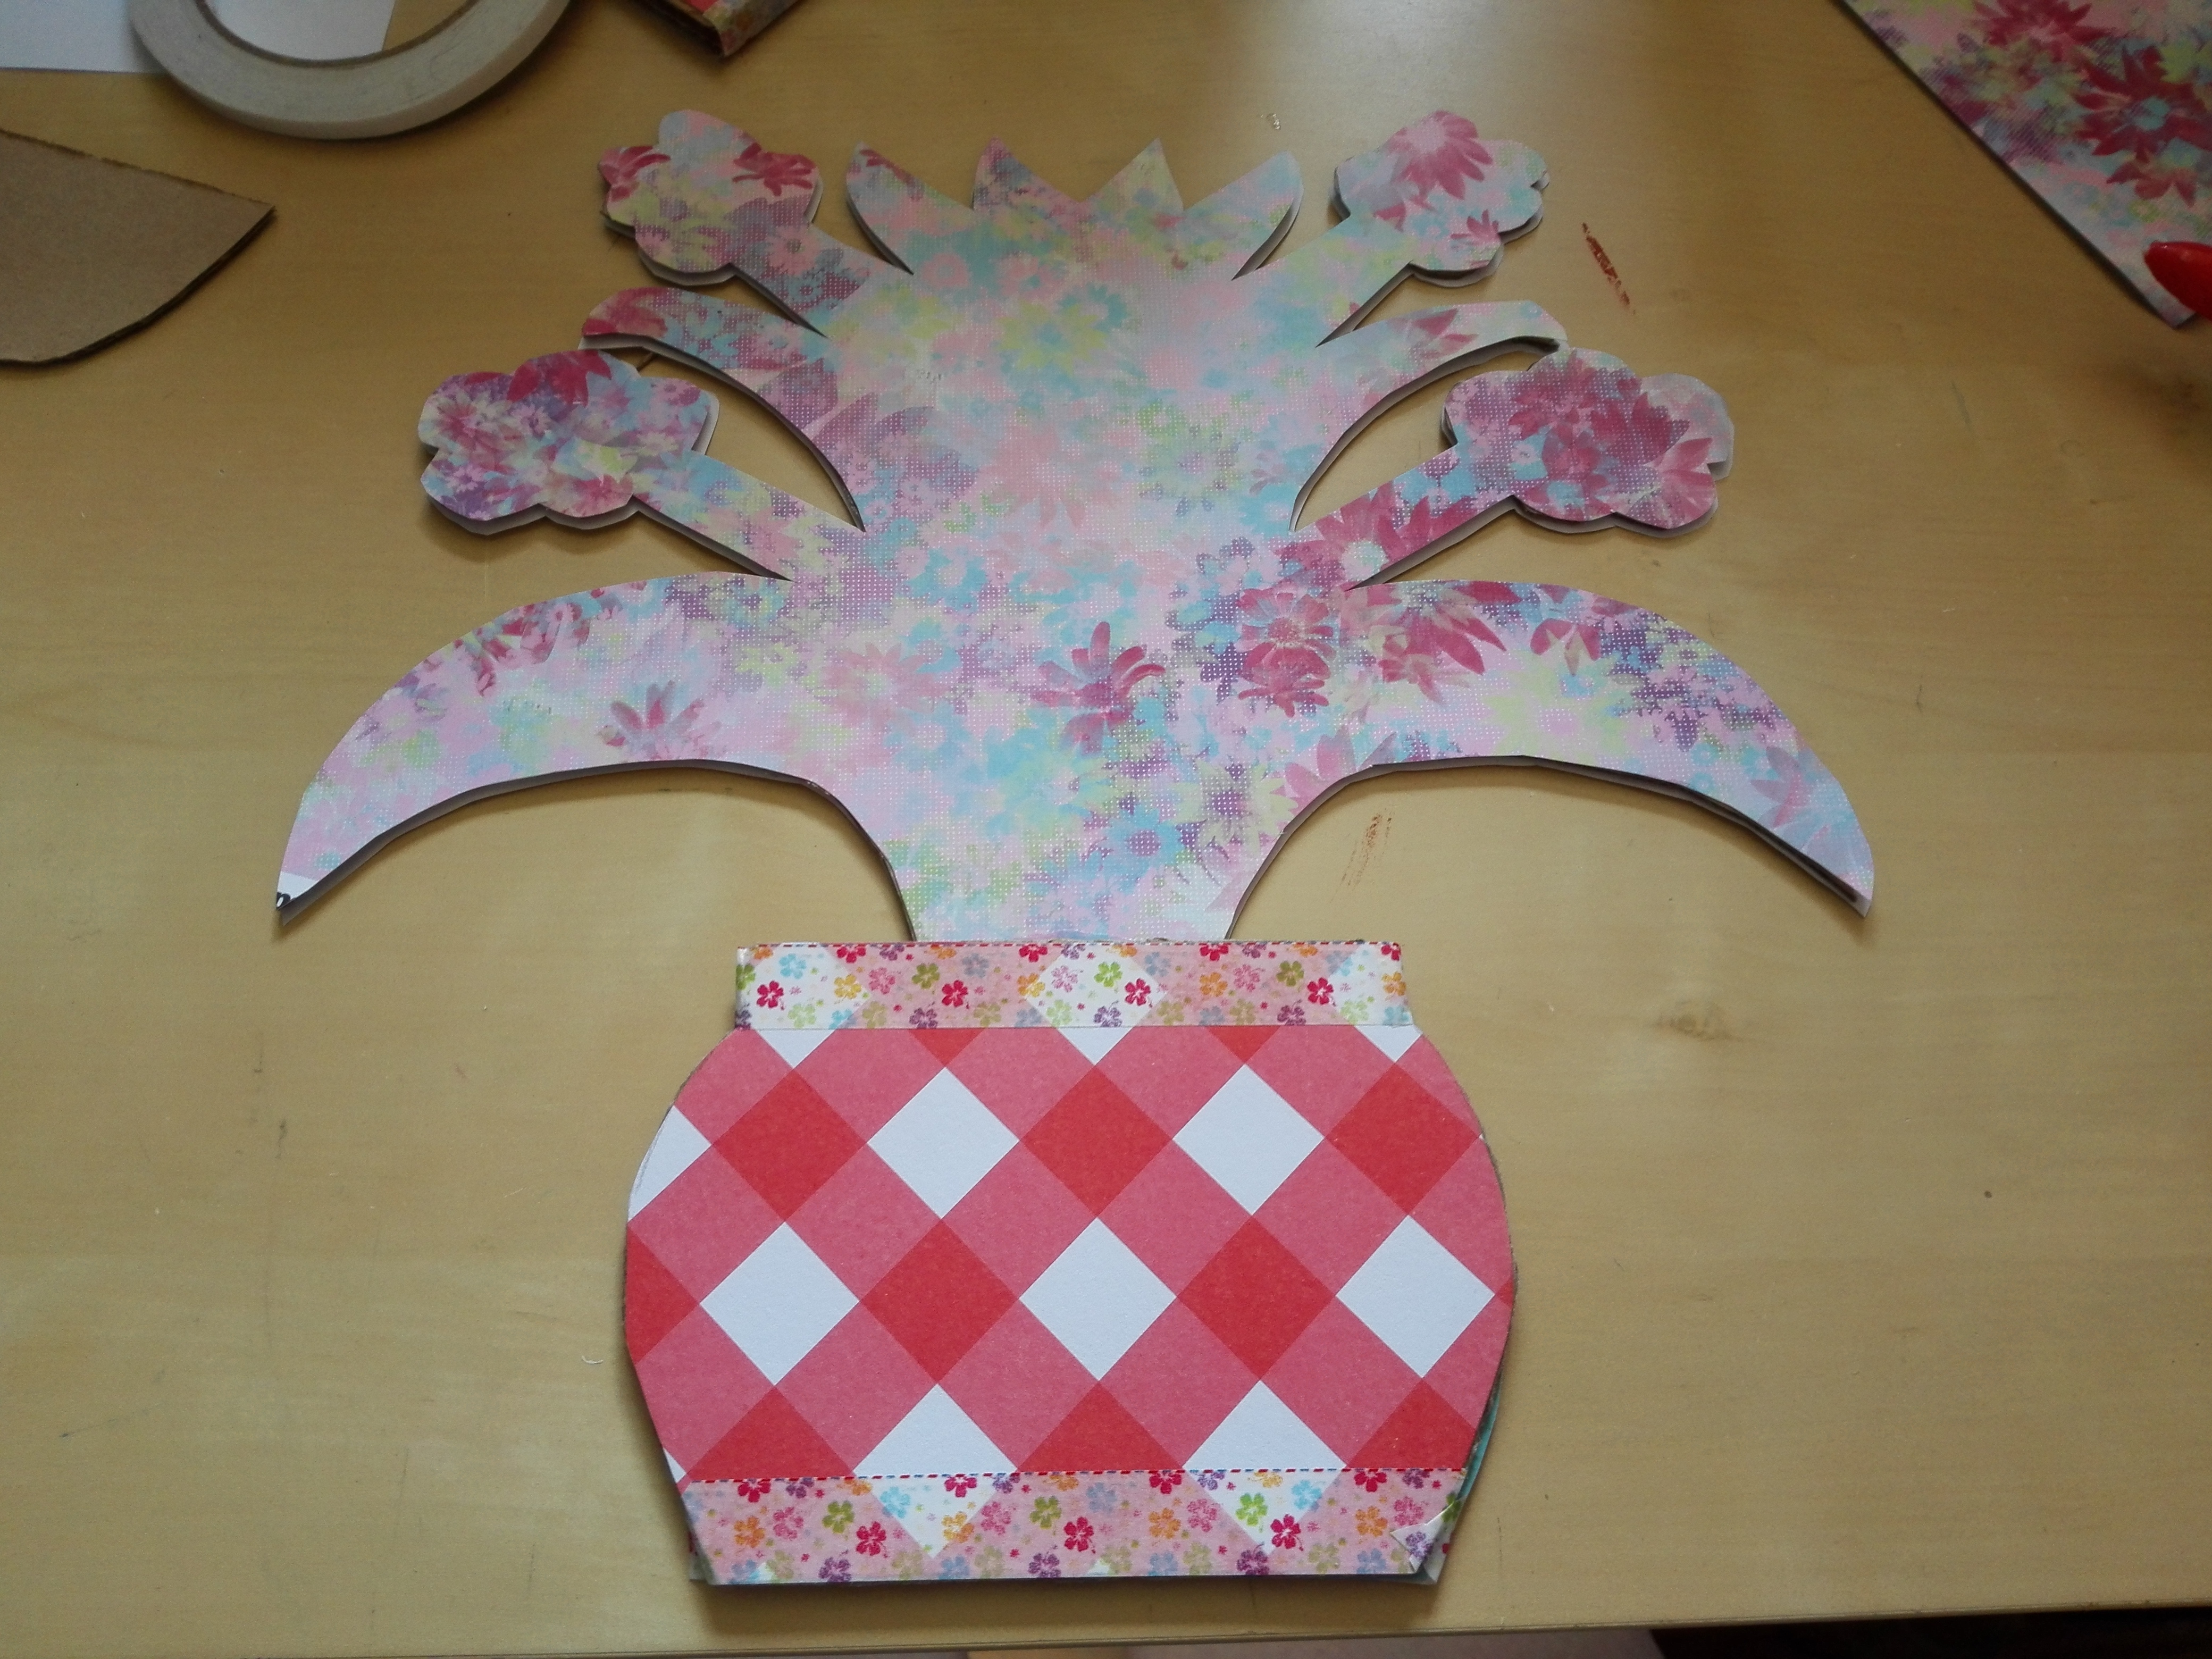
Then, add some washi tape to decorate.
Glue the three others together to get something thicker. Cover it with the same paper and add some washi tape.
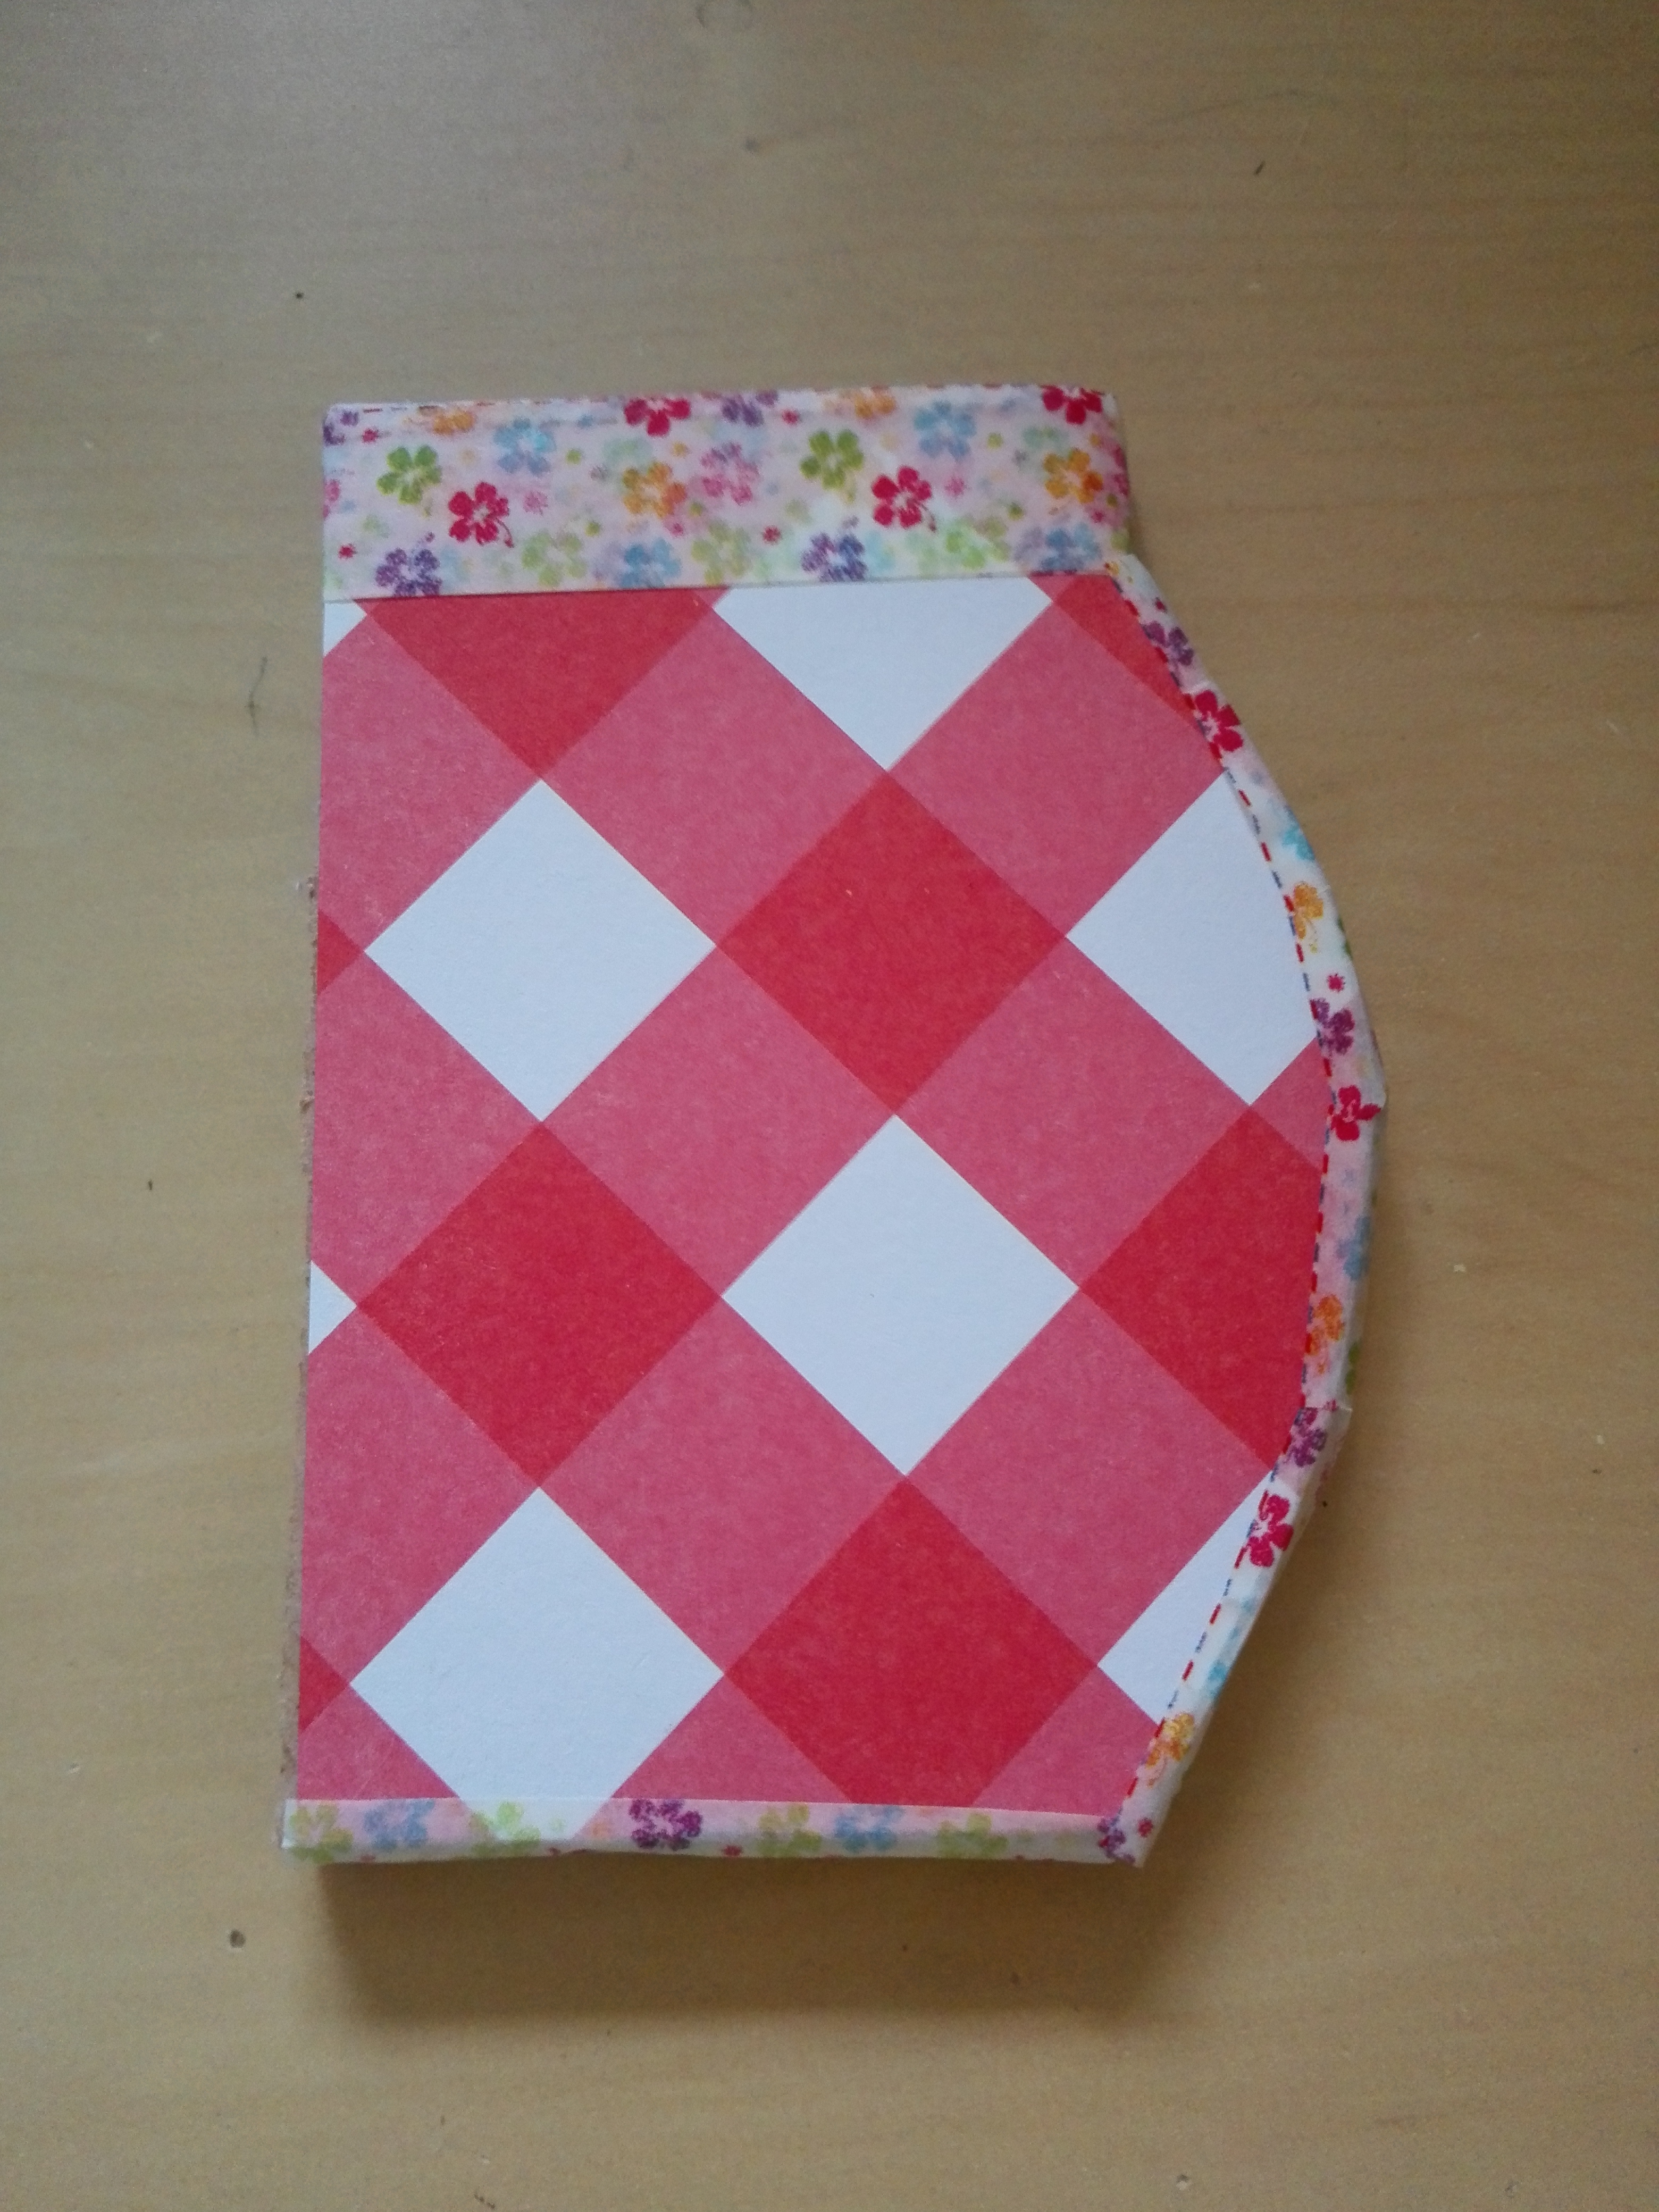
This element will be used to make the holder more stable, to prevent it from falling down. Glue it at the back of the base.
Done! 🙂
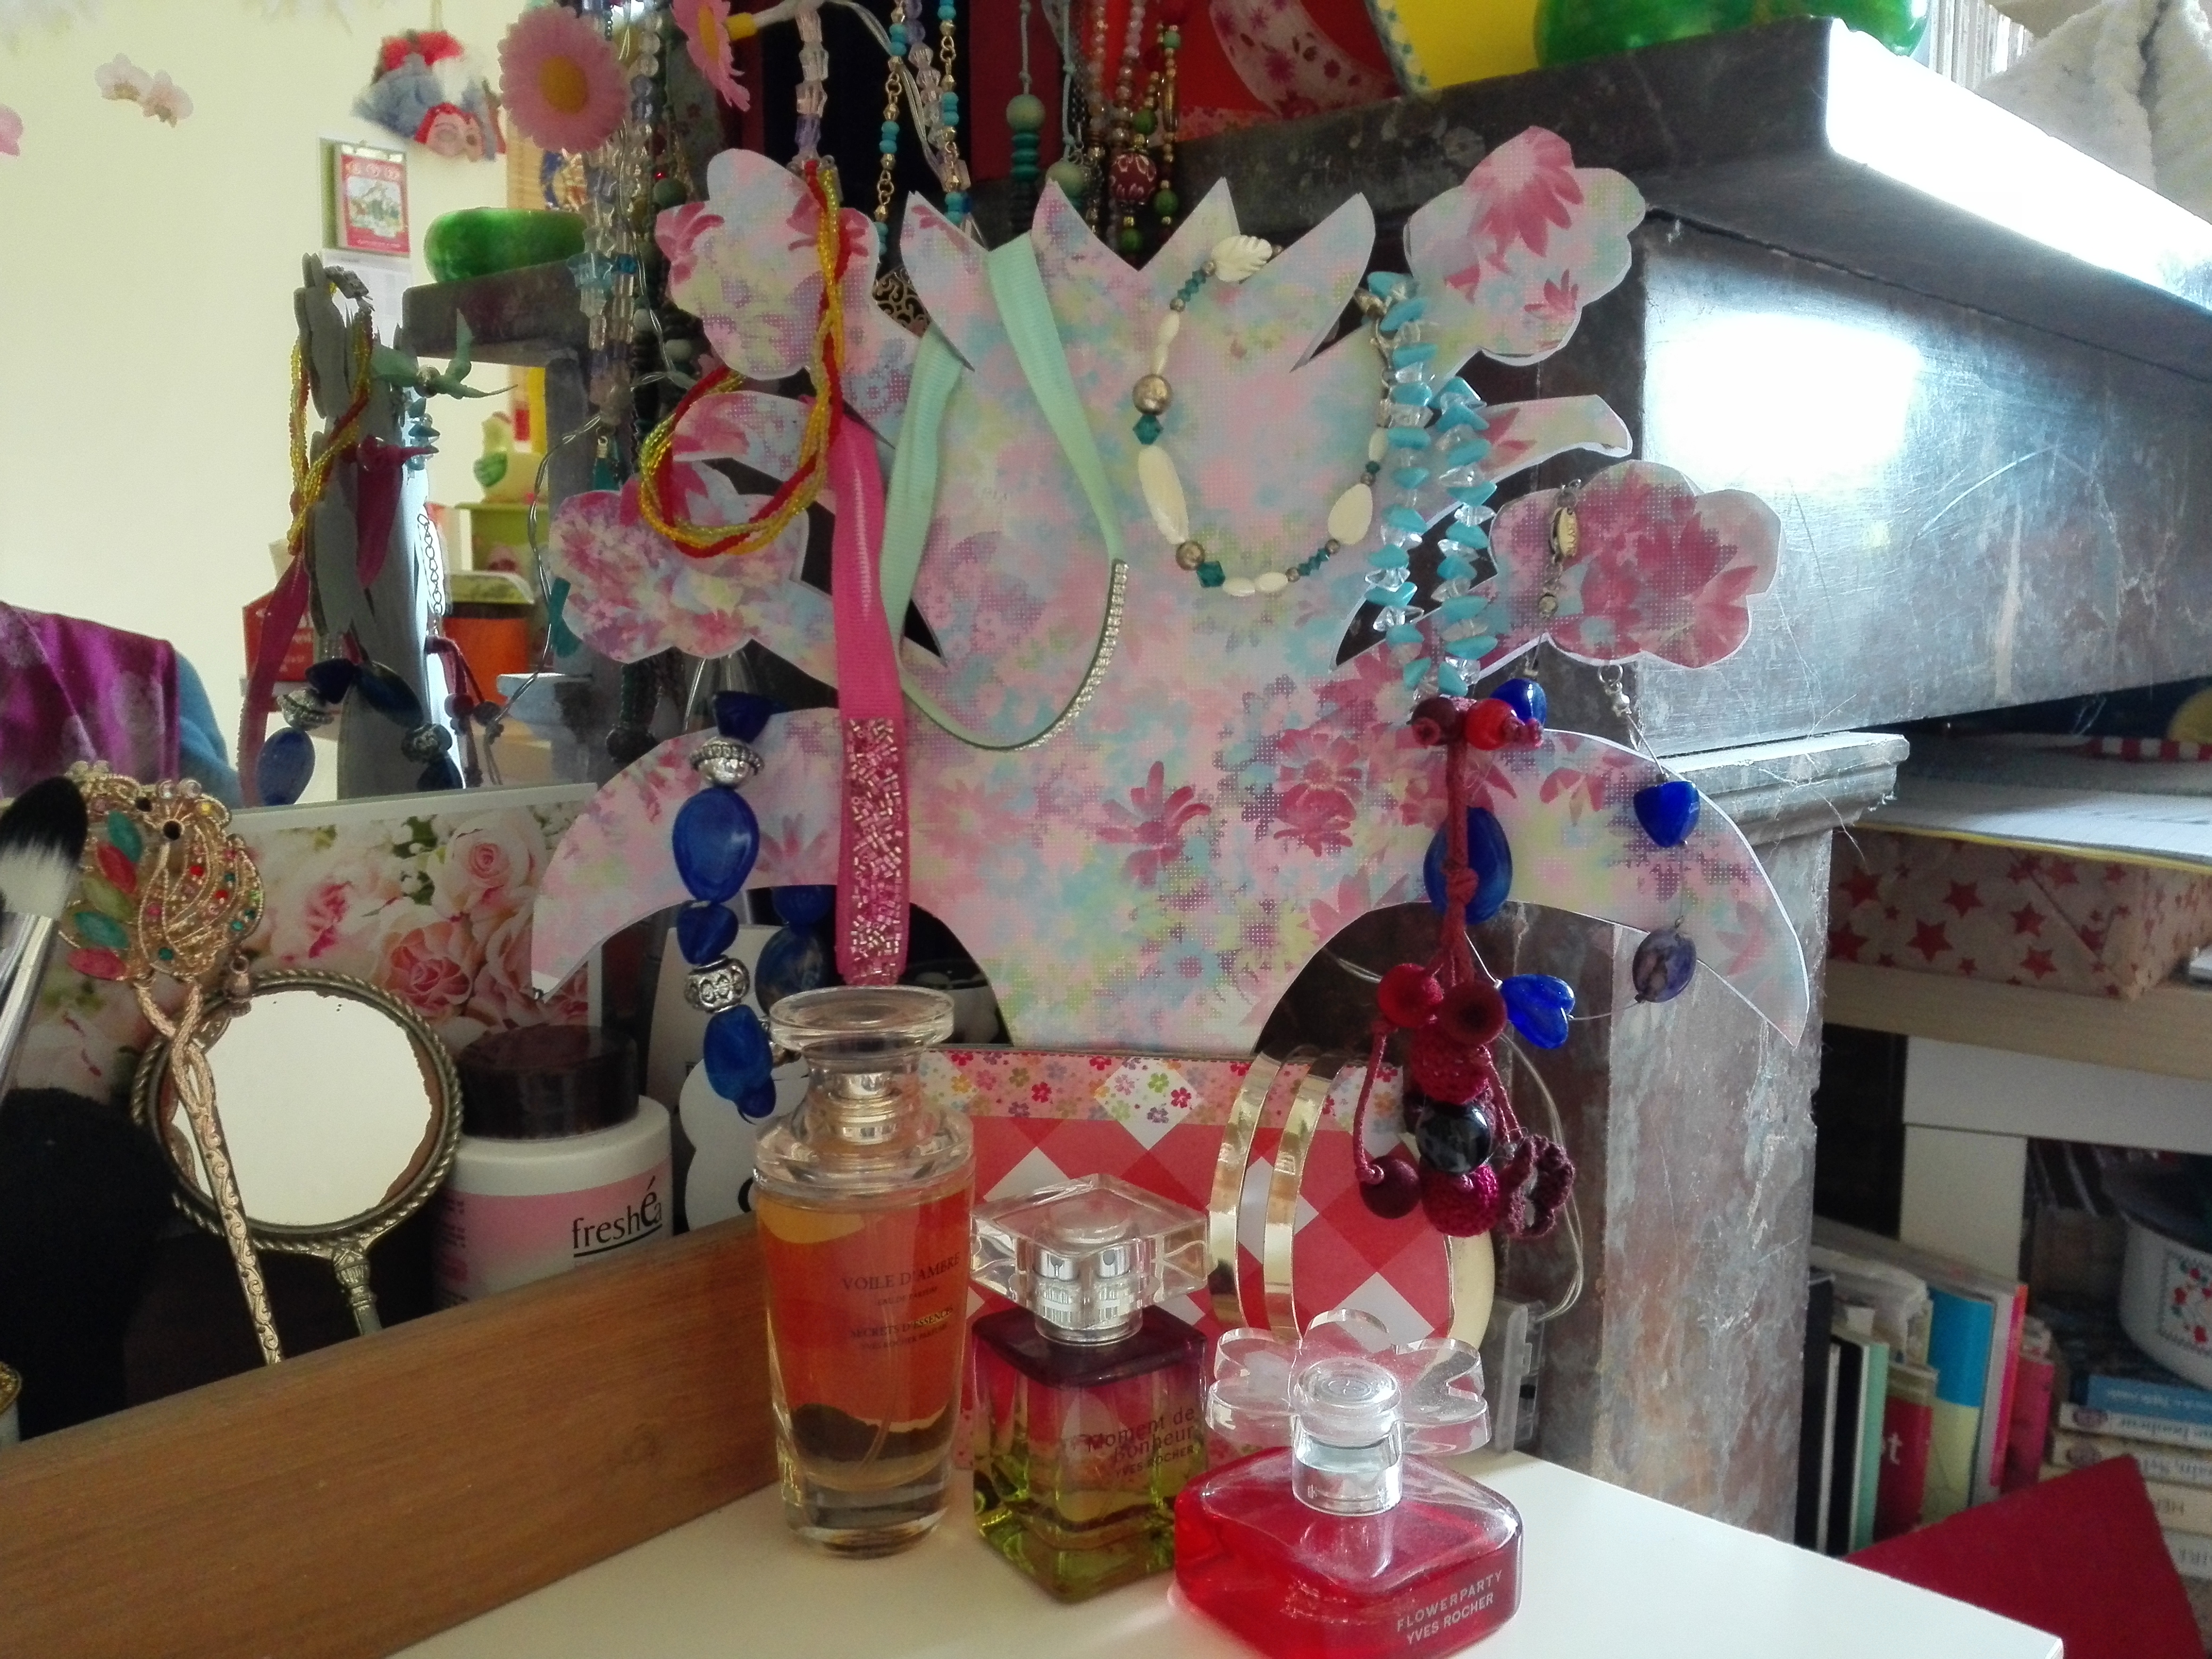
You can use it to display your bracelets, earings and hair pins. For necklaces, make a bigger holder.
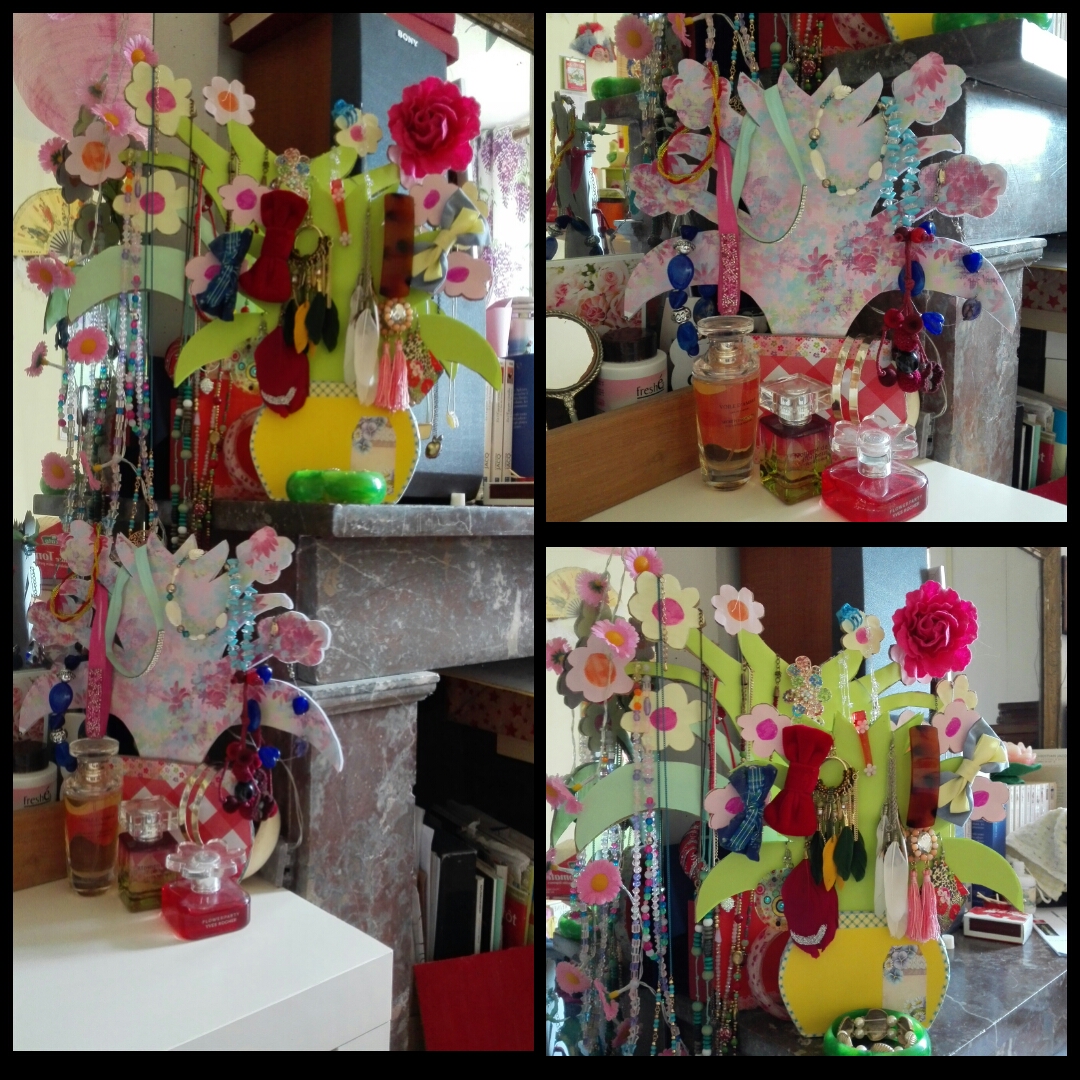
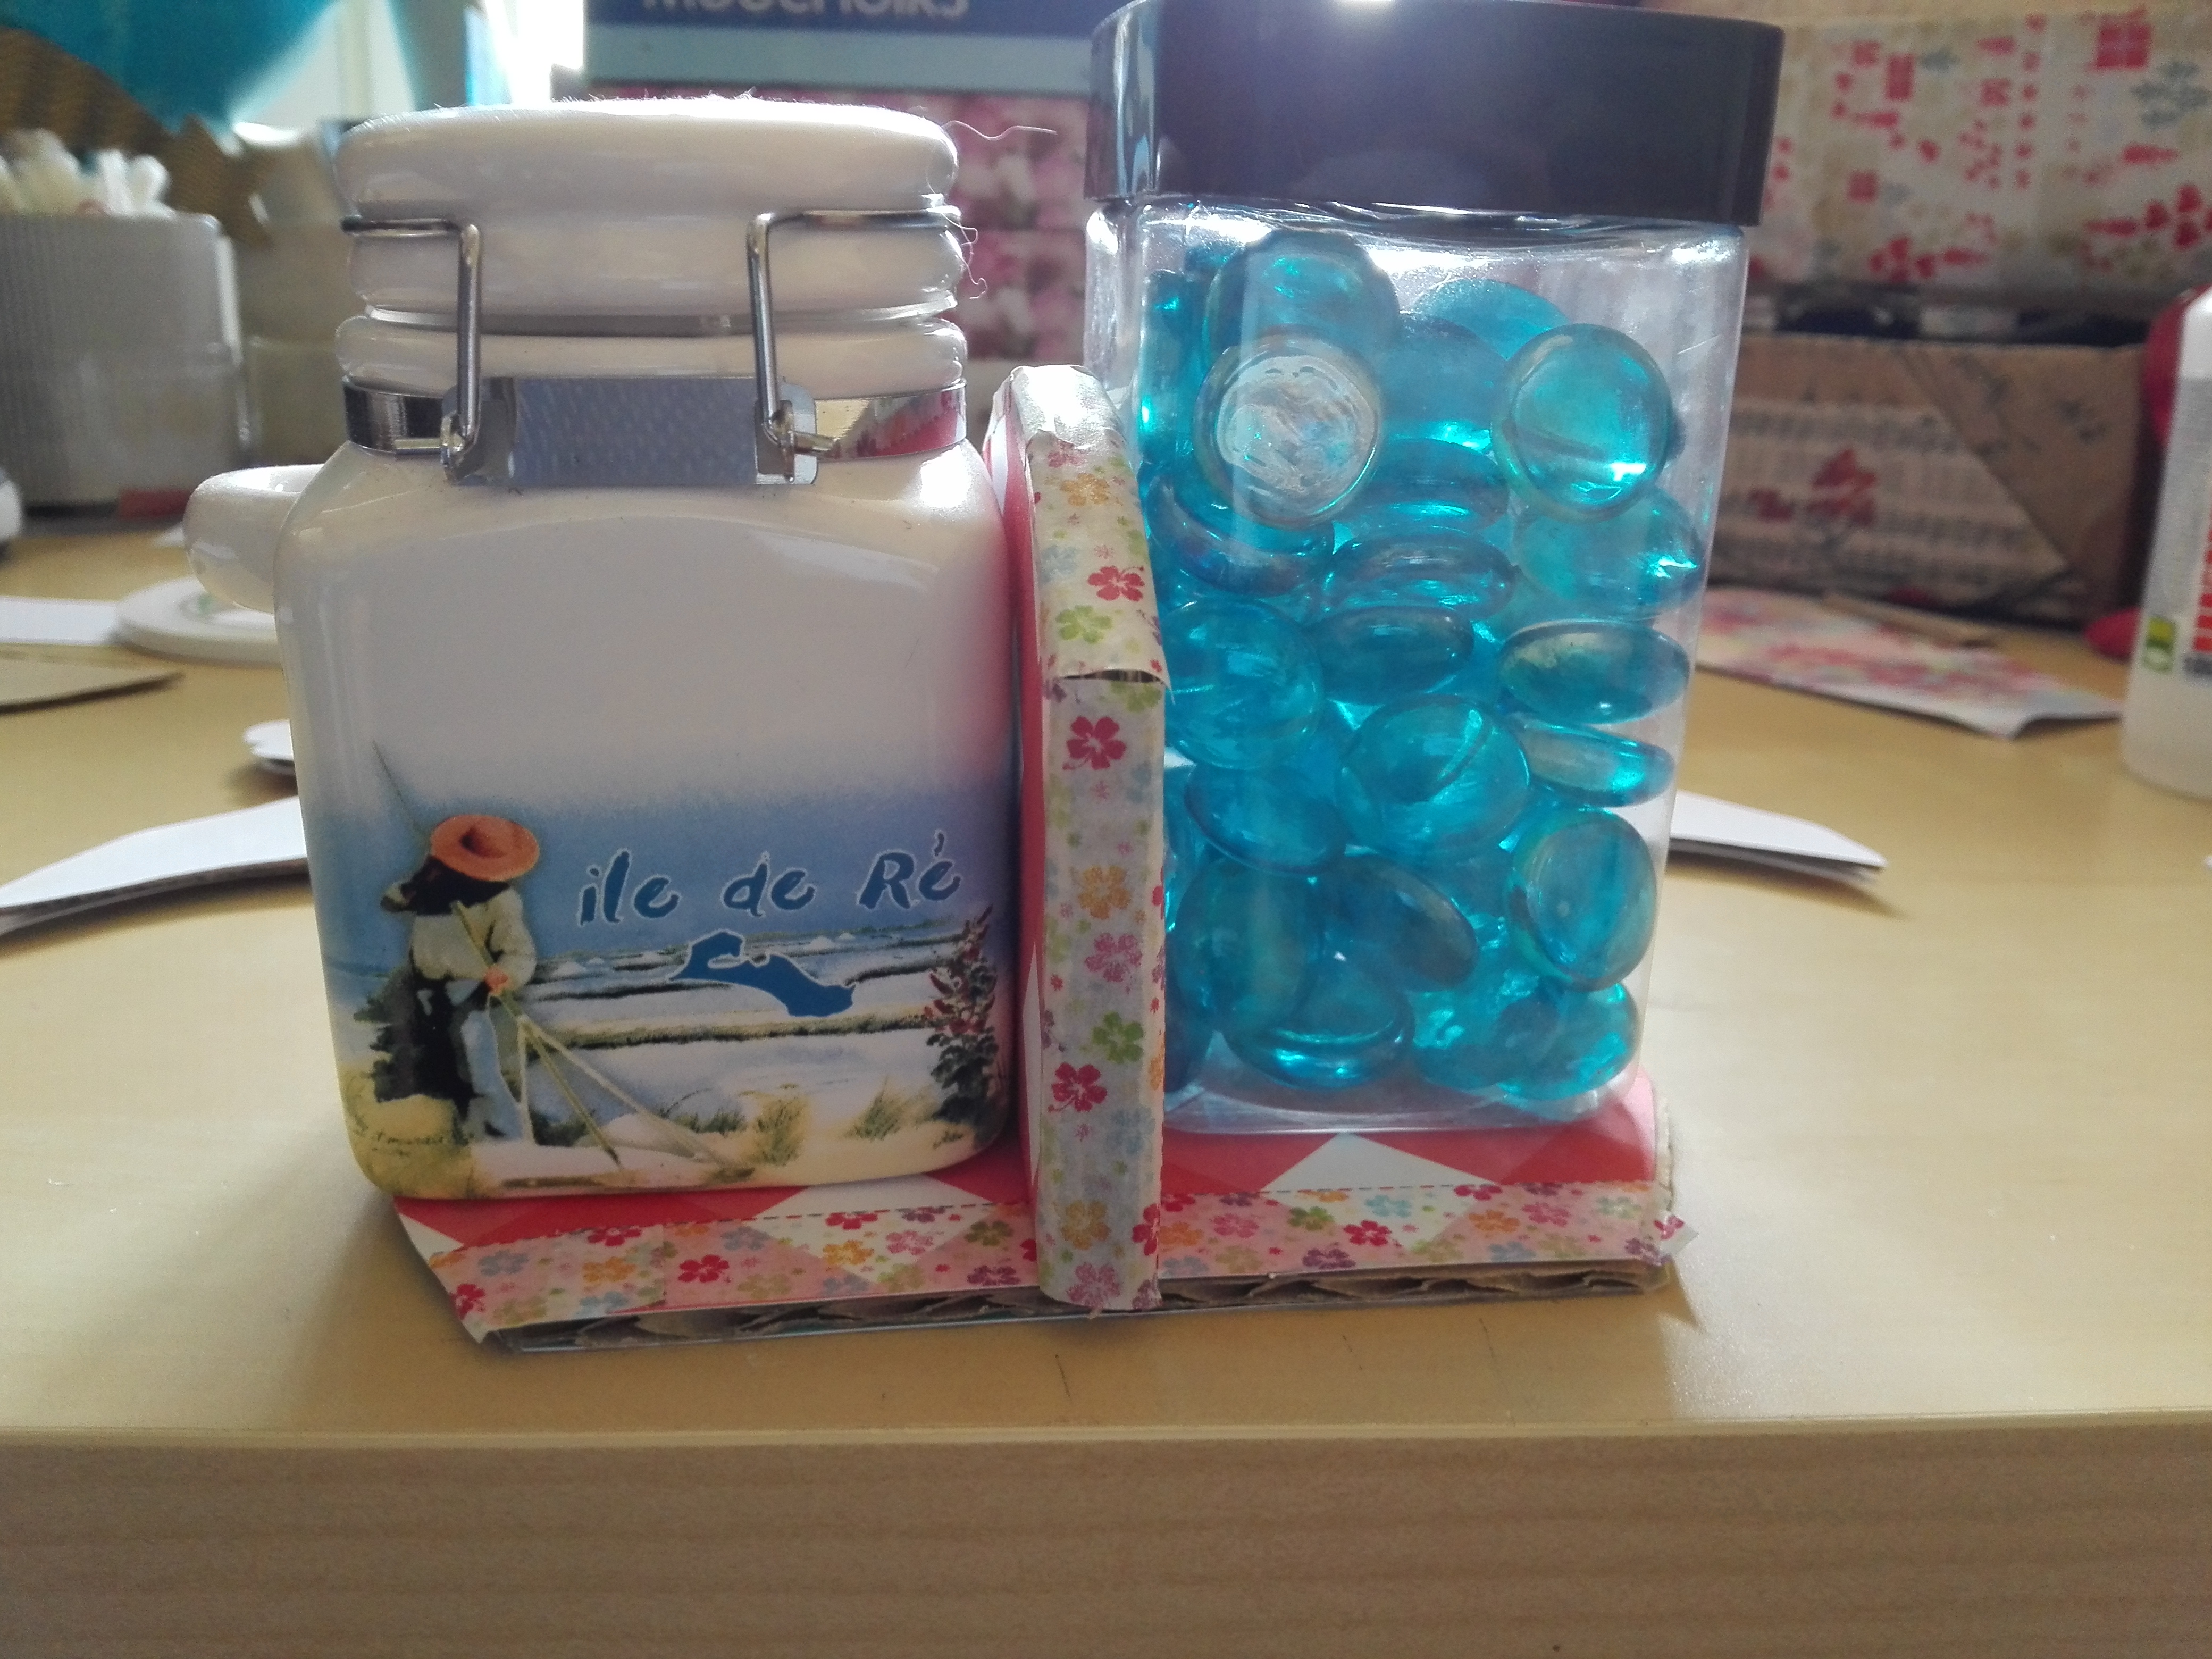
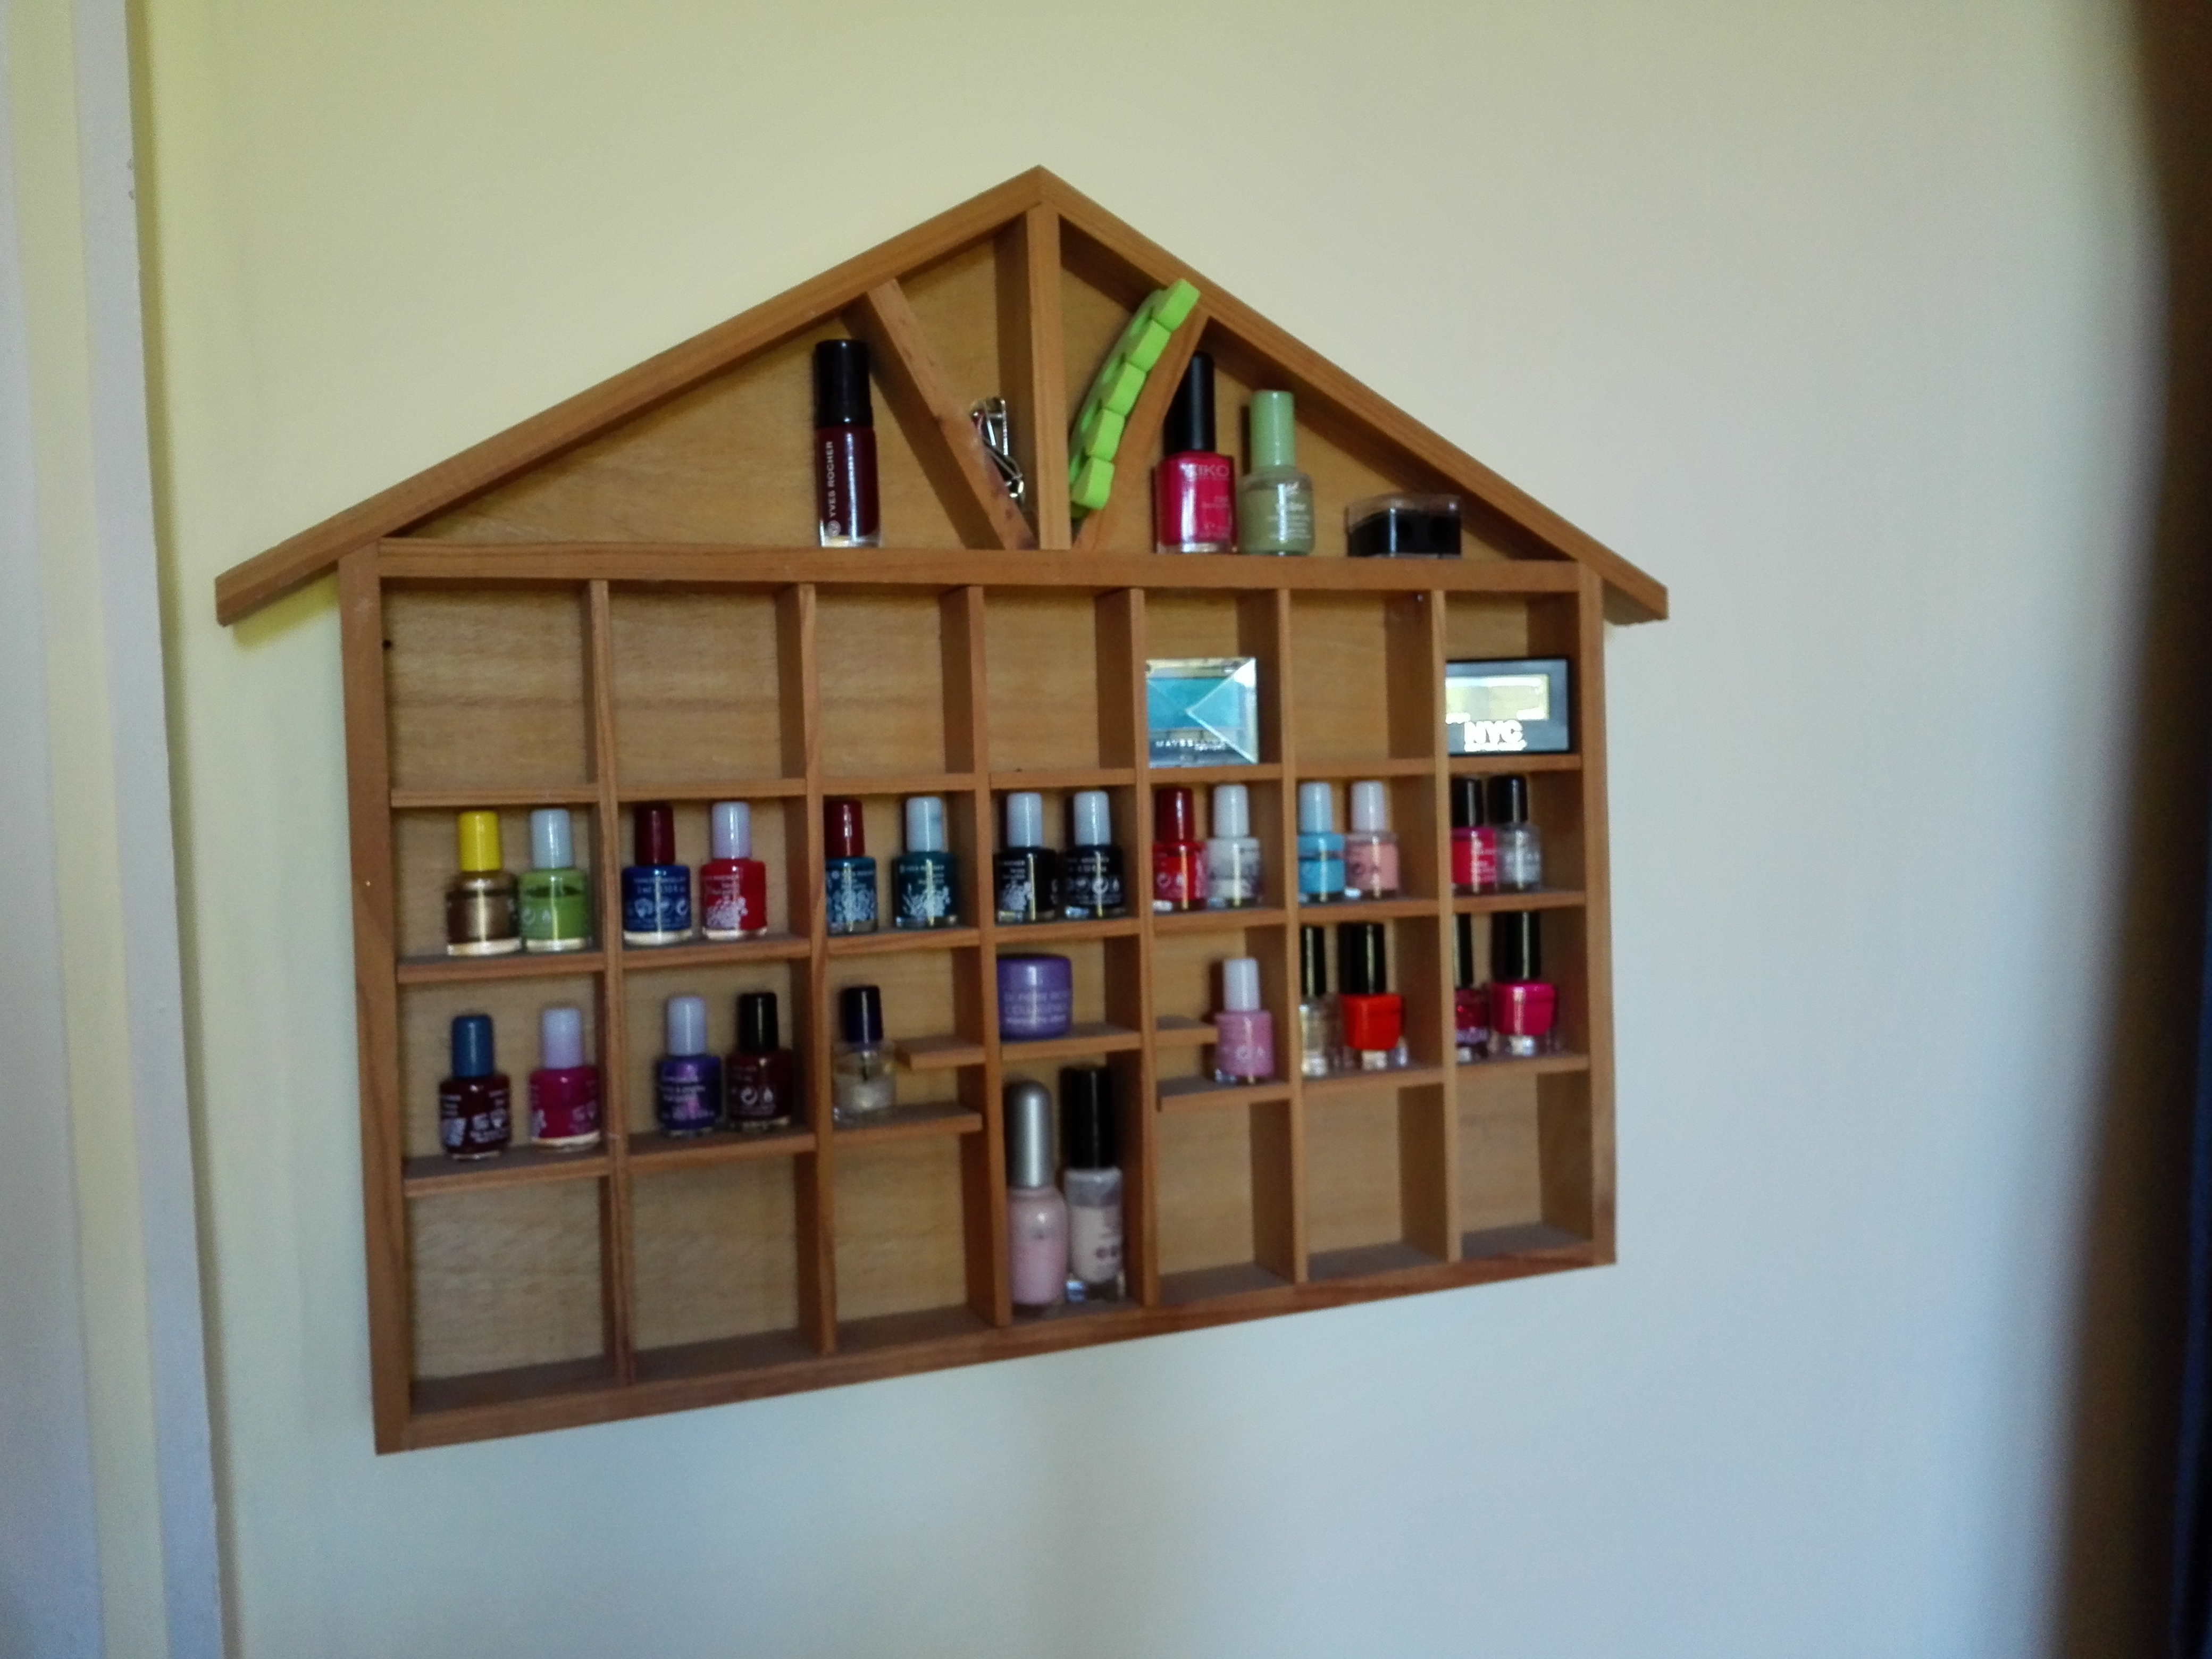
As you can see I didn’t make just one, but three holders. I find it’s such a cute way to organize and display your jewels. It adds some color to my dressing table.Finally, I will share with you, not a DIY but rather a lifehack. Girls, tell me I’m not the only one struggling with nail polish storage. So, when I saw this little wonder, I was thrilled. 🙂
I instantly understood that I could use it to store and display all my nail polish. All I had to do was to hang it on the wall, add two nails at the bottom to make sure it would be stable and straight.
What do you think of these DIYs? Which one is your favorite? Personally, I do like very much the jewels holder. Do you have other organizing ideas you want to share ?
Tell me in the comments and if you redo one this DIYs, share with on Instagram.:-)
Hope you enjoy this post.
See you soon in a next post ❤
Ady ❤

