
Hi everyone ! I’m terribly sorry for being absent such a long time…..I’m a very bad girl 😦 It’s due to my recent travel ( I’ll write something about that) and the fact that I’ve been very busy recently.But I’m back with some new and awesome DIYs !! I LOVE these and I hope you’ll too. So, let’s get started !
Today, we’re going to recycle old and unused stuff to make cute decorating items. We’ll make a dreamcatcher, a zen garden, a mini carousel and a displayer.
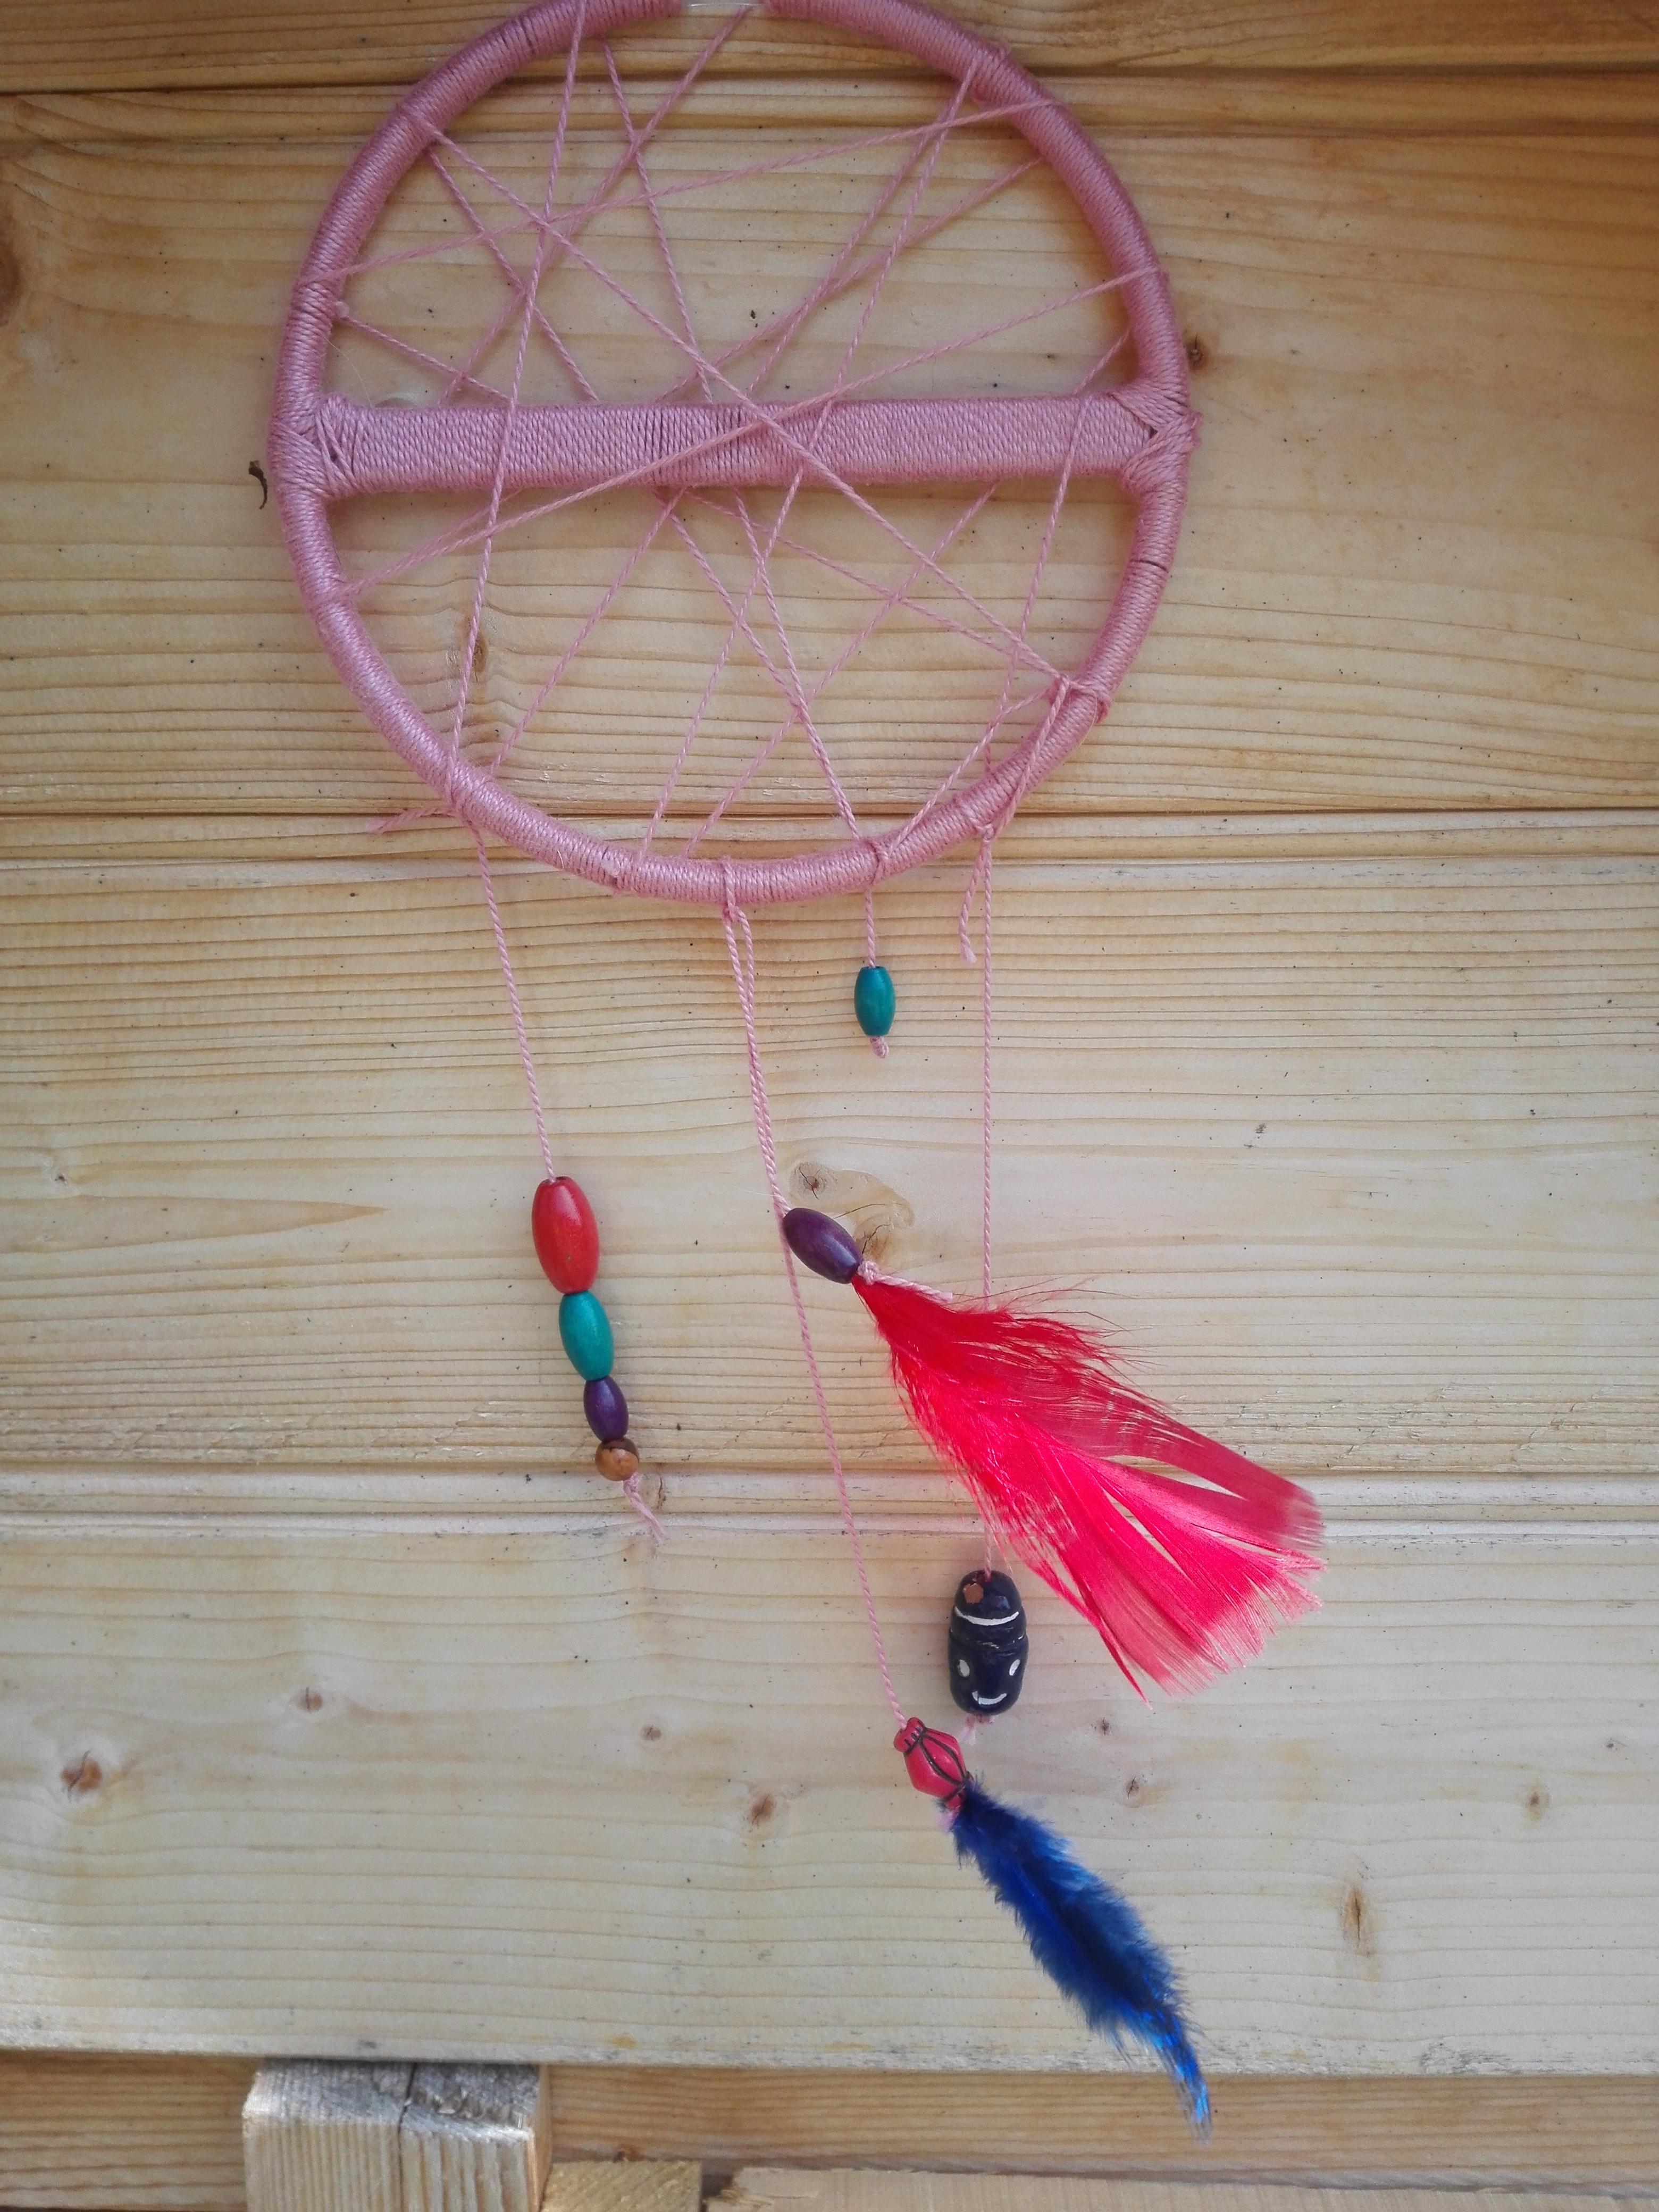
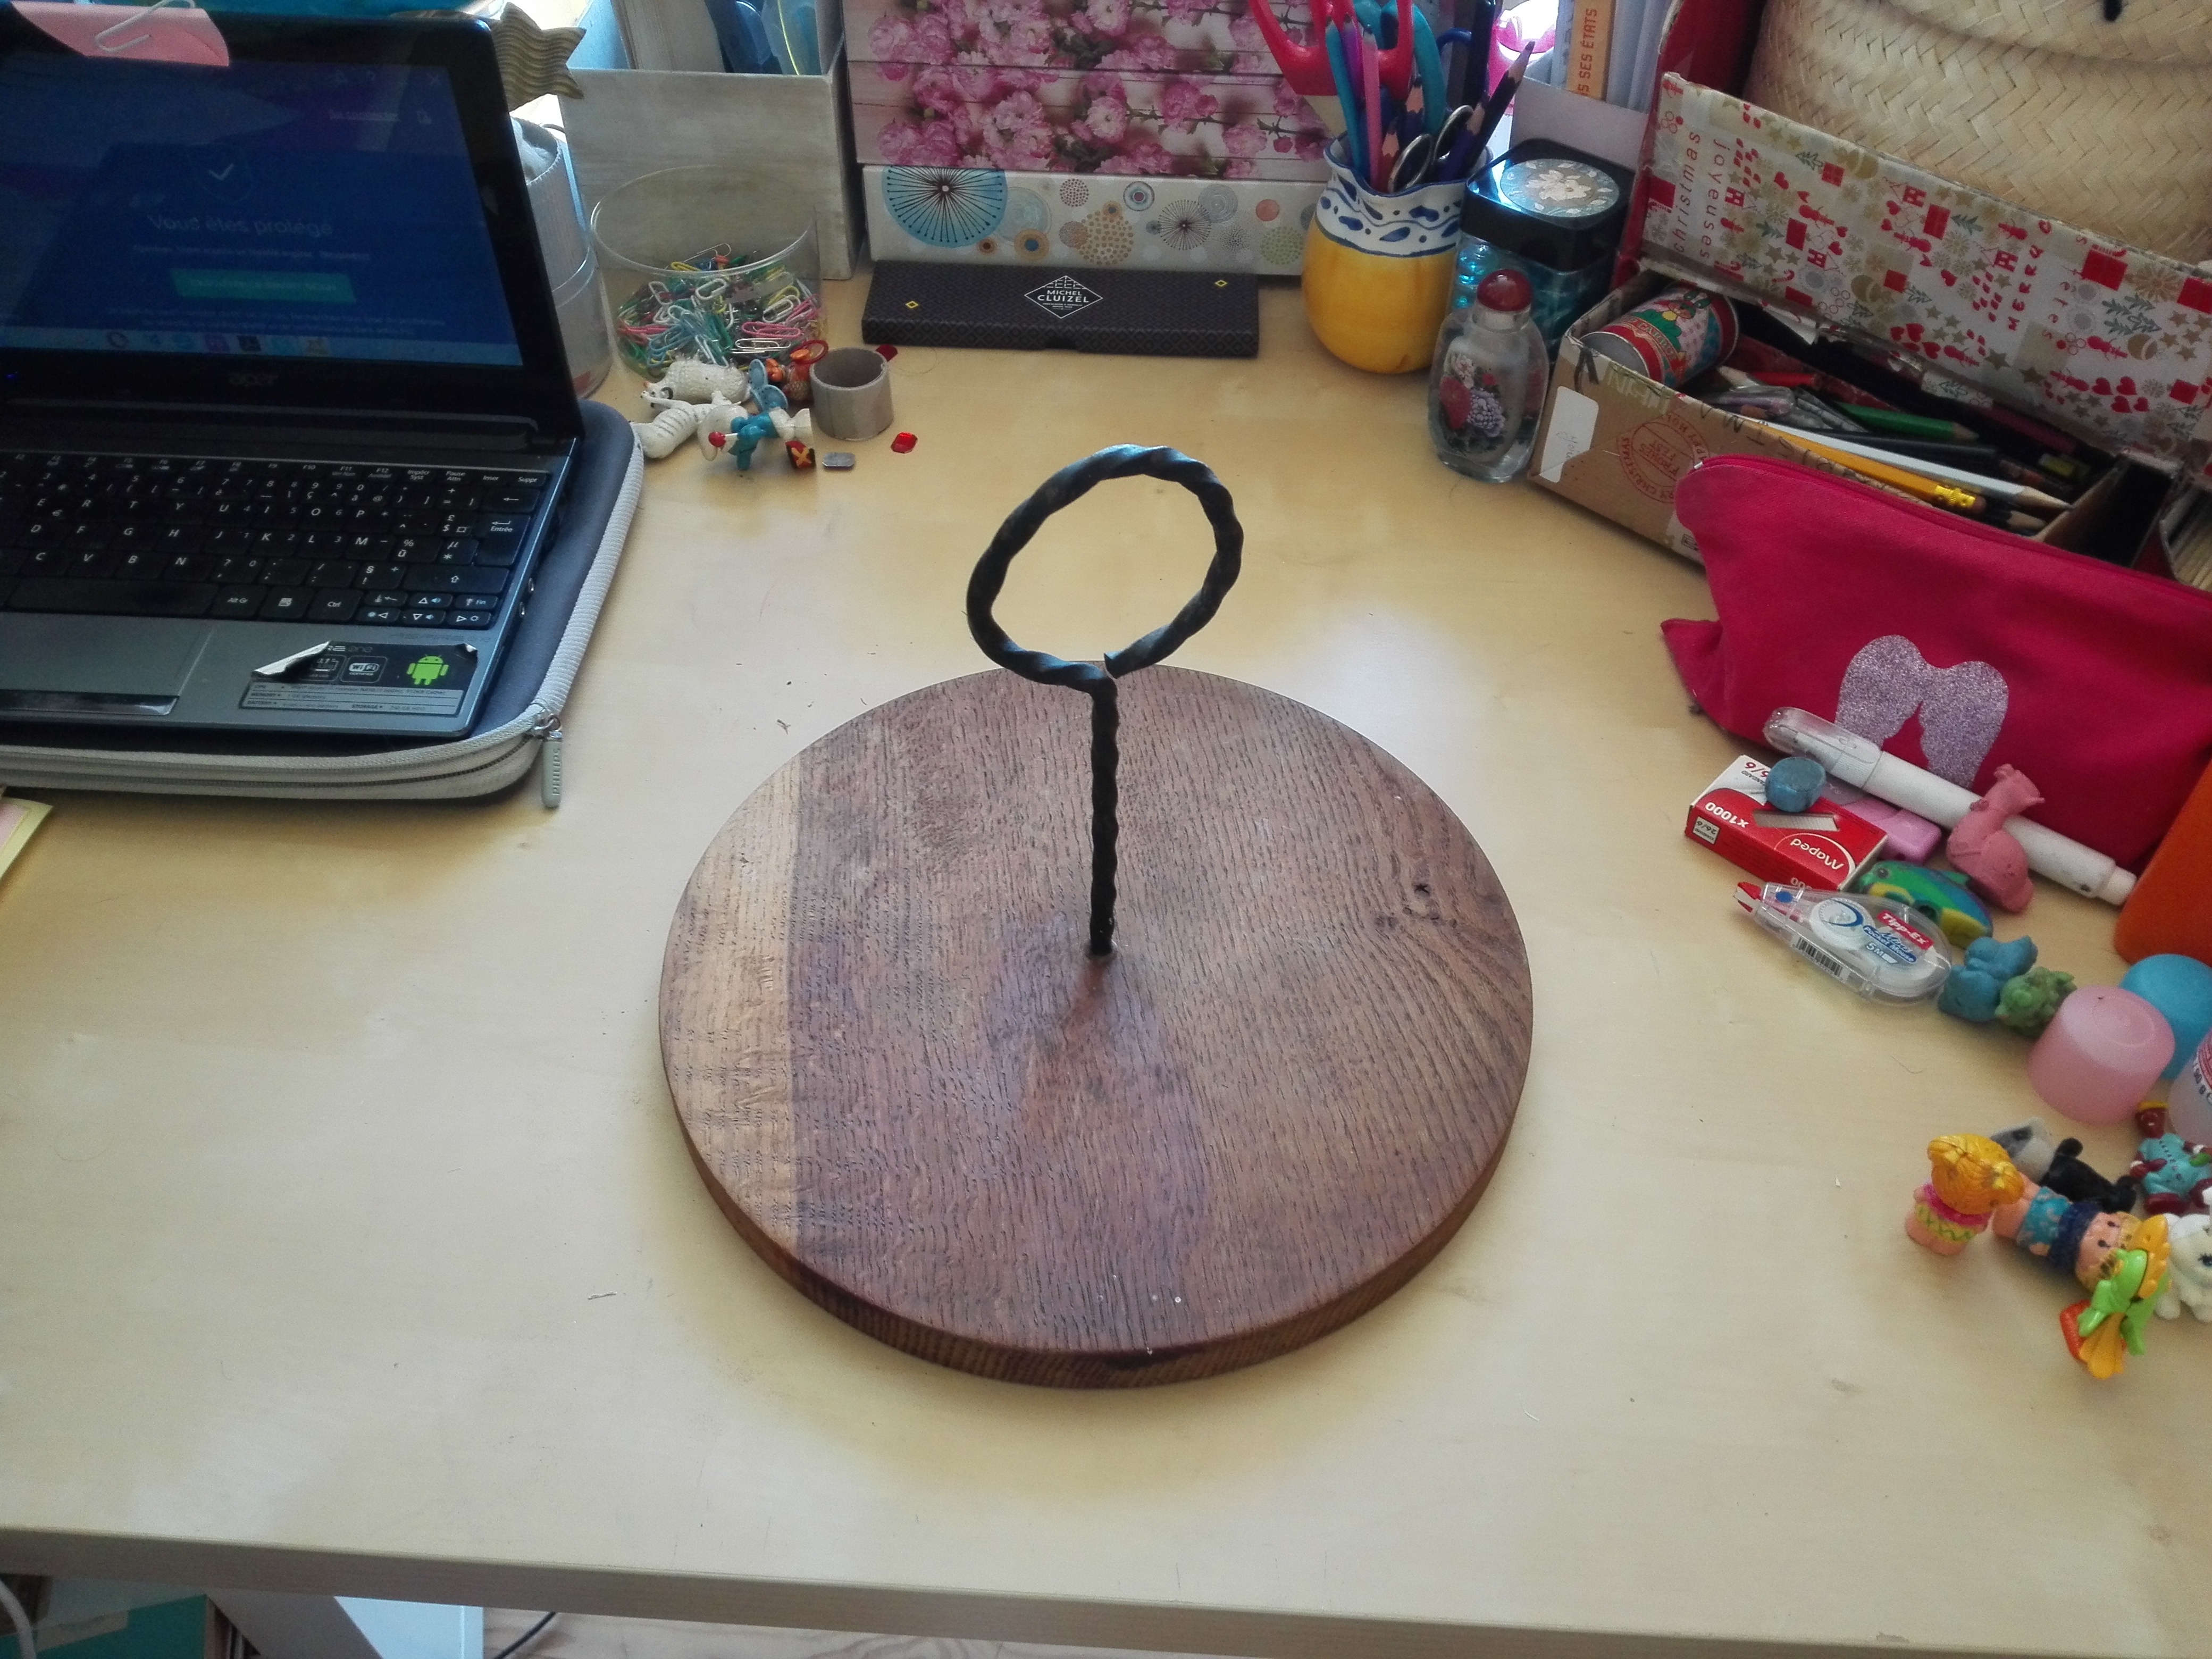
❤ §The Dreamcatcher§ ❤
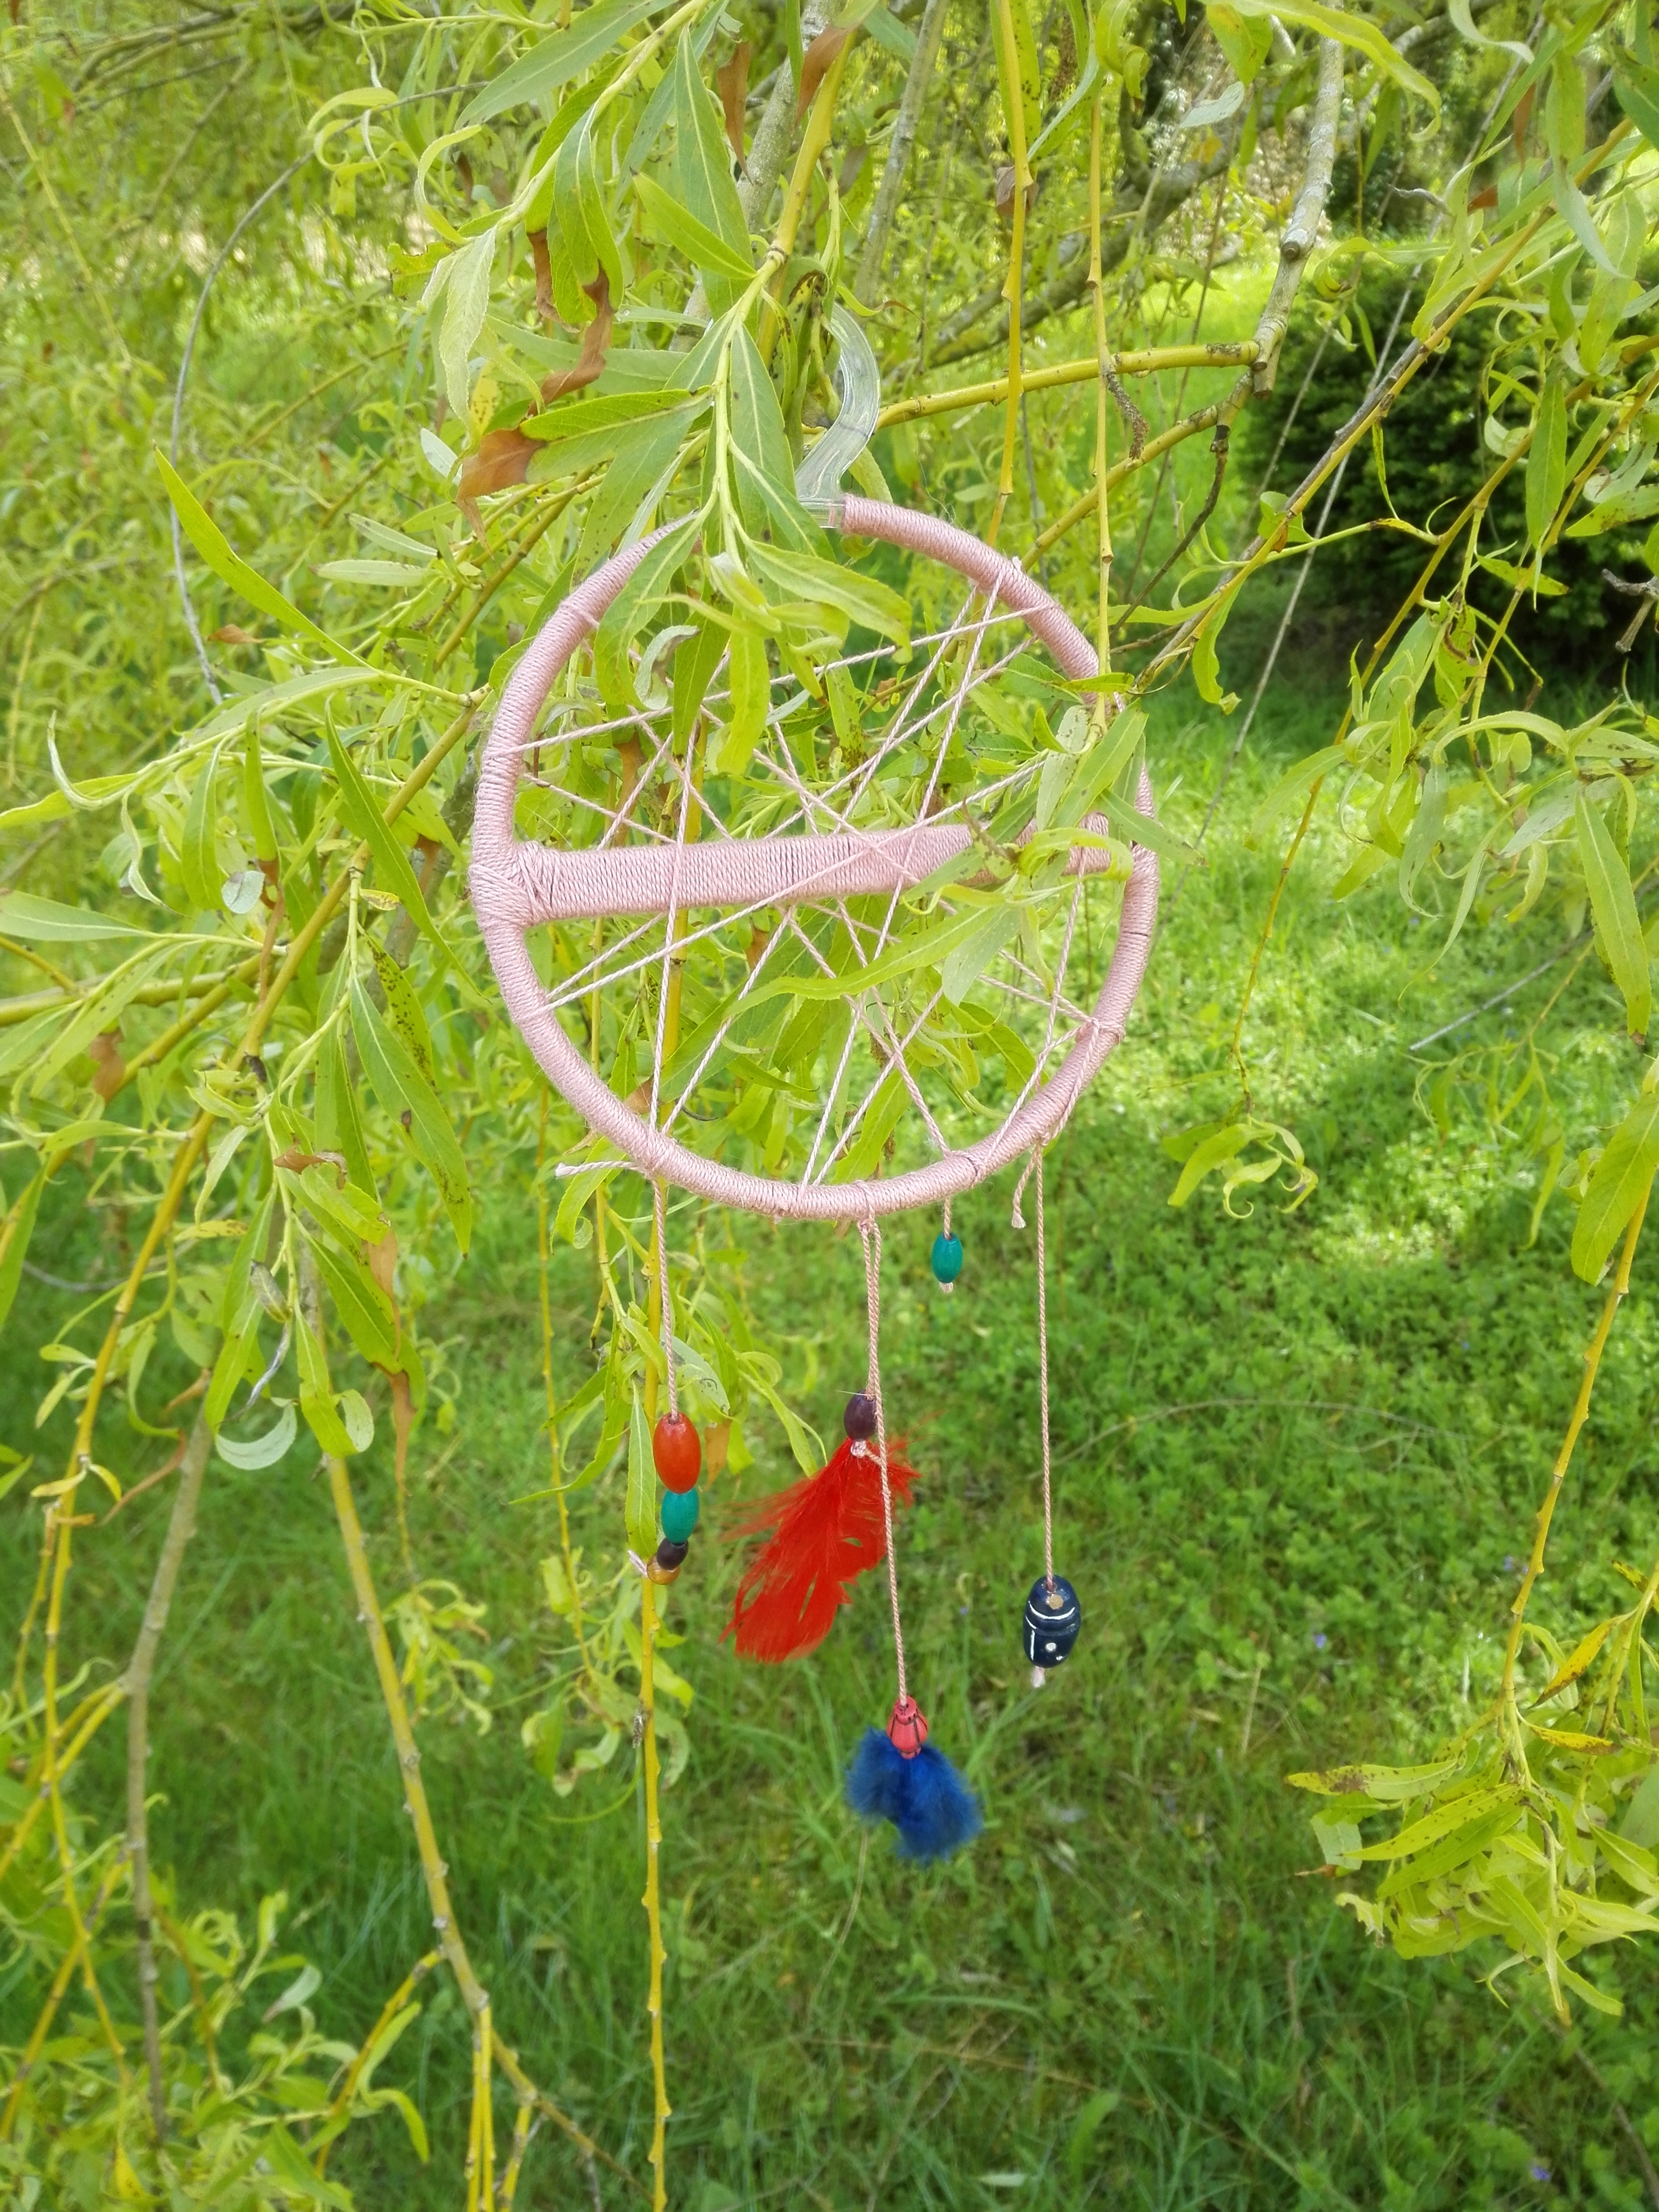
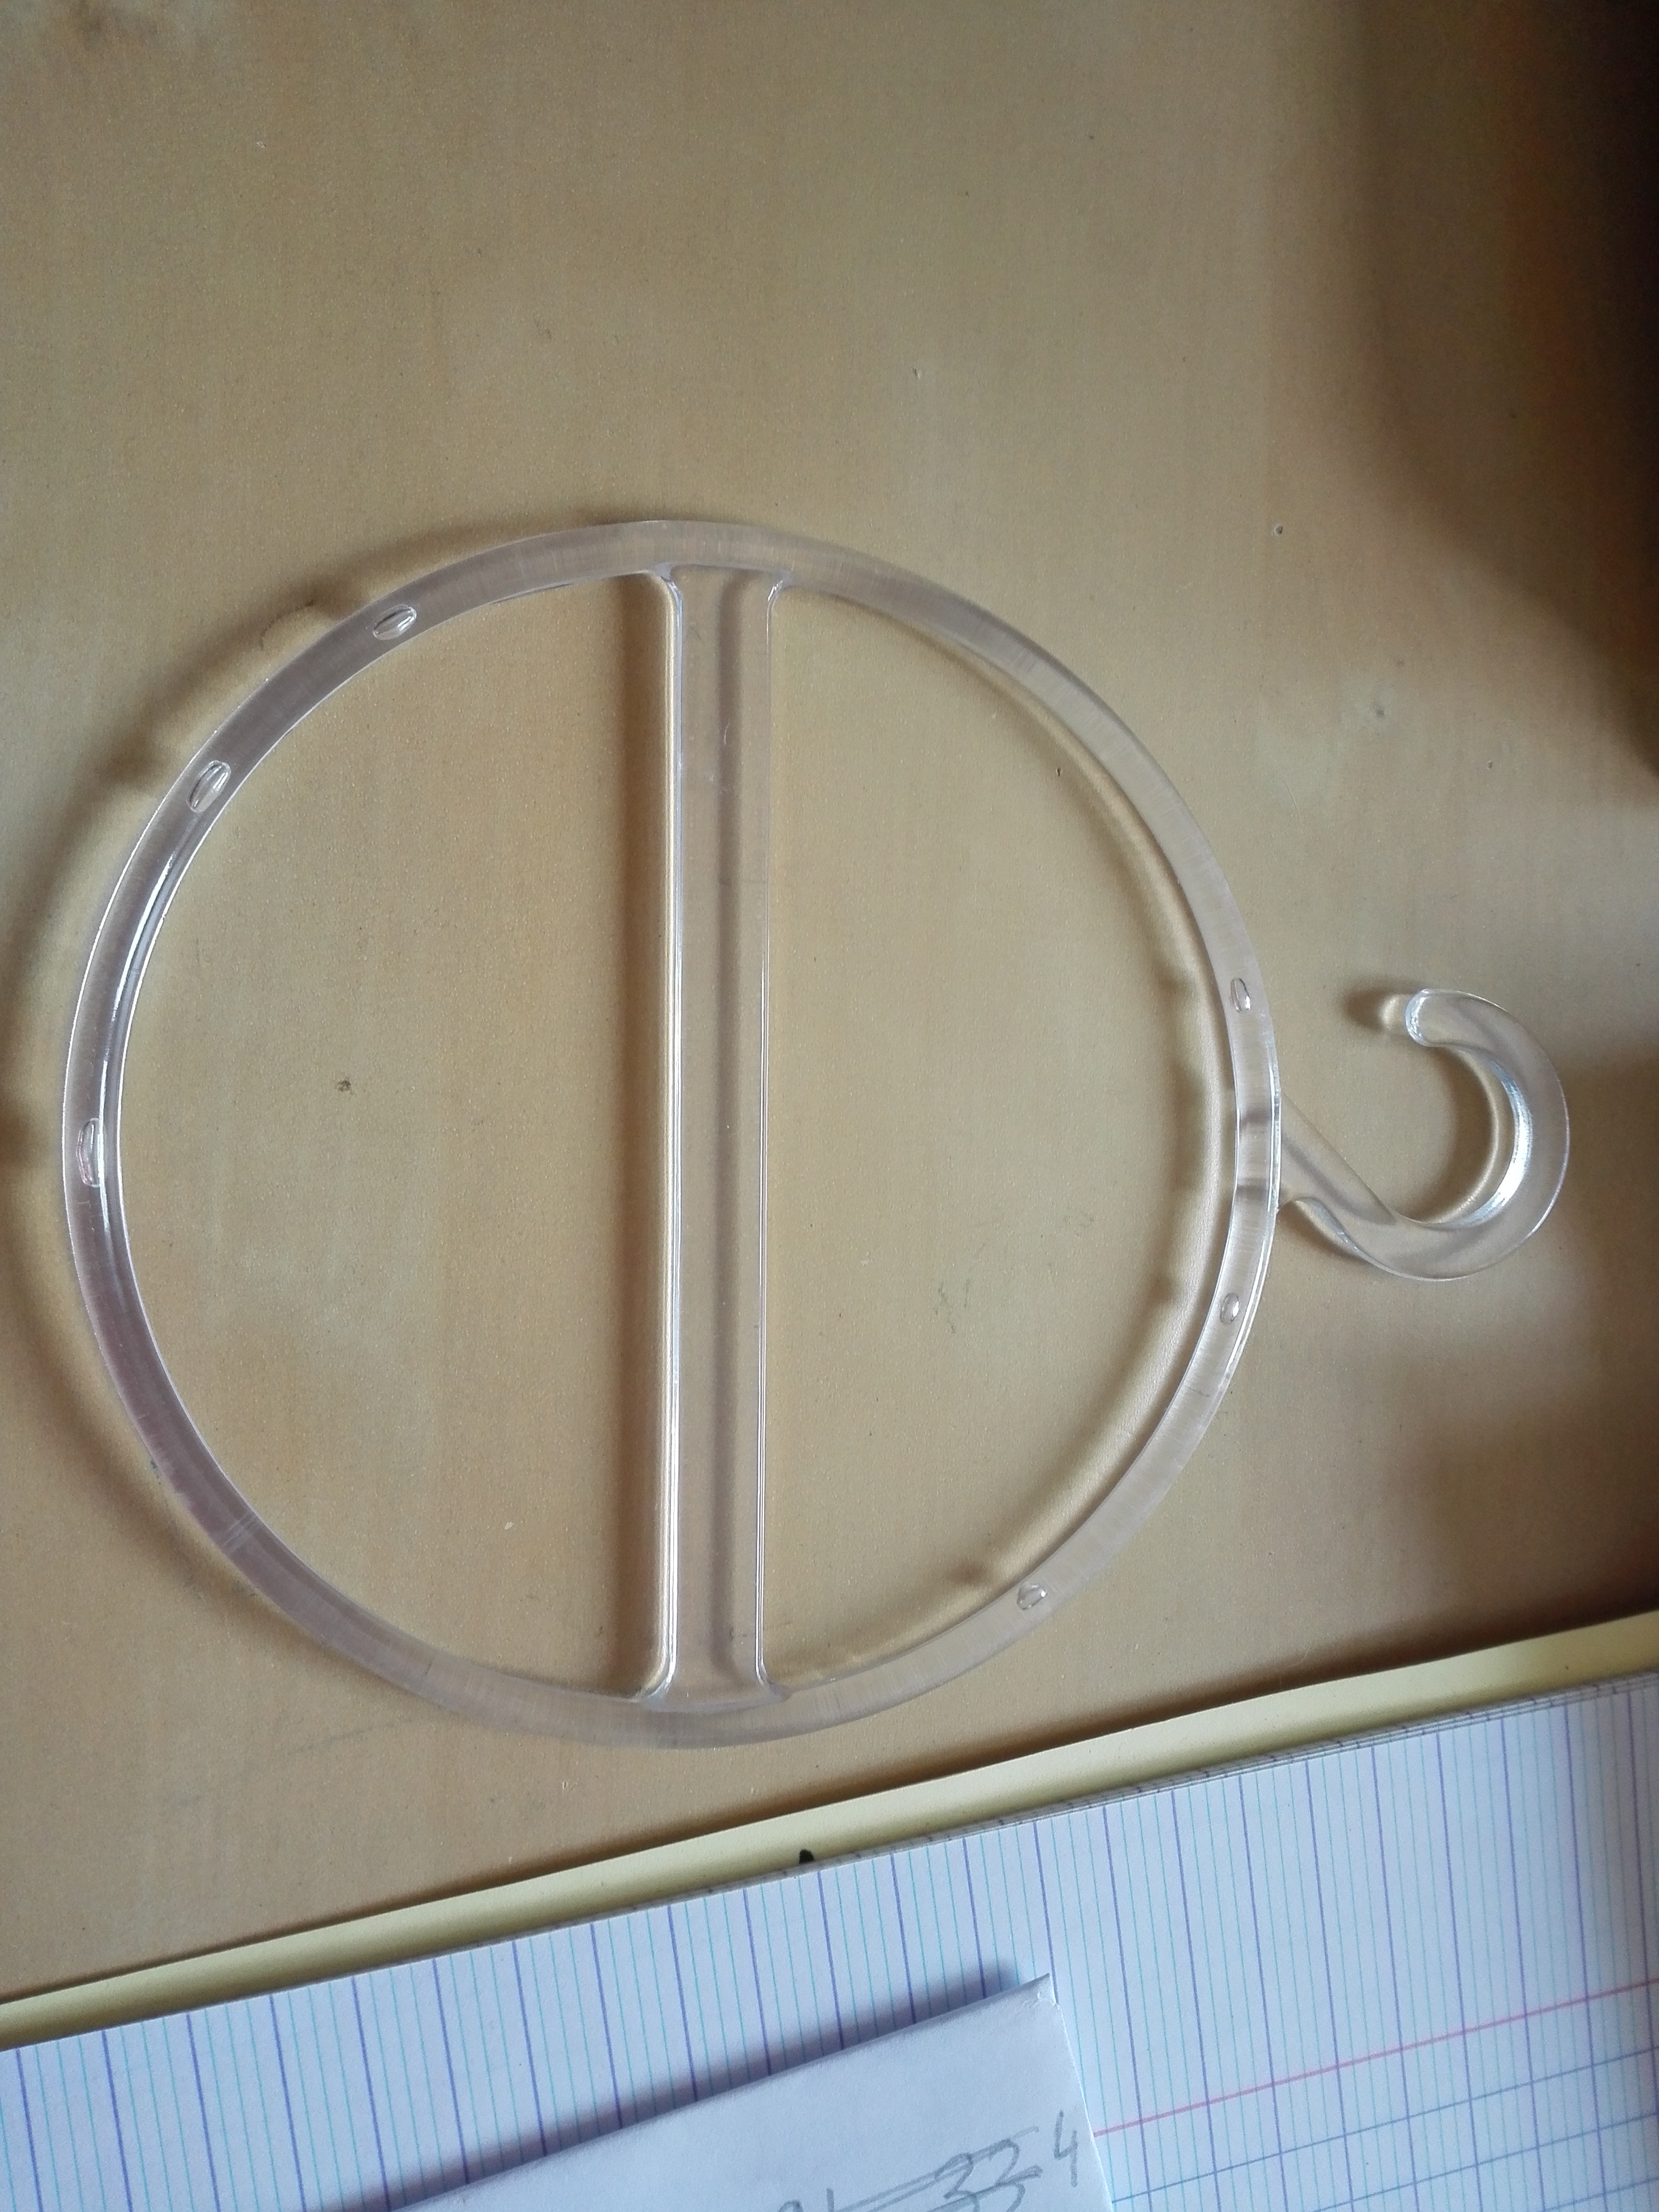
For this DIY, we need a circular hanger, thread, beads and feathers.
First, cover the hanger with thread (I went for pink, how surprising ! ) Then, get the thread accross like so :

When crossing you can add some beads. Cut some thread and thread beads on. Add some feathers. Tie these pieces to the dreamcatcher with a knot.
Tadaaa !!!
❤ §The Zen Garden§ ❤
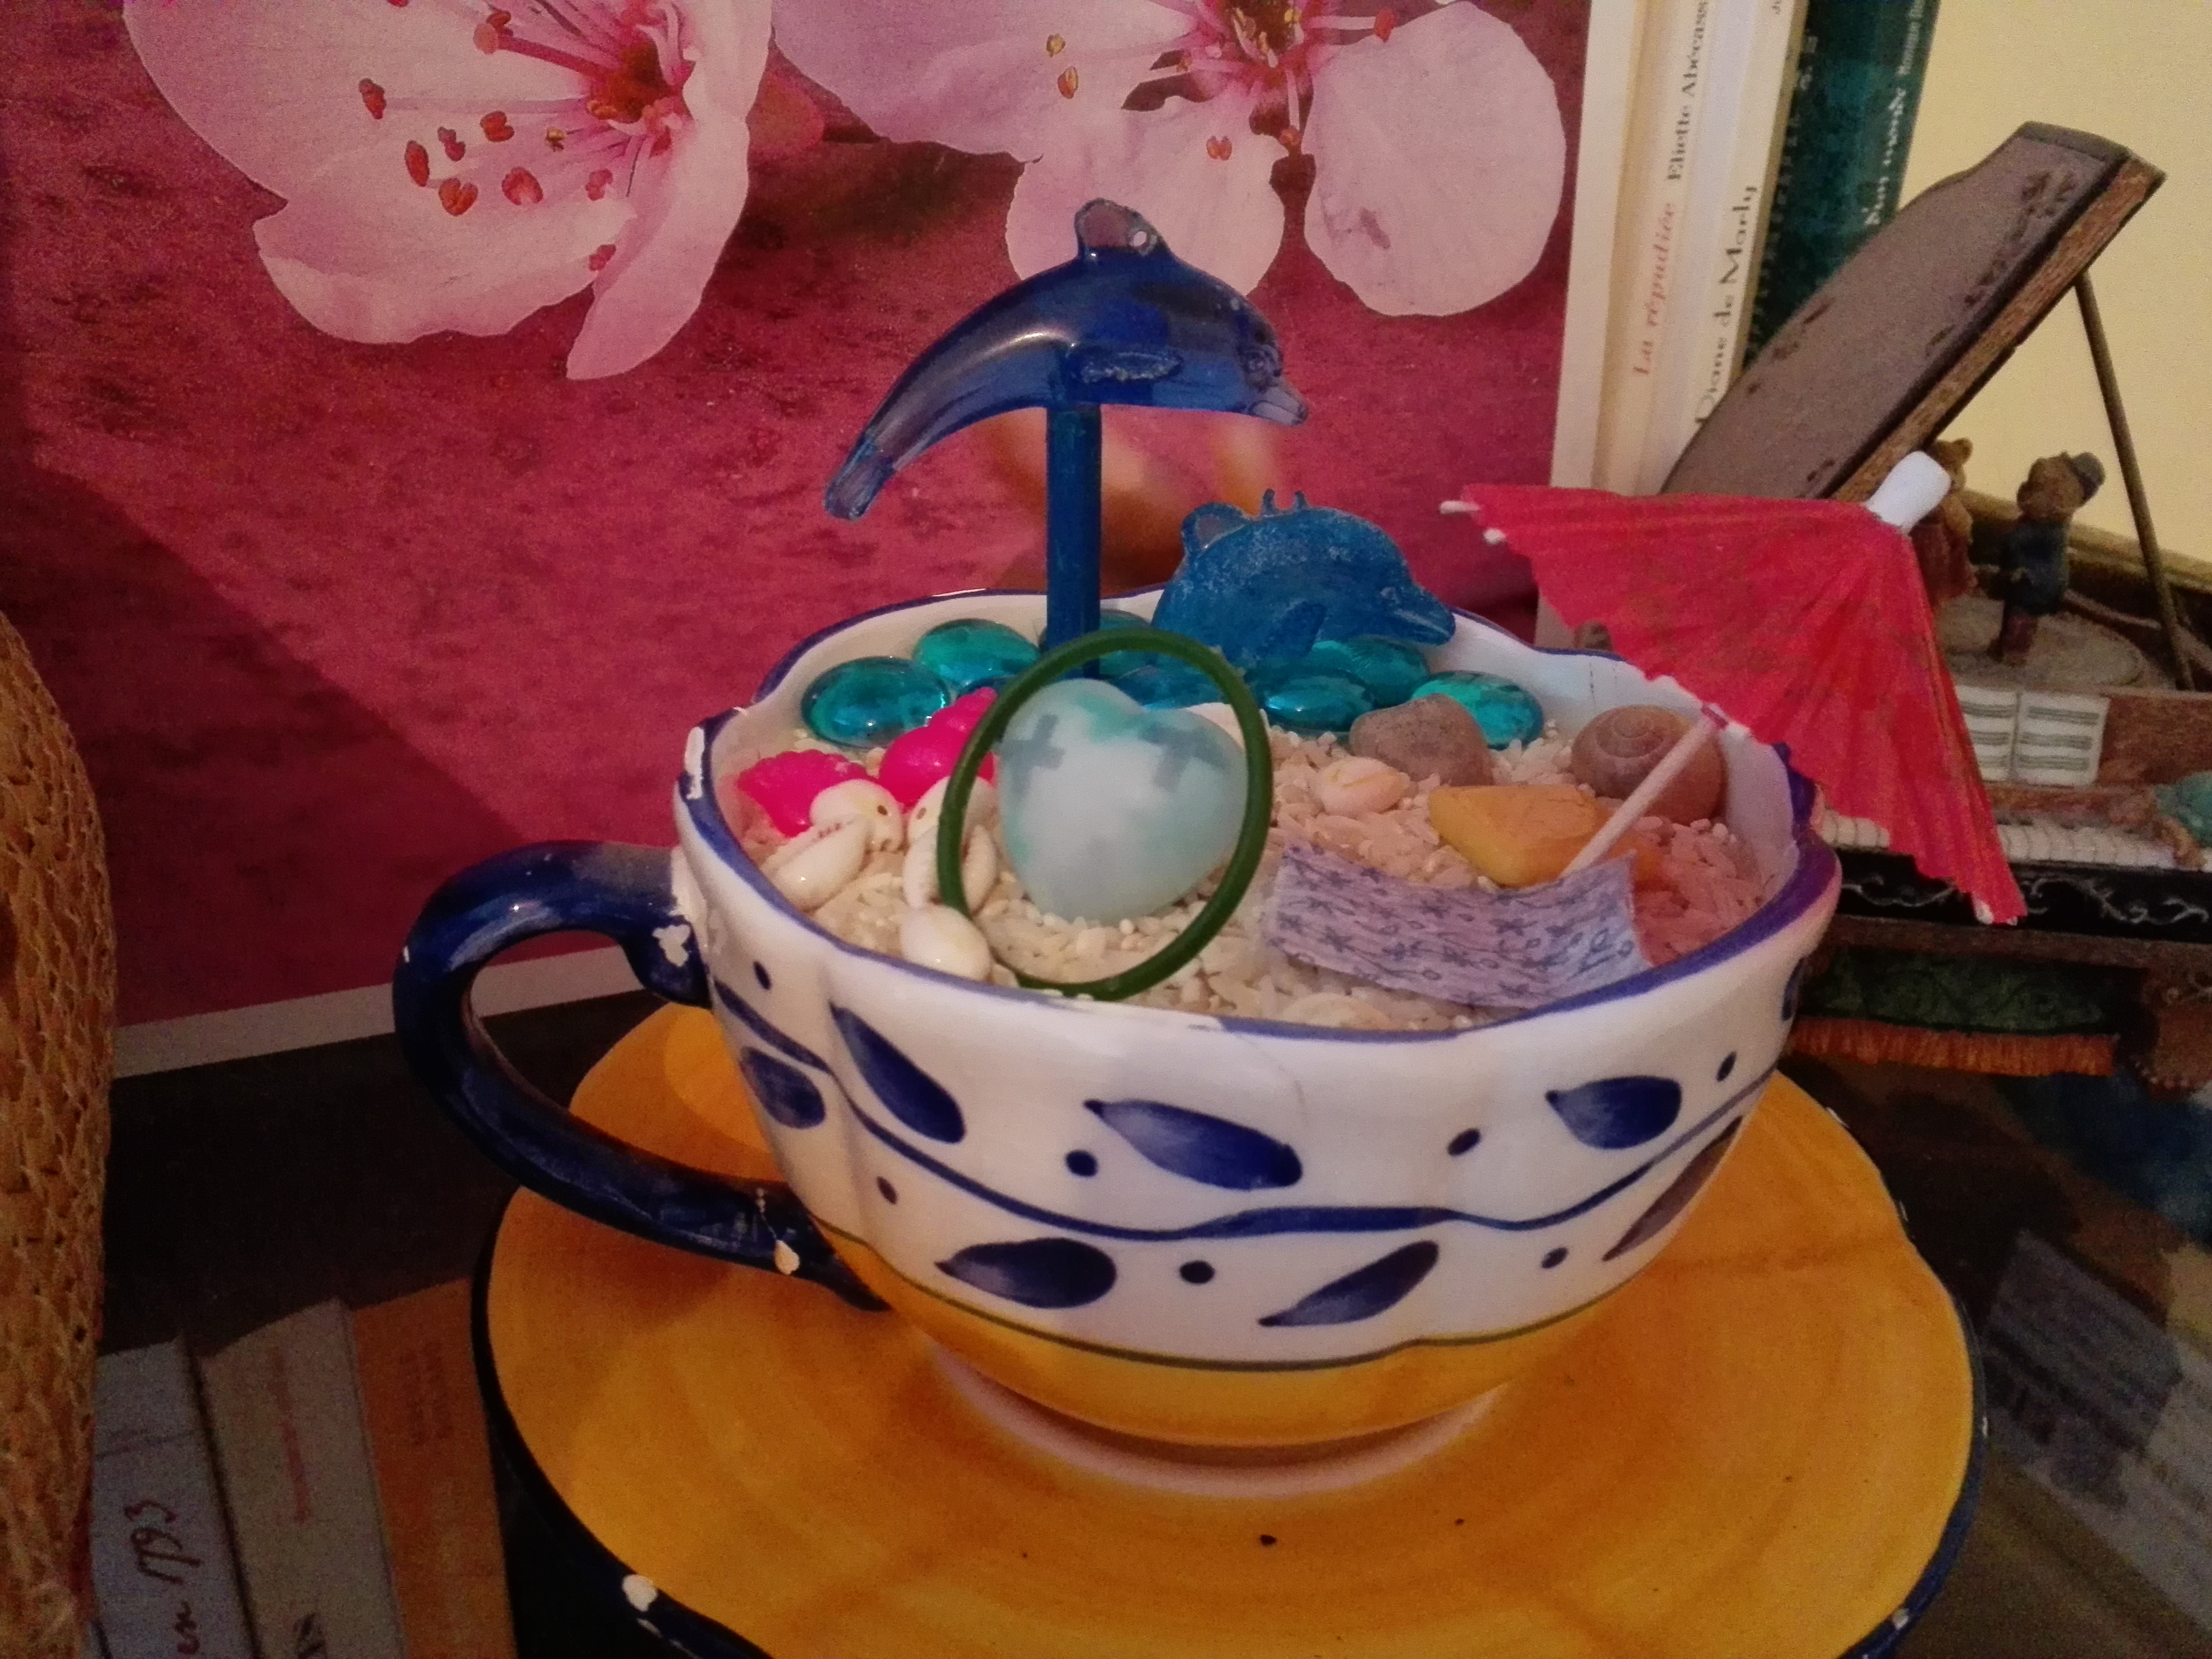 For the second DIY, we need an old tea cup and some rice( or salt)

Glue the cup on its saucer. 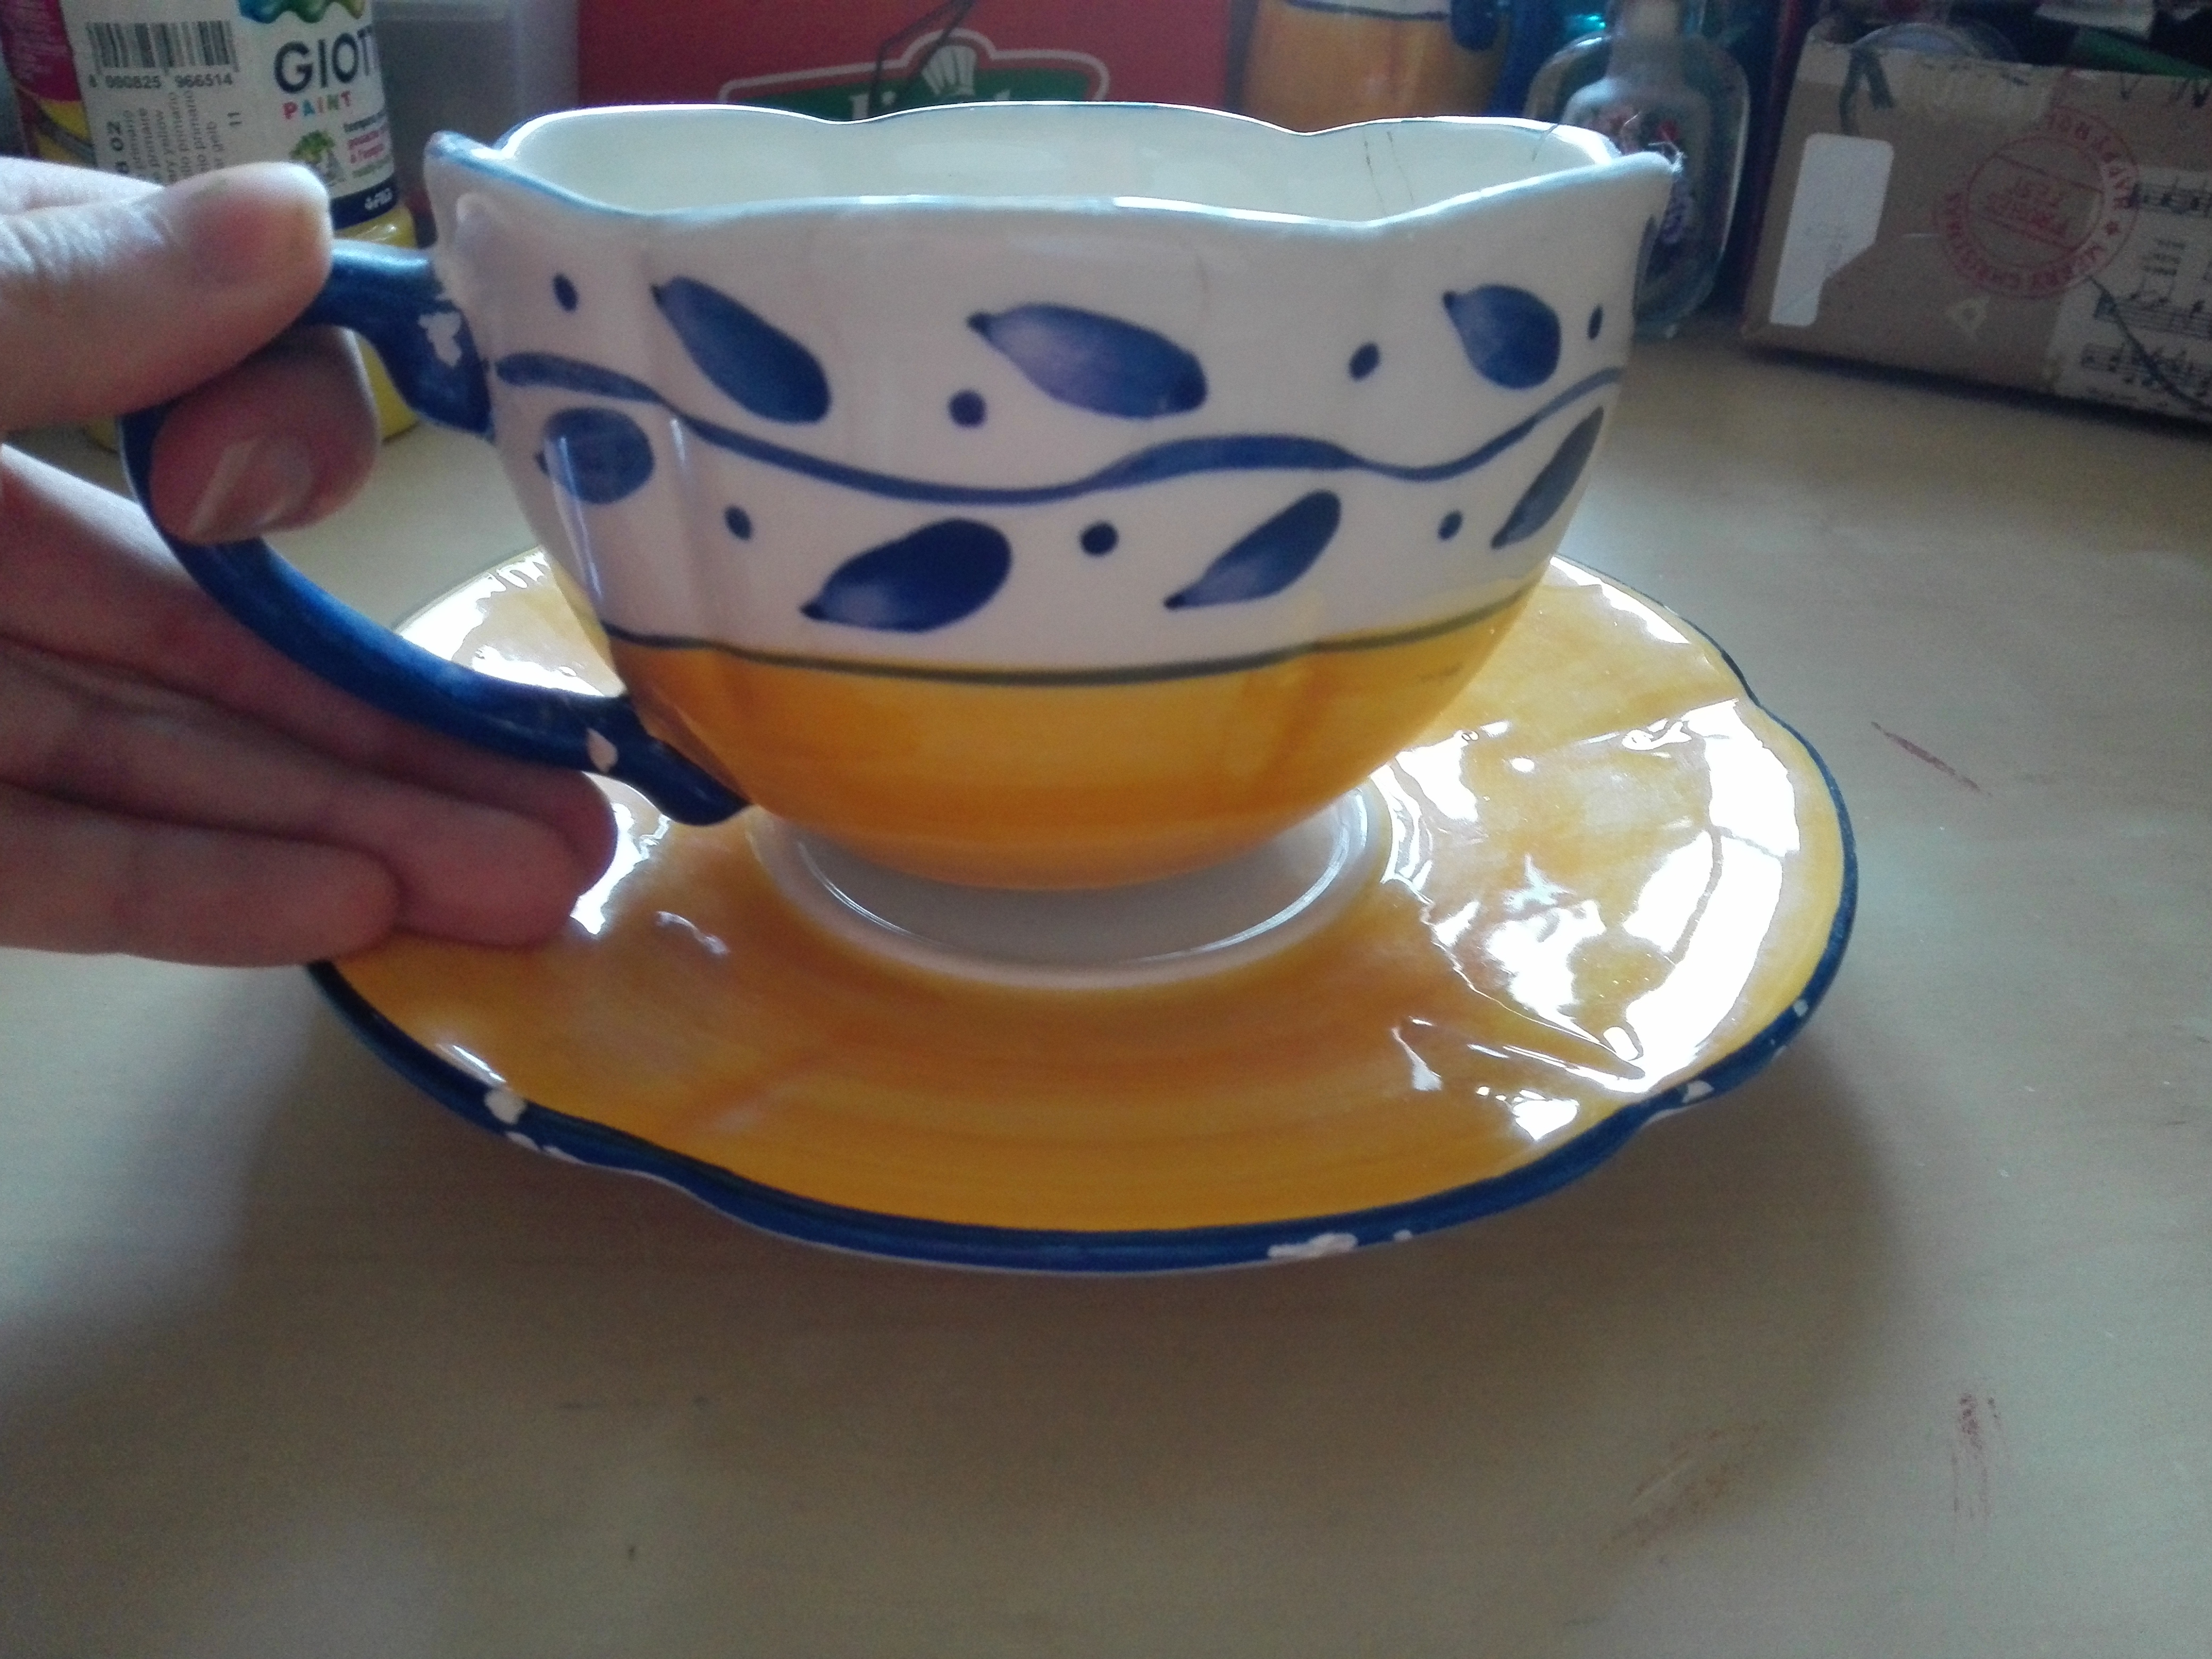
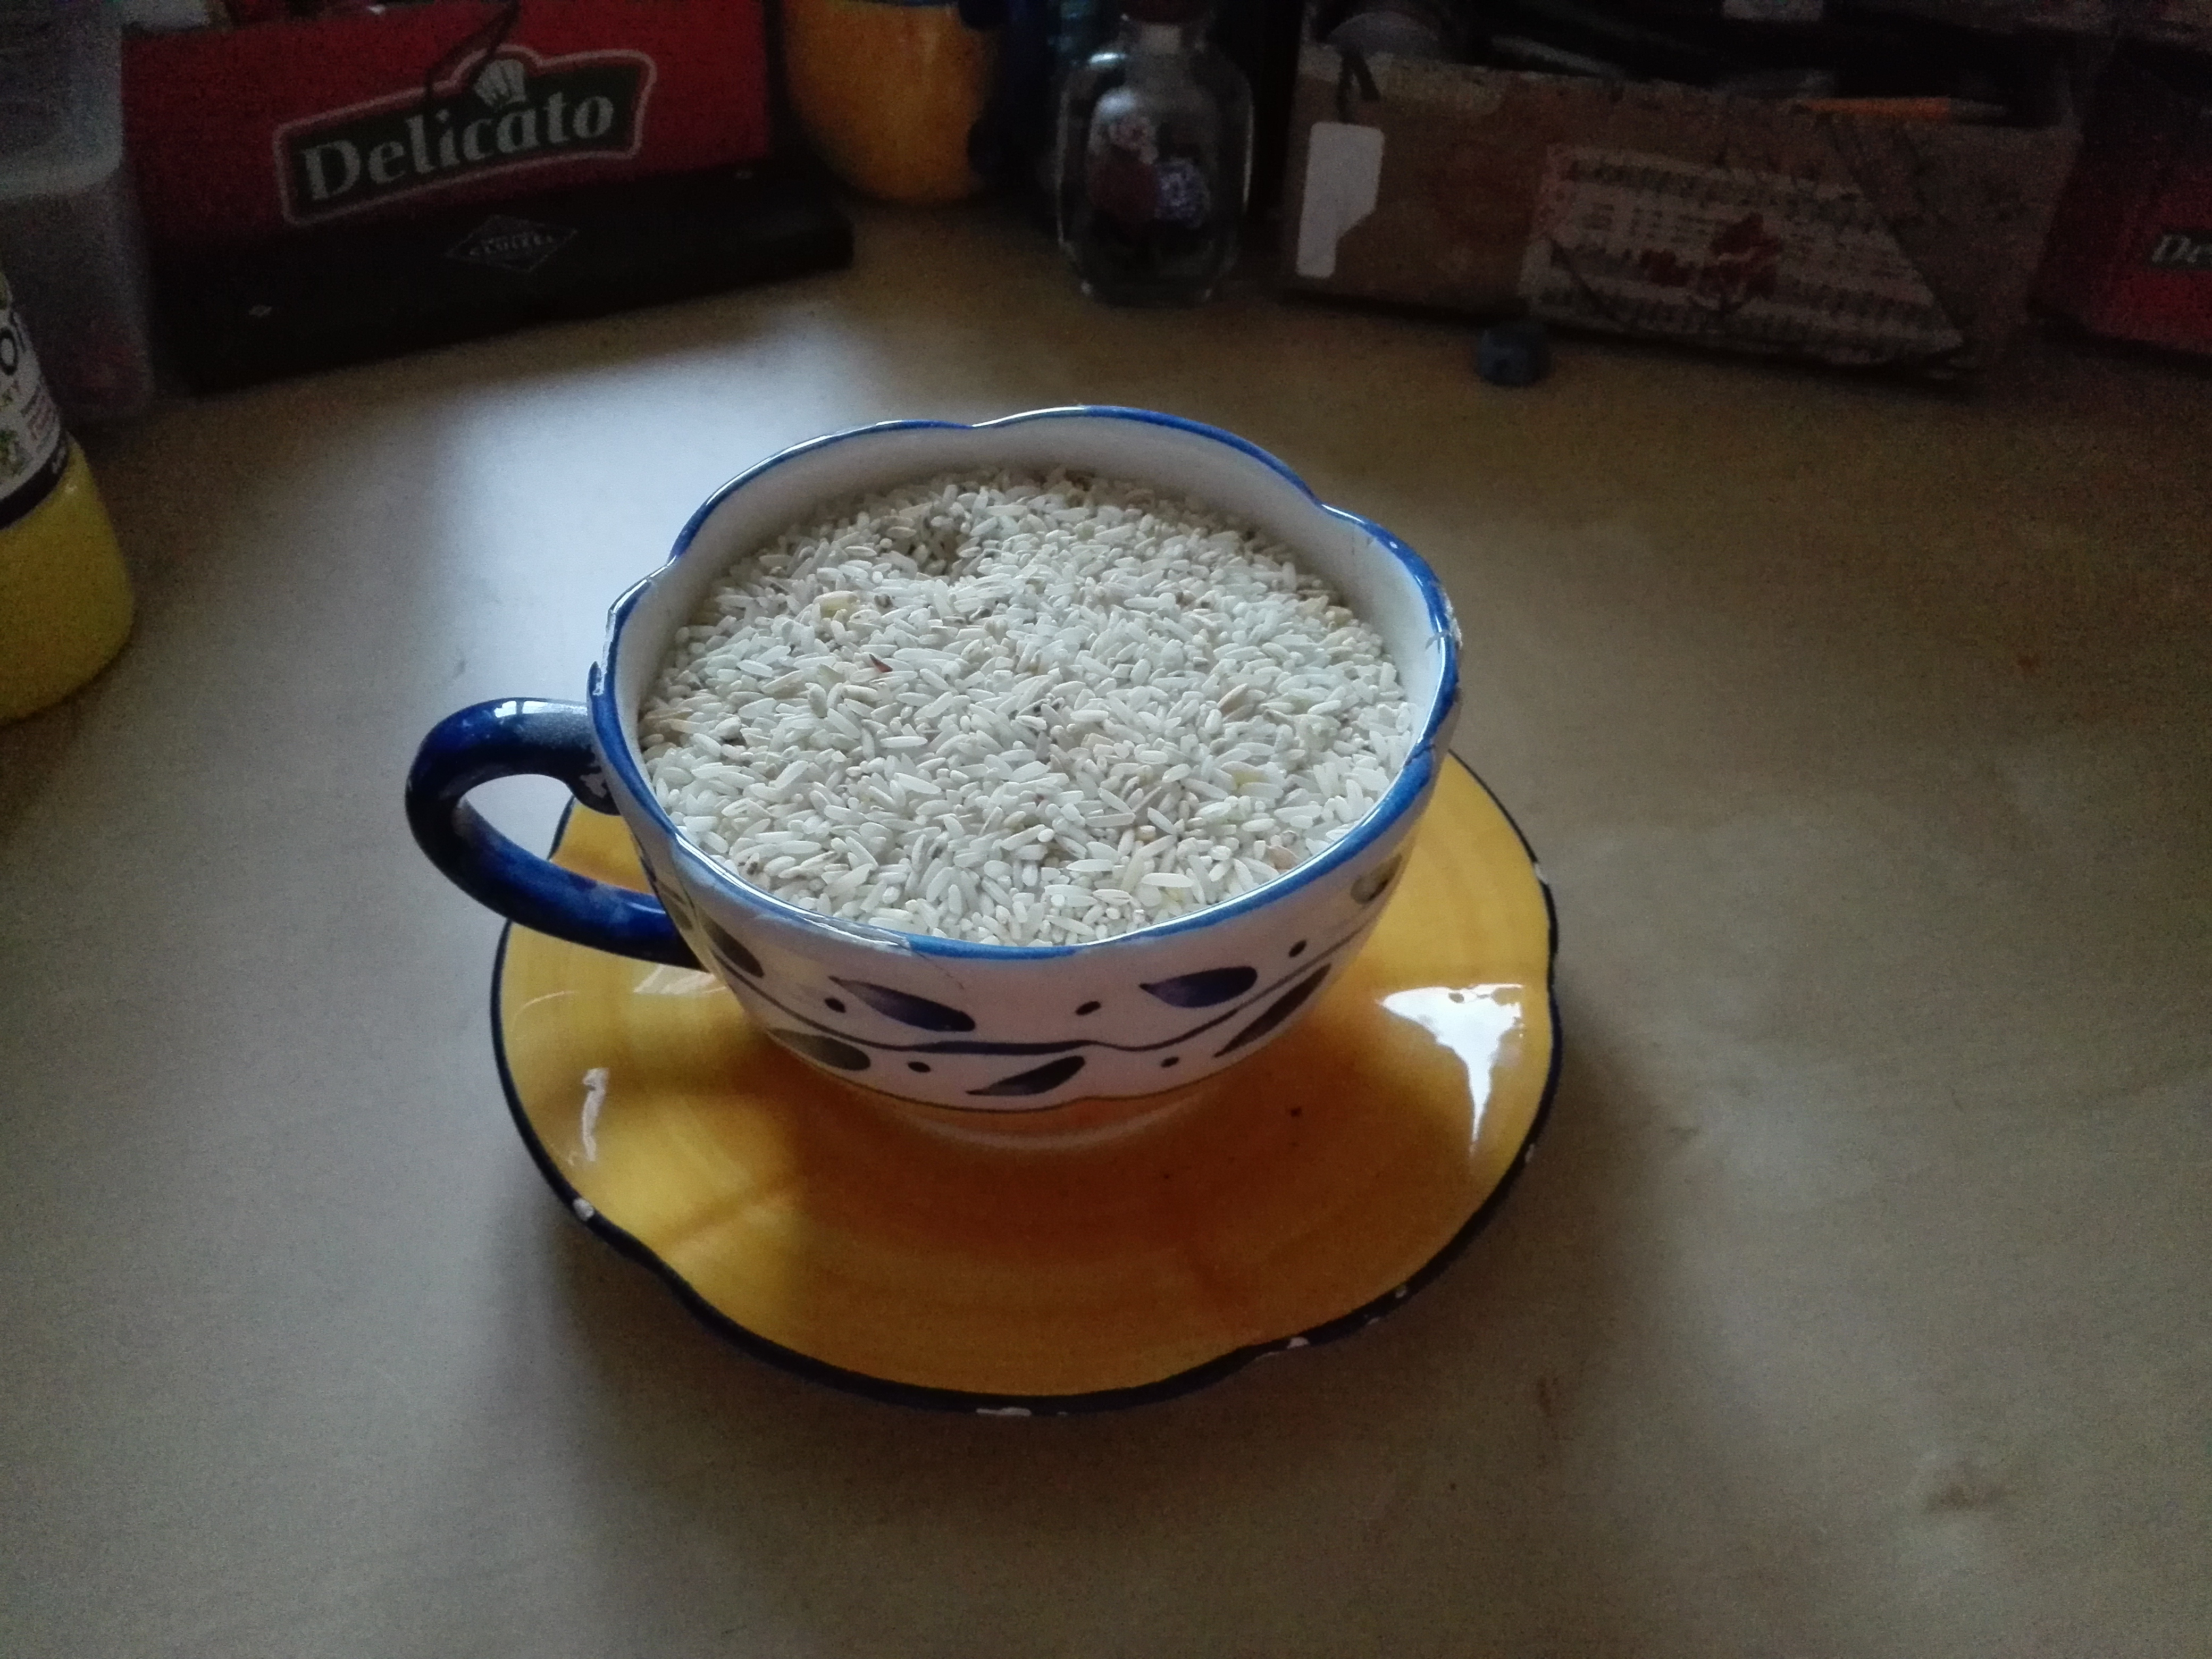
Fill the cup with rice.
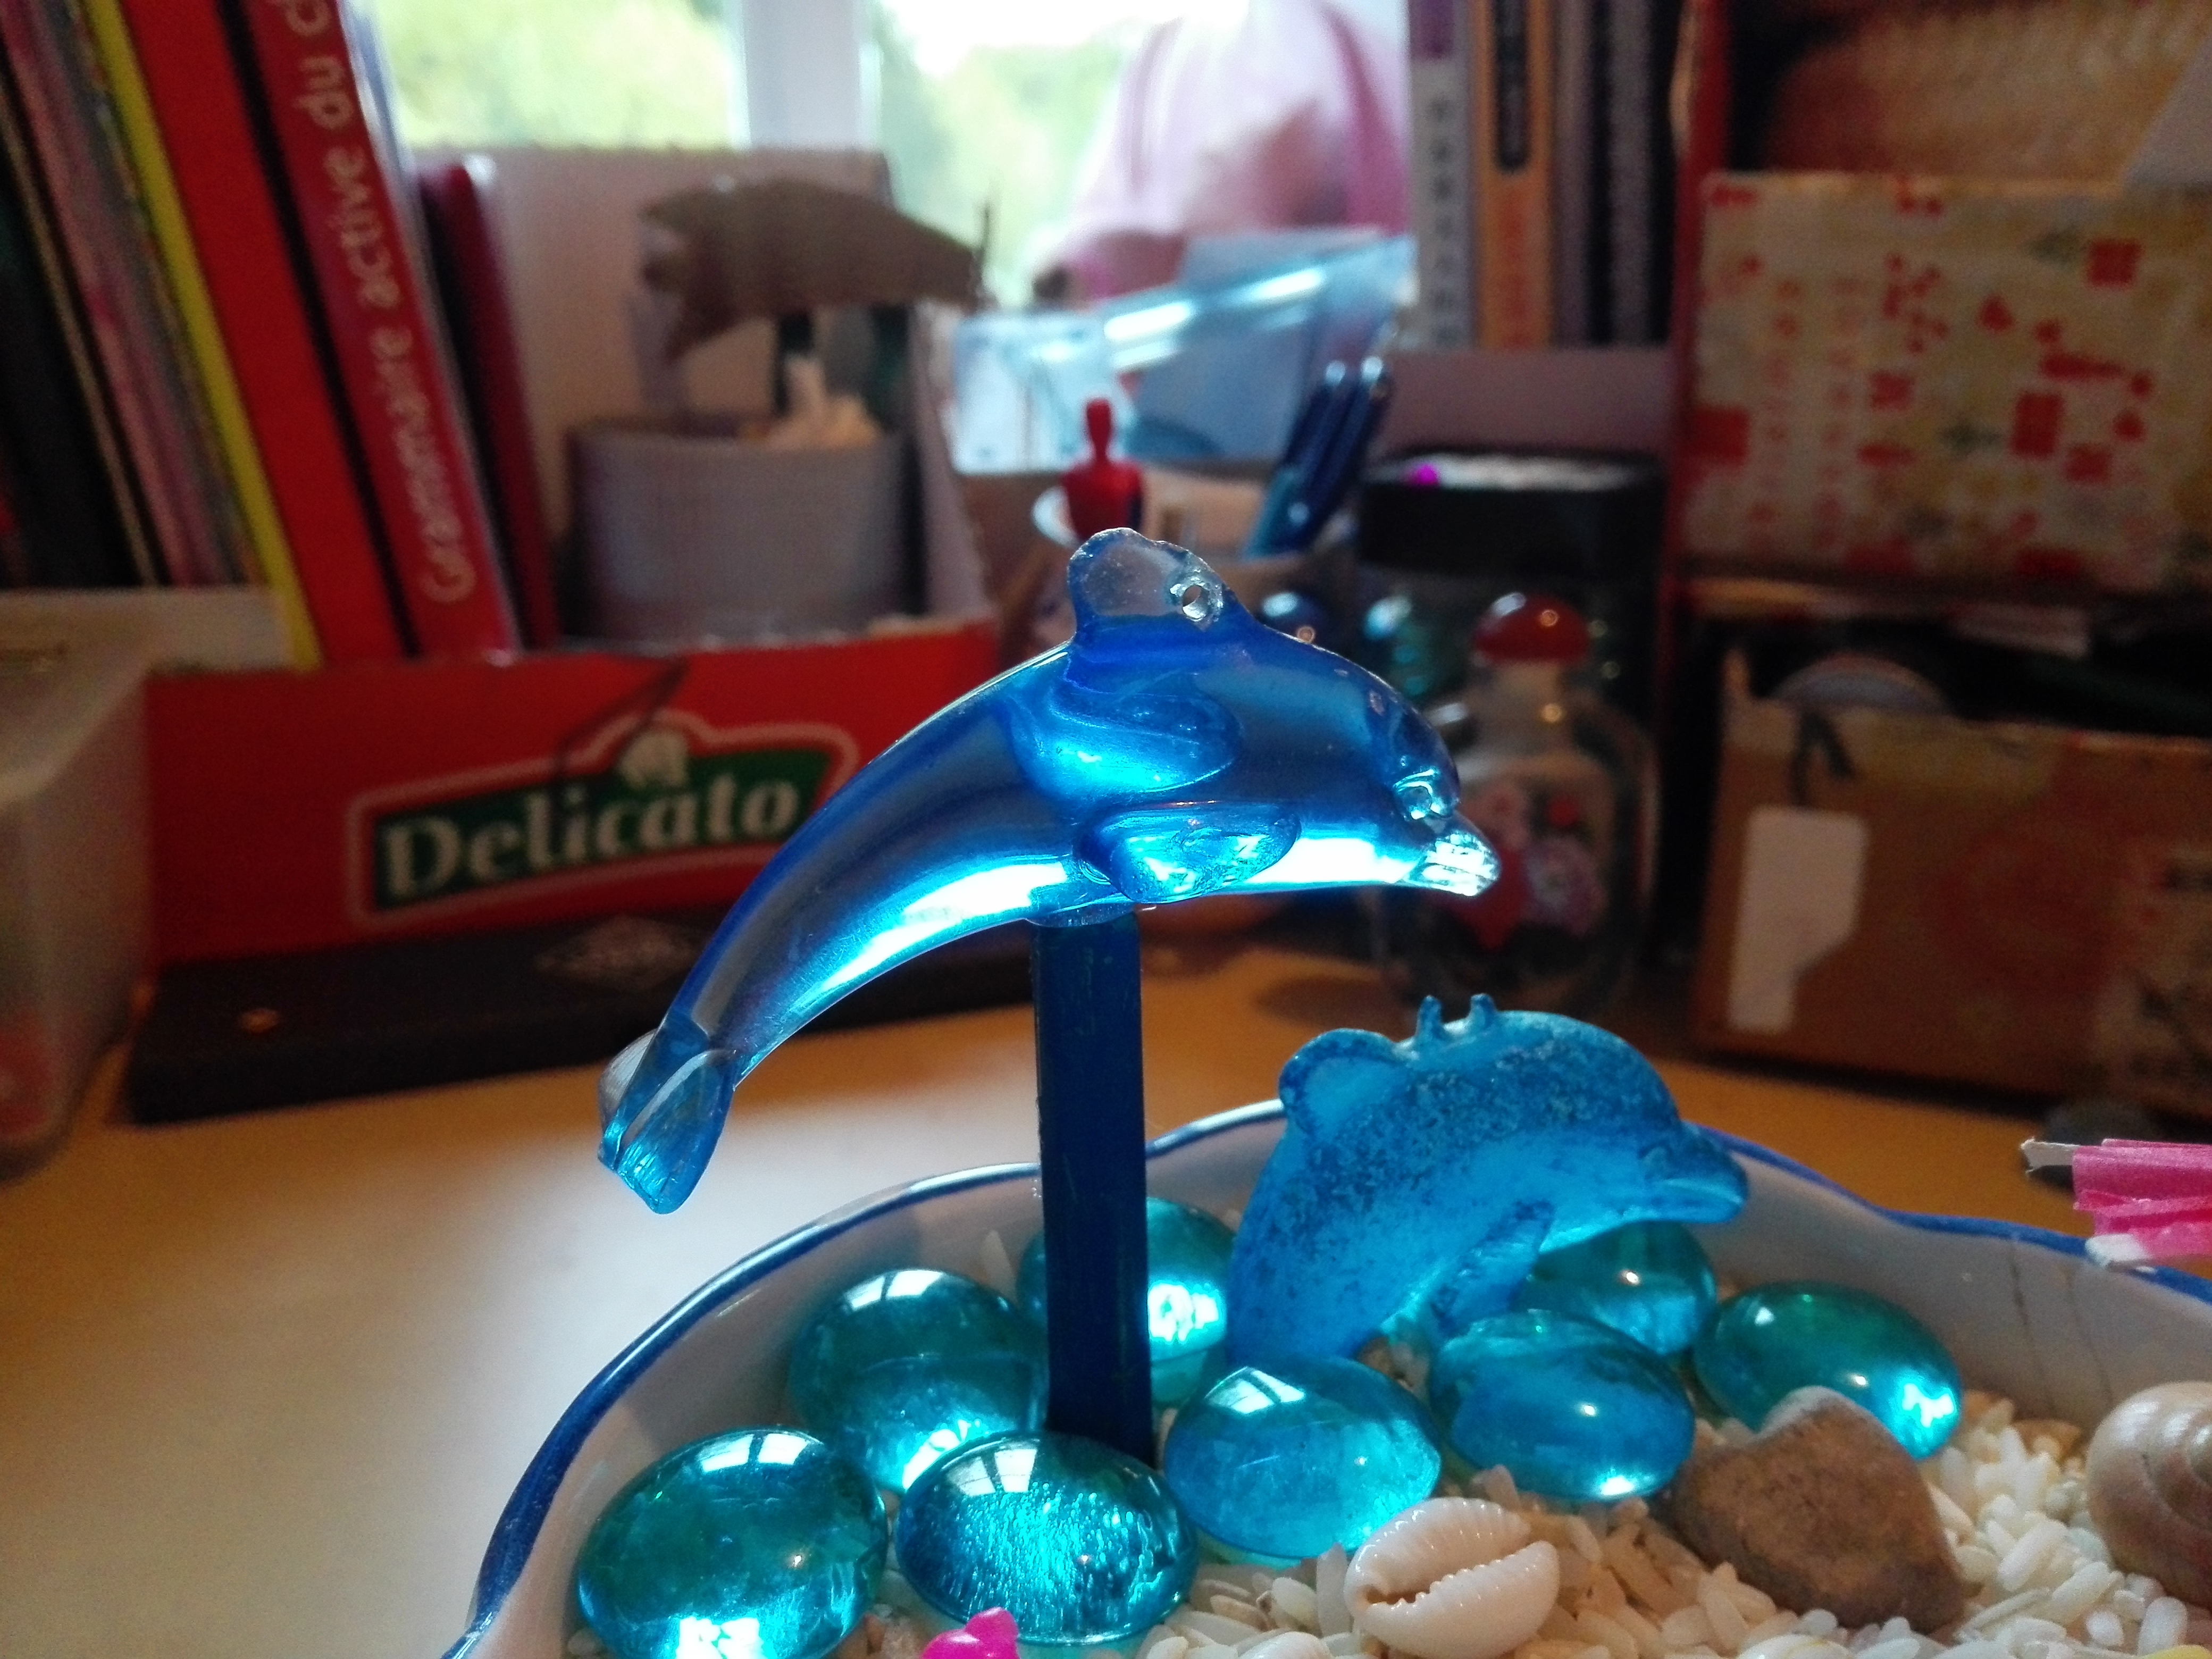
Here, I chose the beach as a theme for this Zen garden. For the sea, display blue gemstones on one side. I wanted to add some dolphins, so I used little figurines from a key chain, glue them on top of a small blue pen and dig the pen into the rice.
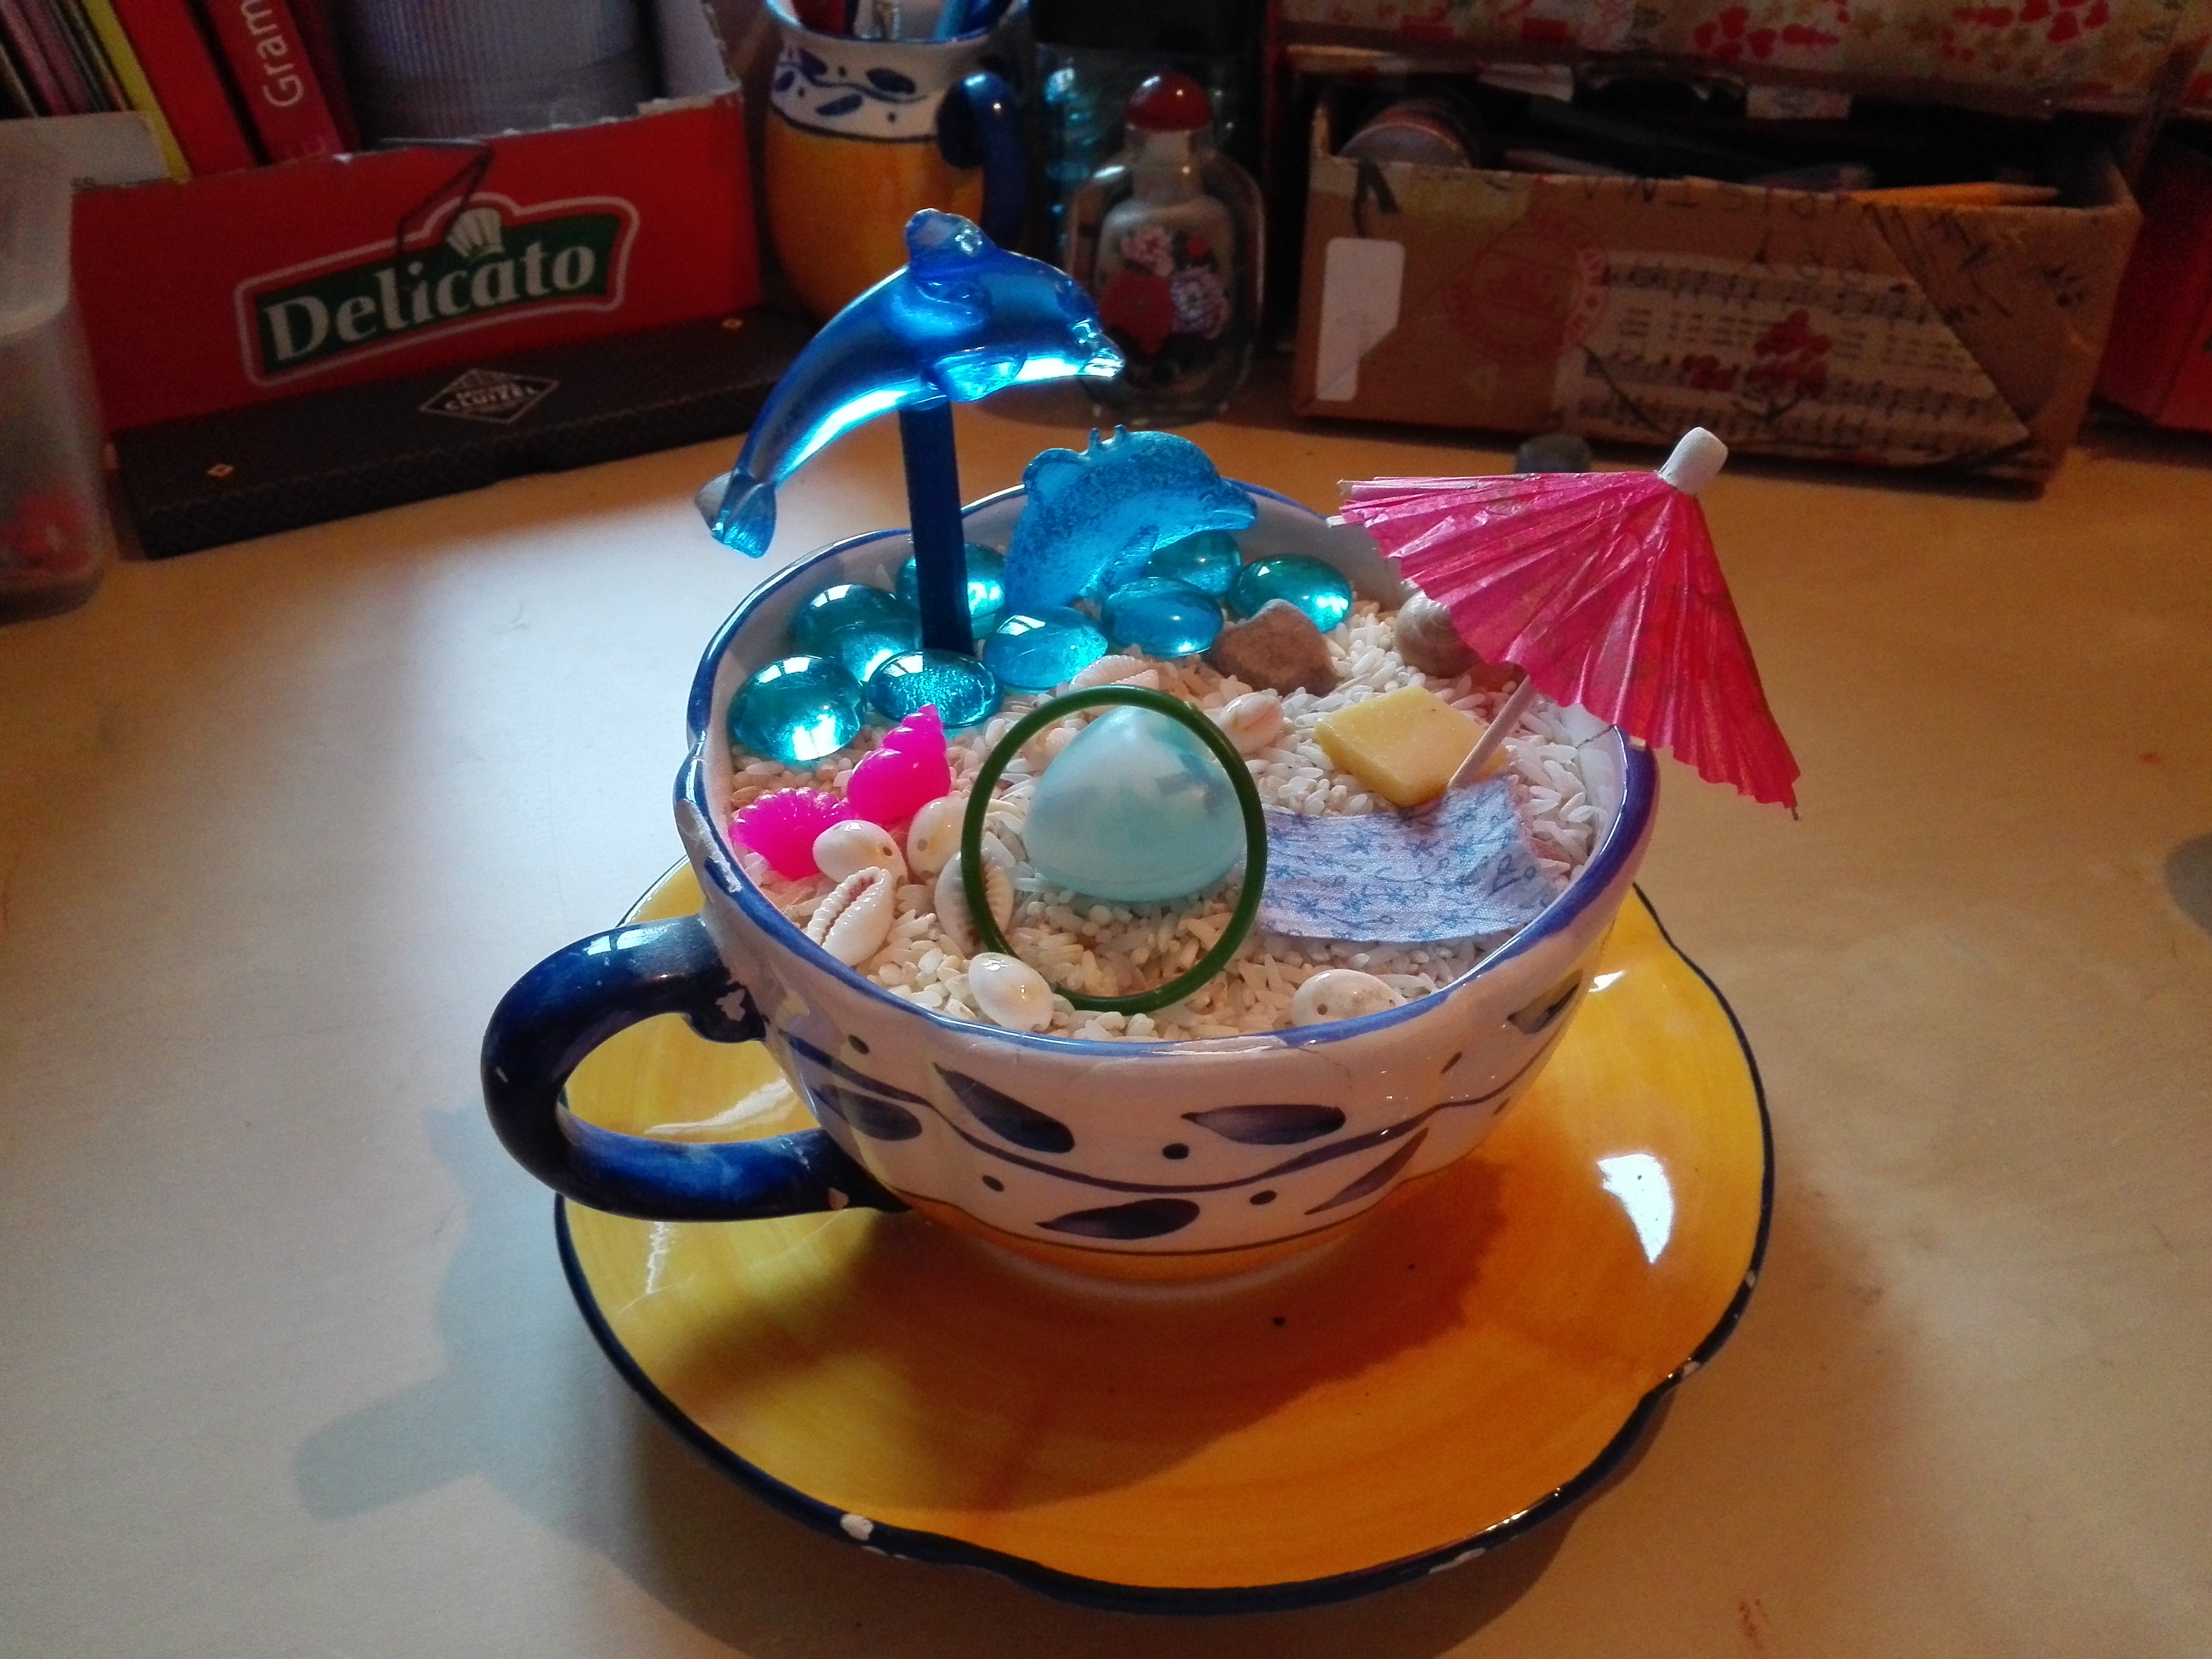
For the beach, I put some shell-beads, and some little stones.I also add a mini umbrella and a piece of fabric for the beach towel. Something I like about zen gardens is that you can make whatever you like and change whenever you want.
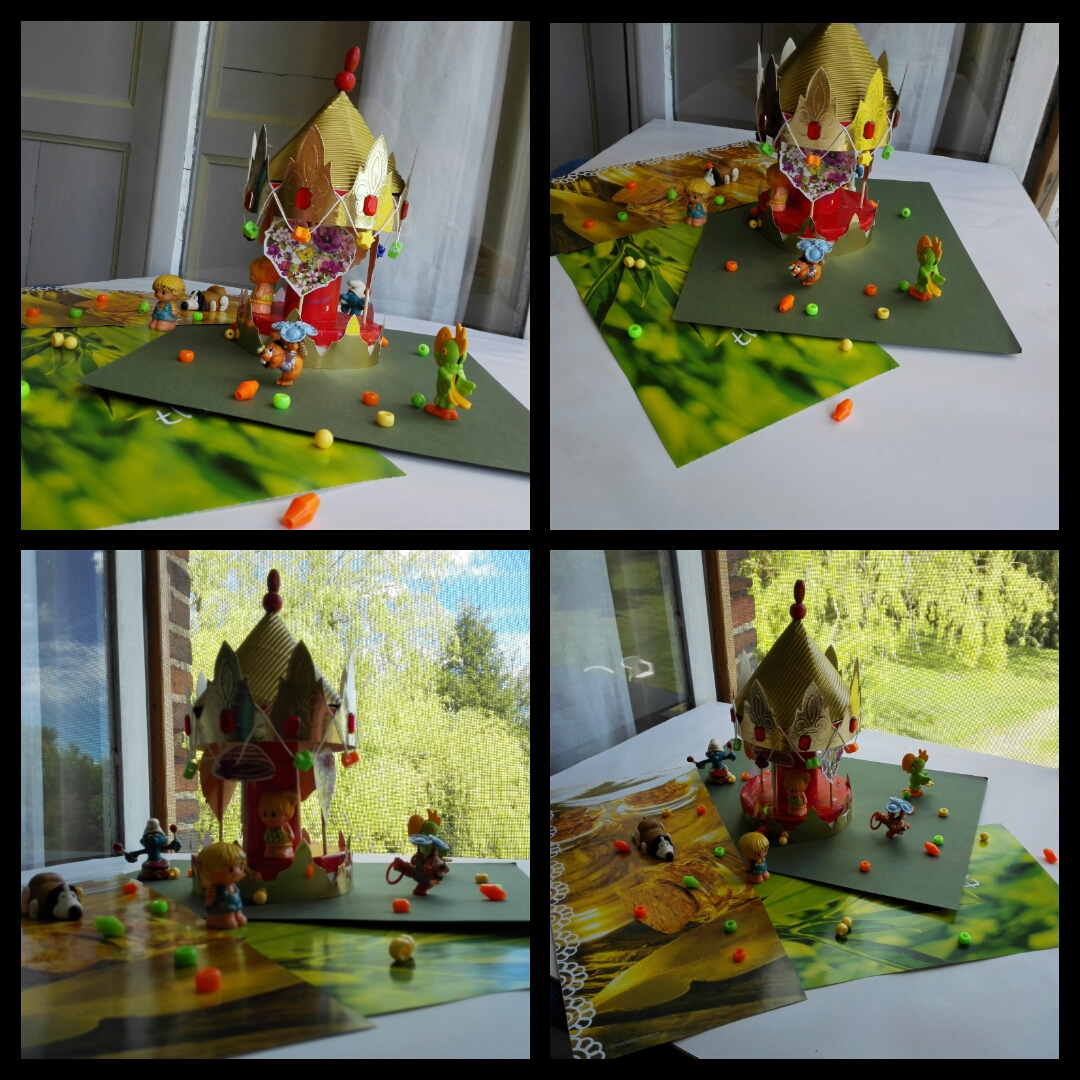
❤ §The Mini Carousel§ ❤

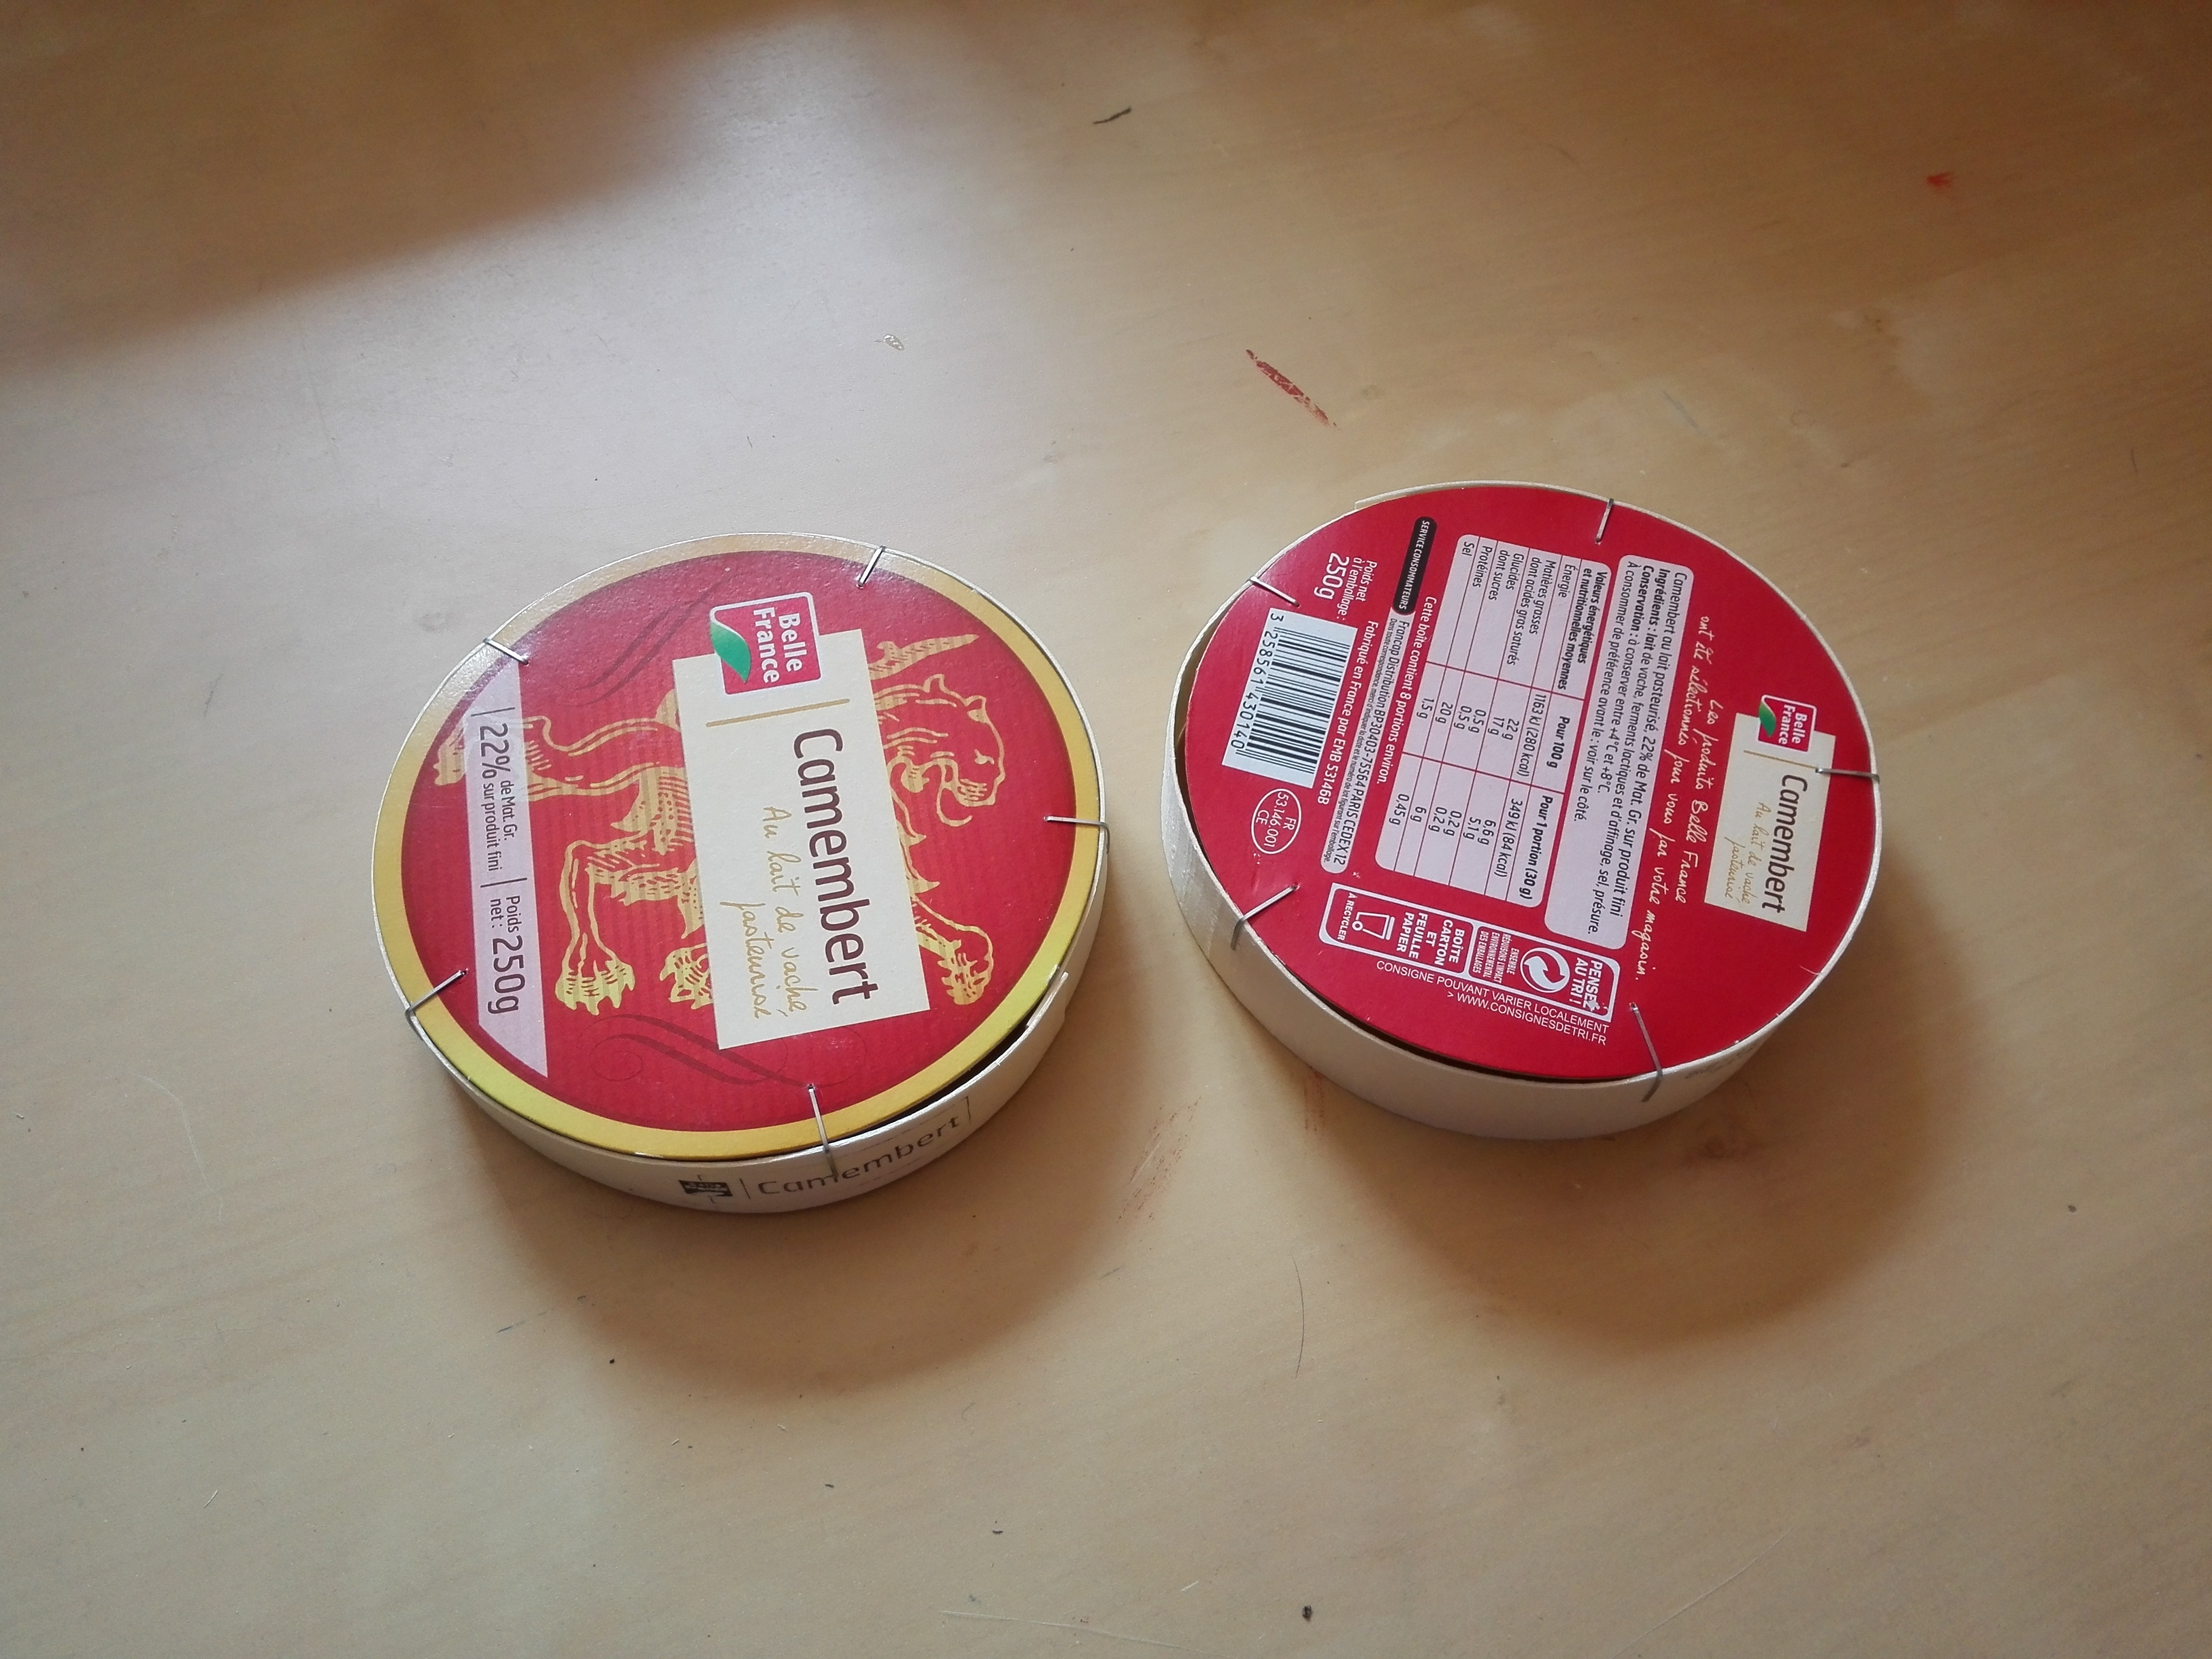
For this DIY, we need a round cardboard box (here a cheese box), a toilet paper roll, paper, glue …
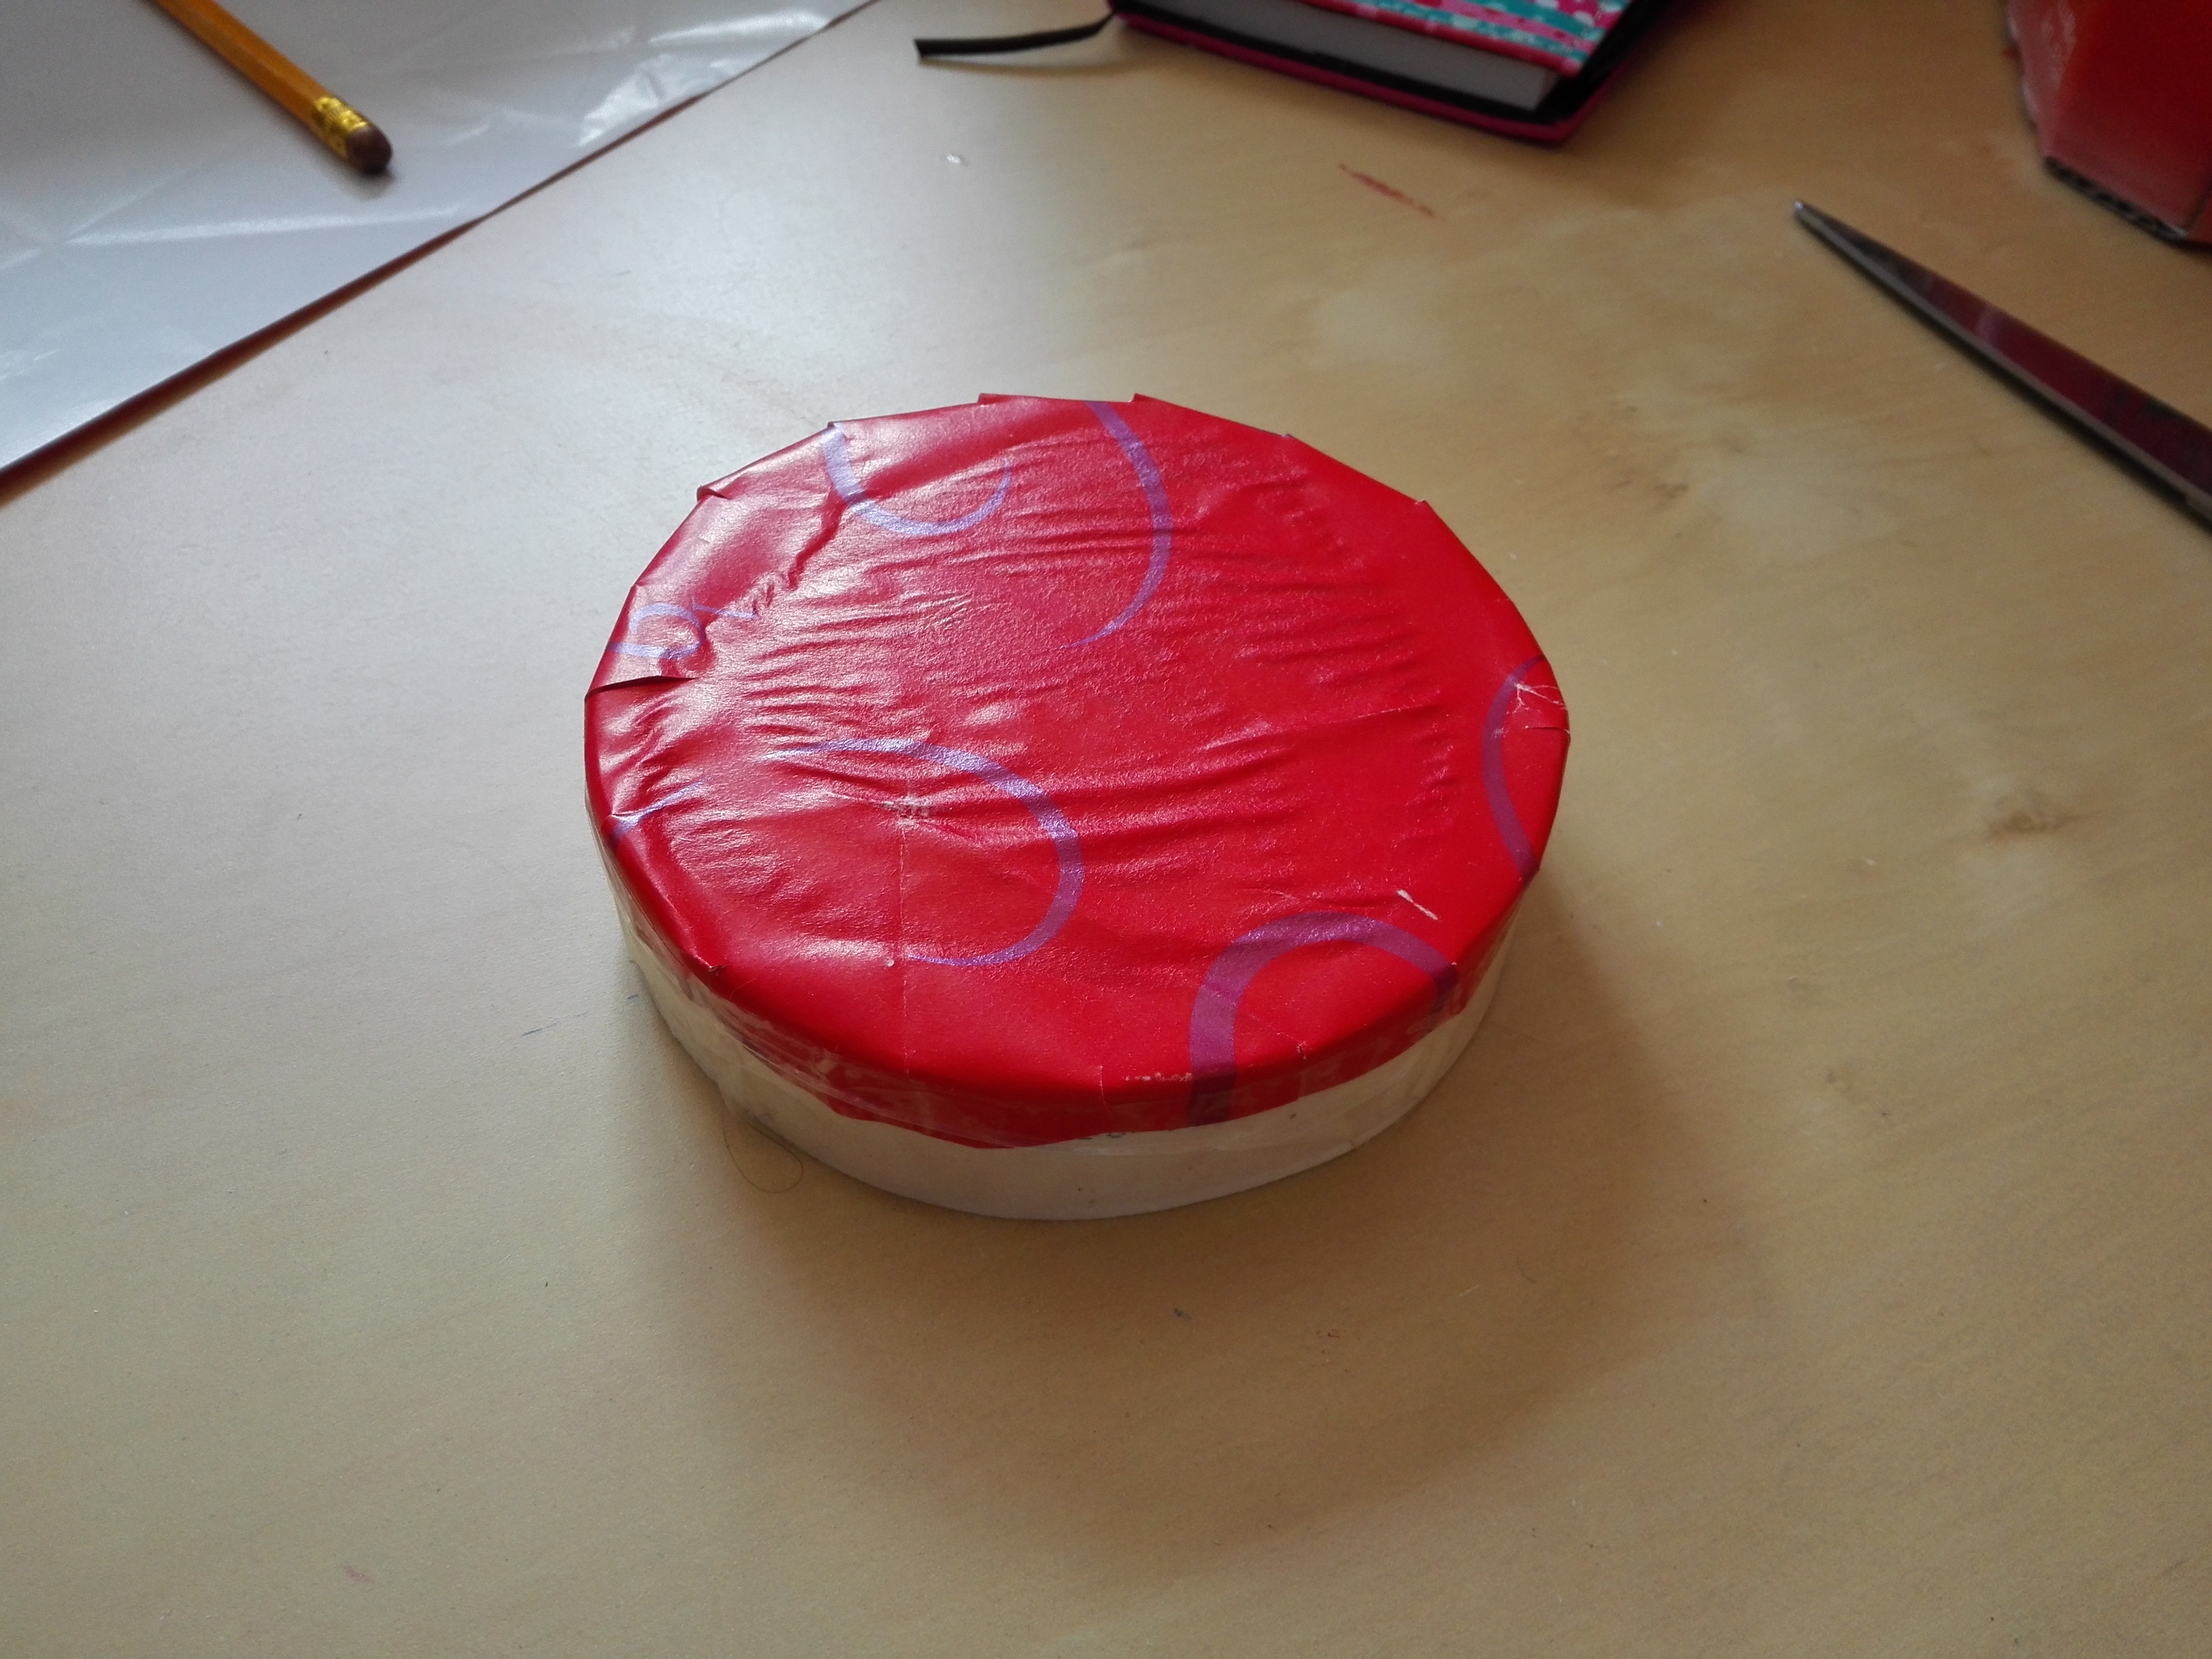
 Cover one part of the box with paper, it’ll be the carousel base.
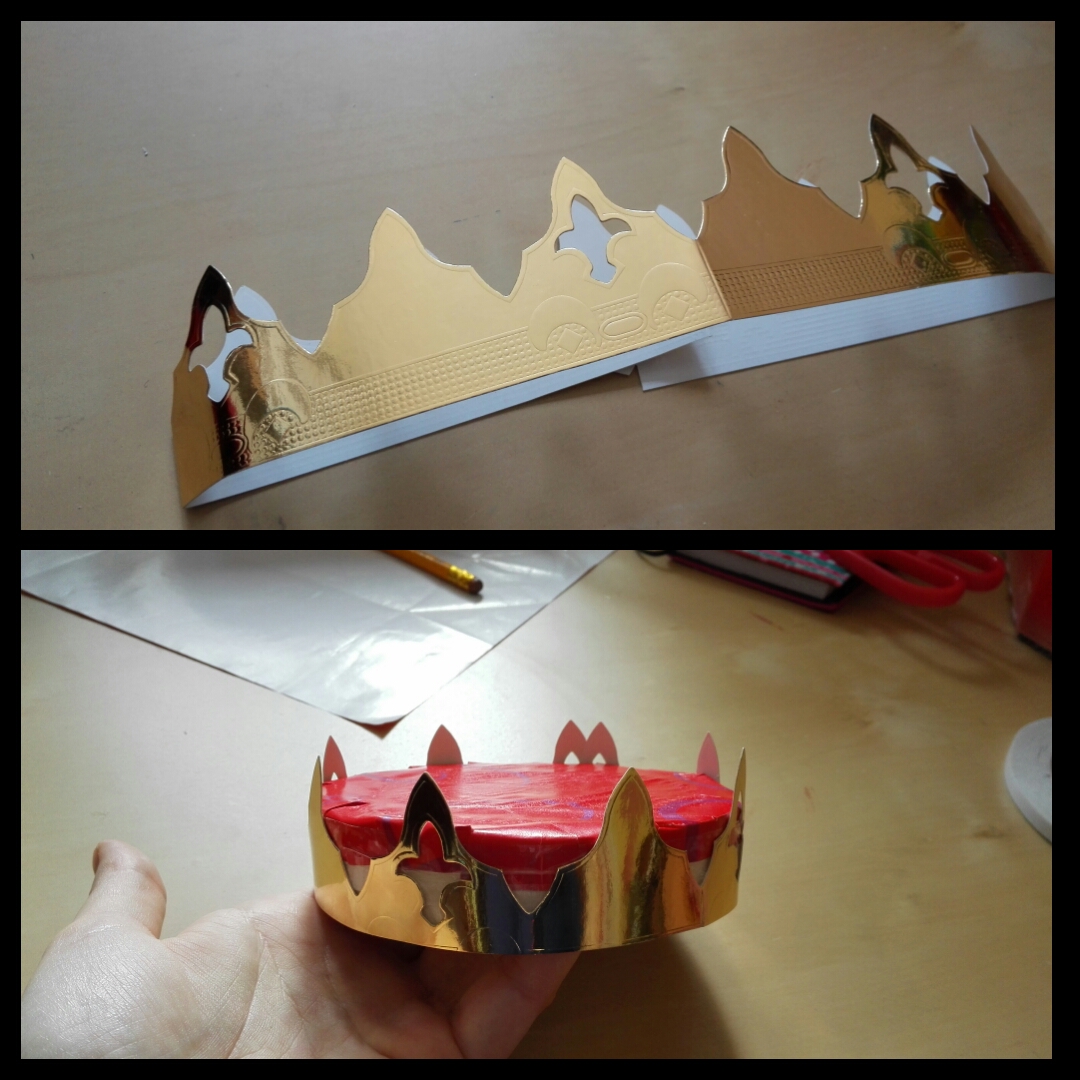
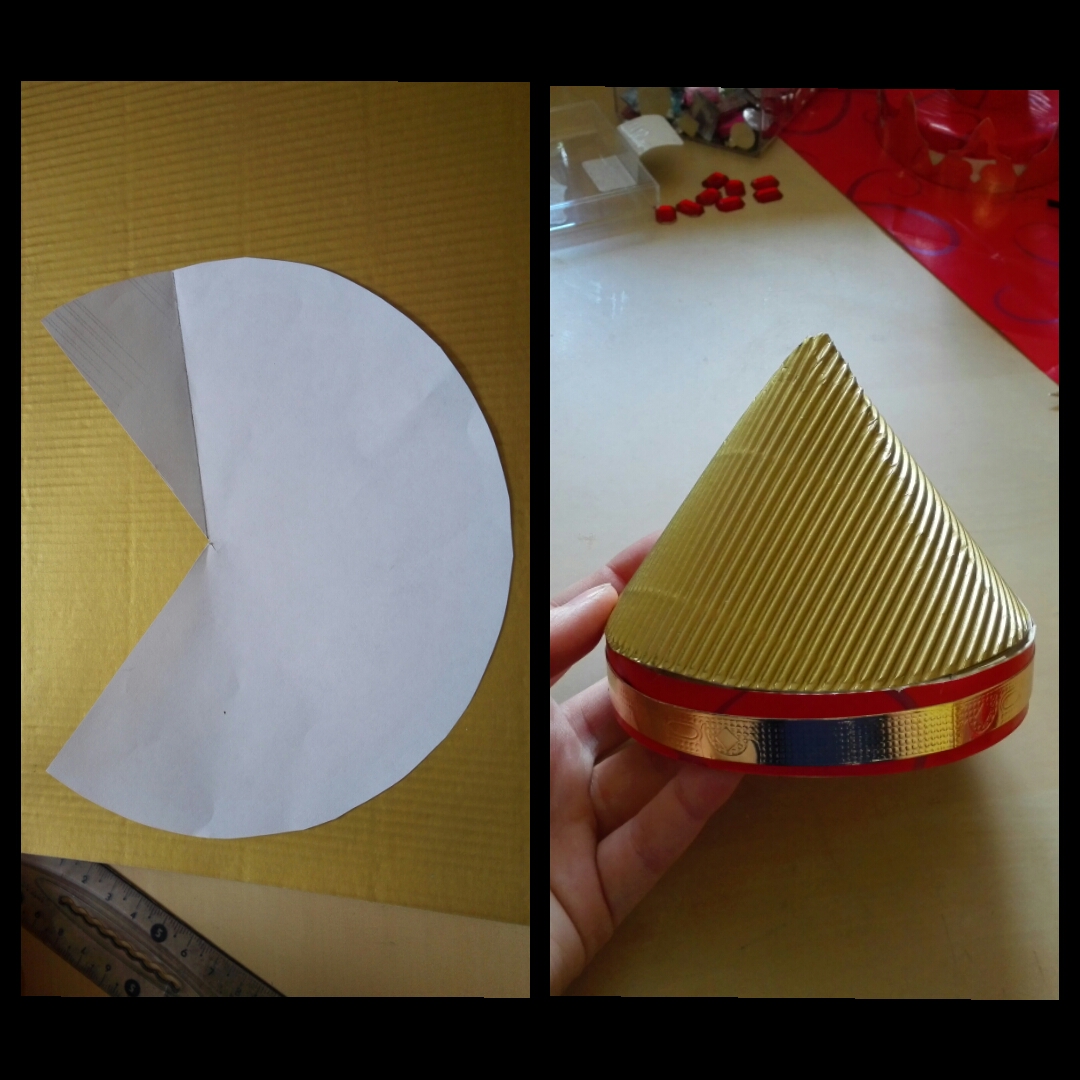
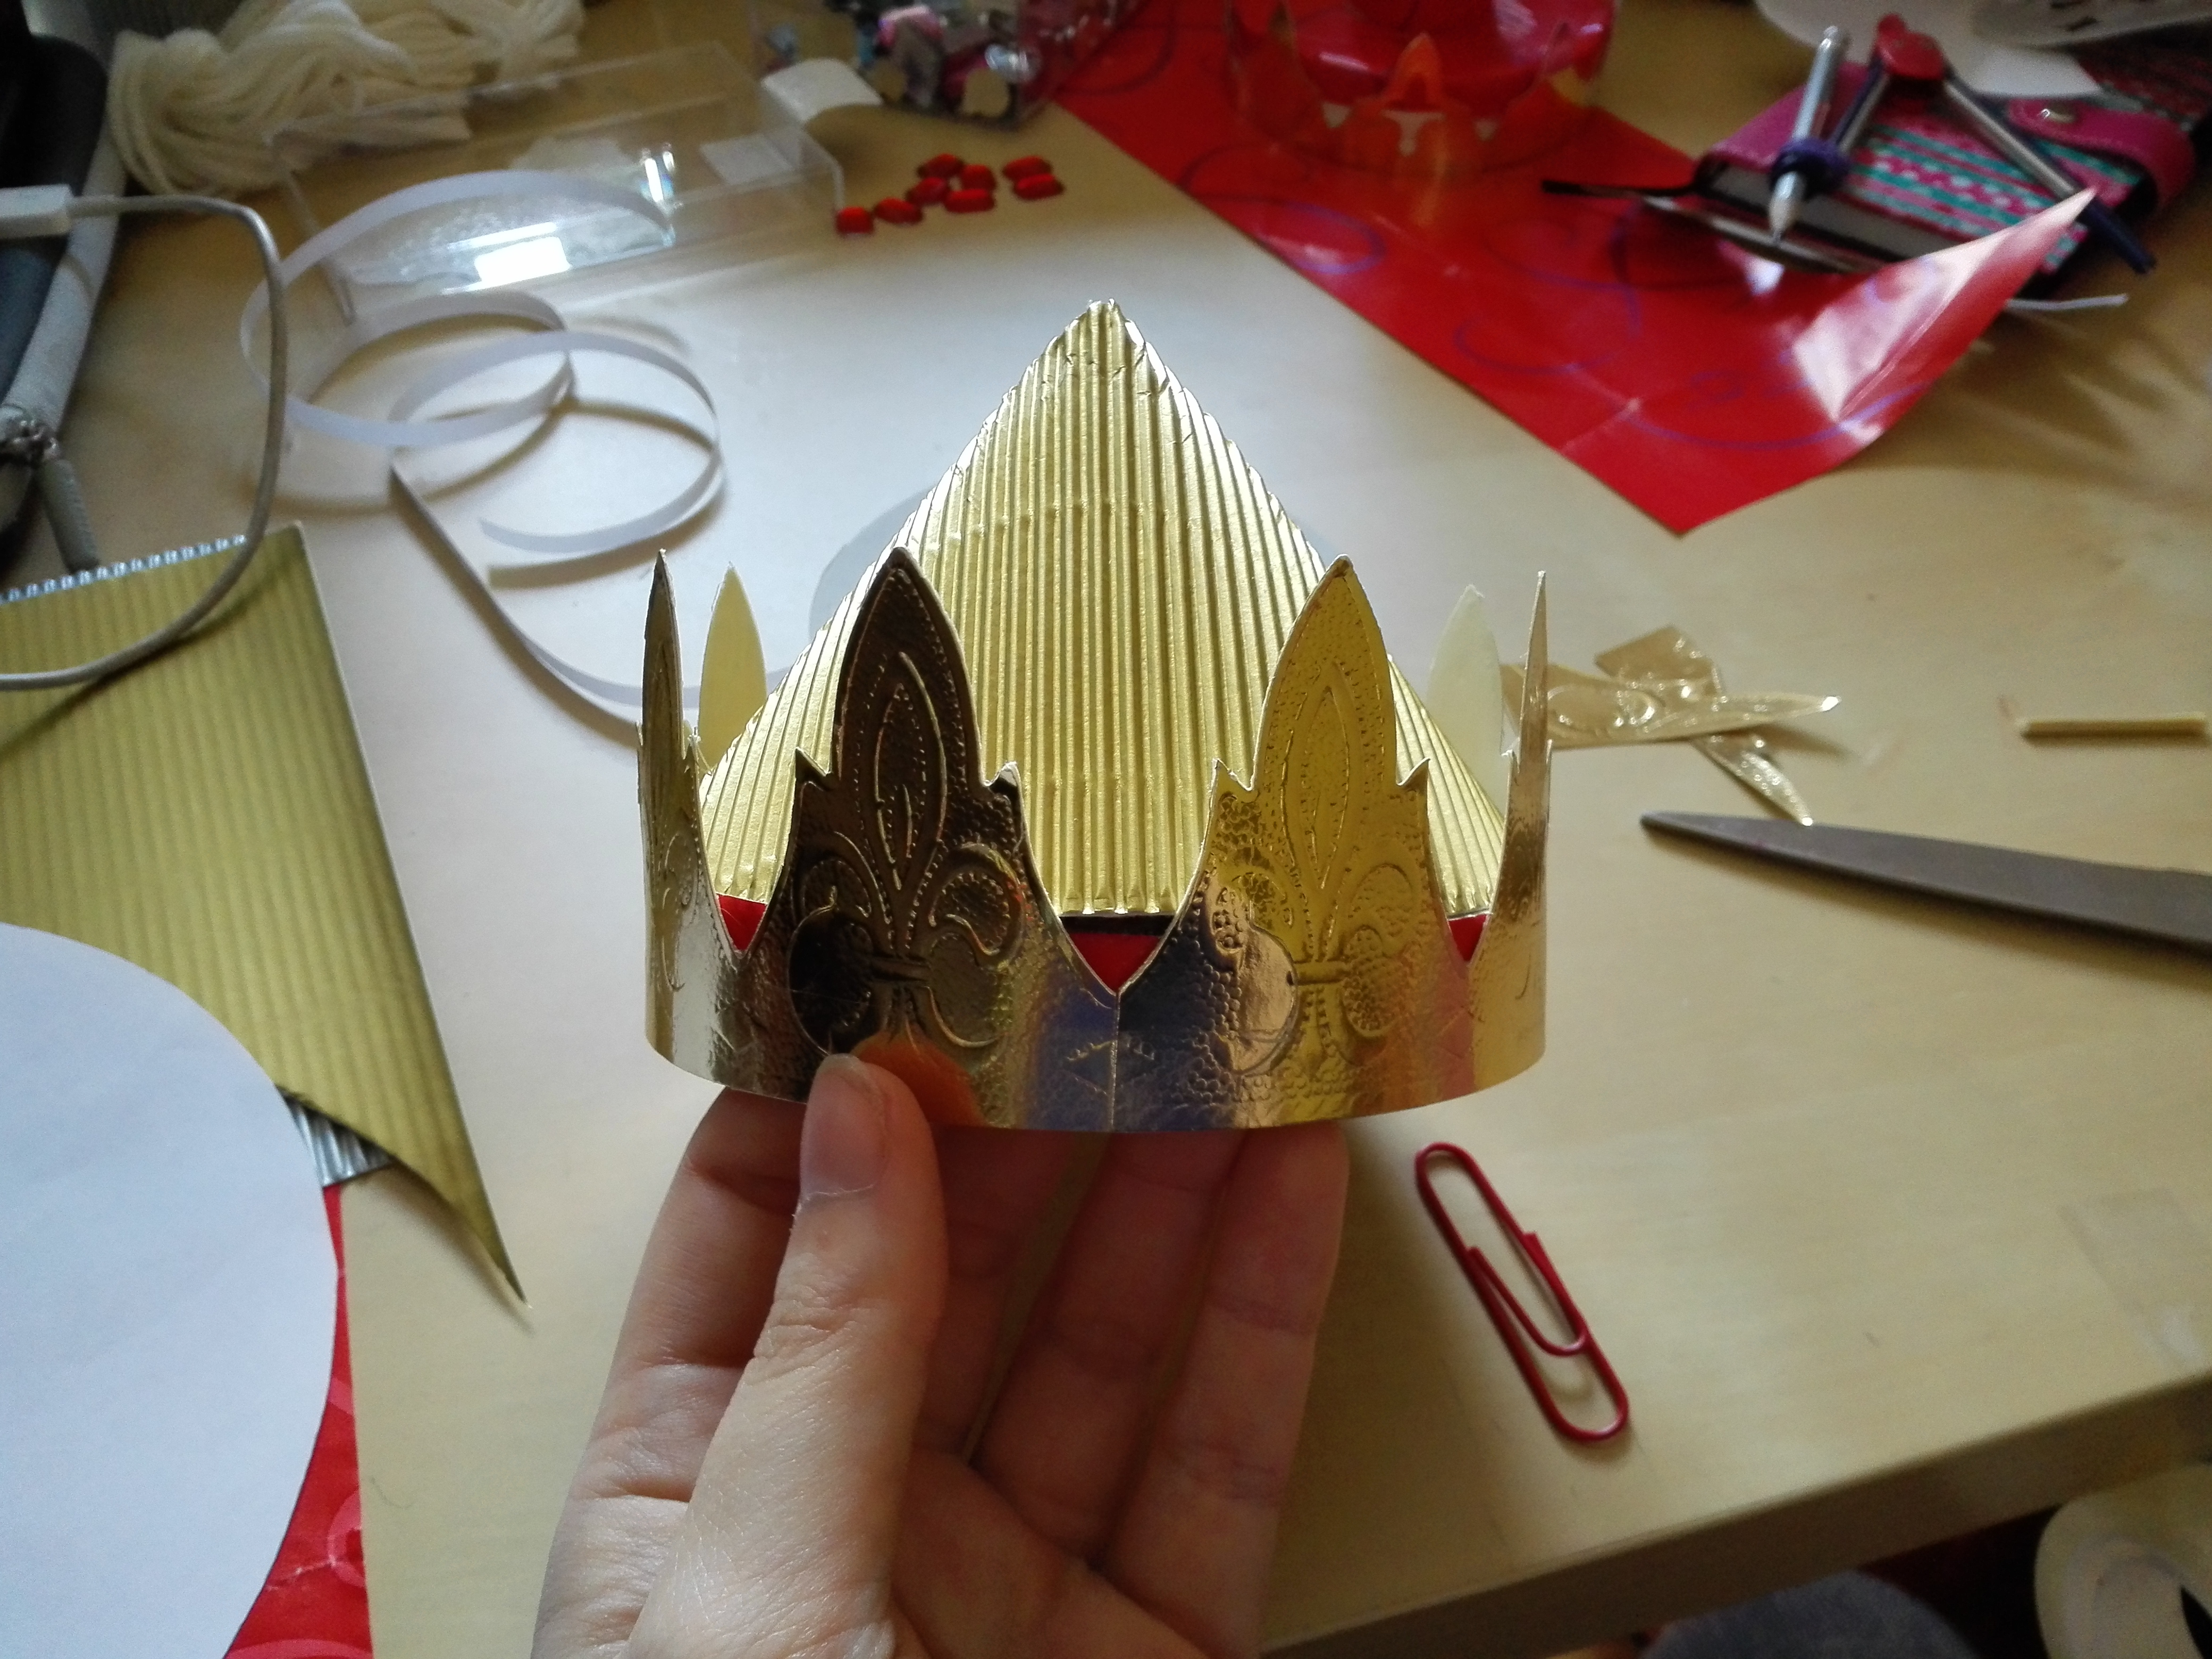
Take a golden paper crown and glue it like so :
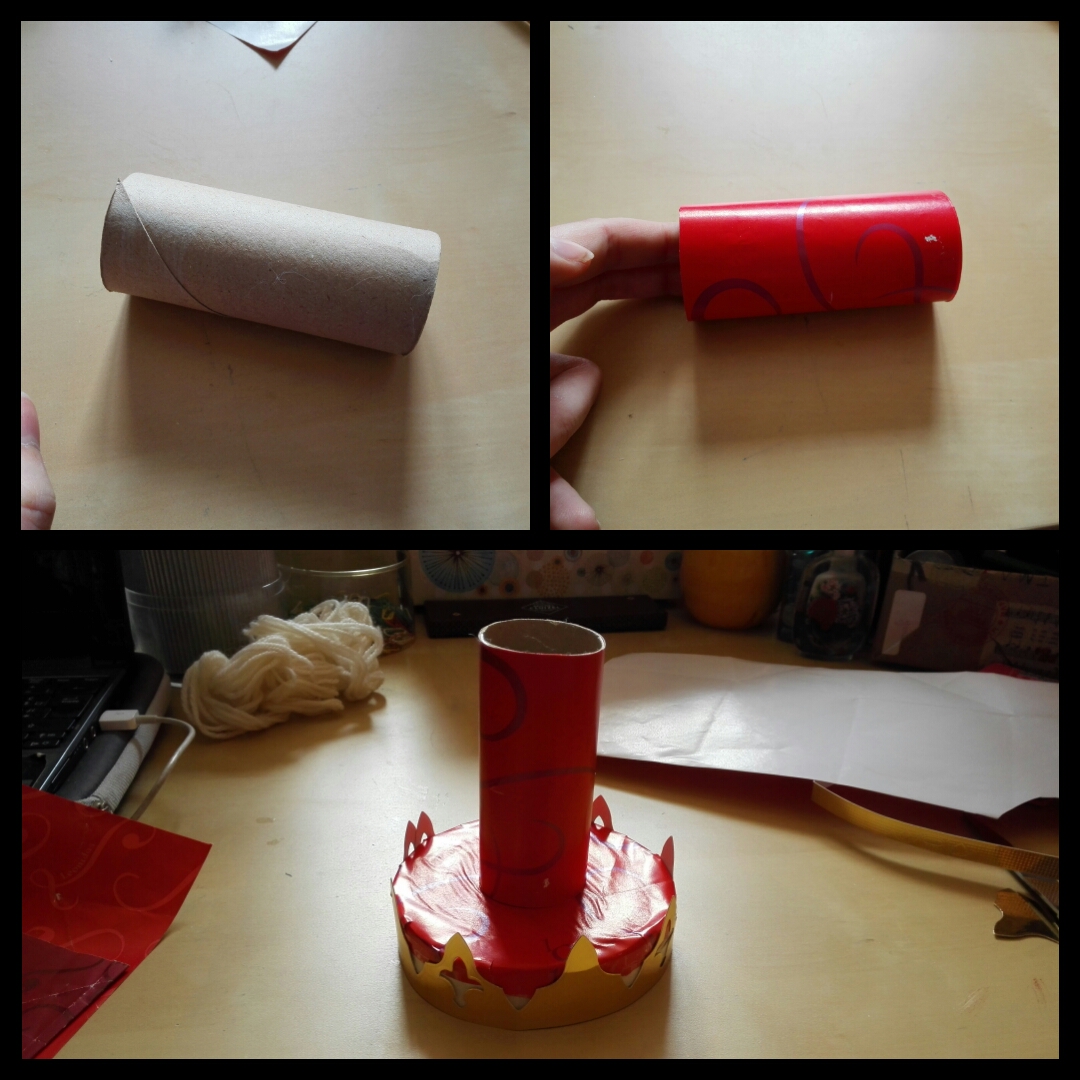
For the central column, take the roll, cover it with the same paper and glue it in the center of the base.
For the top. Cover with paper the last part of the box.

Cut into scrapbooking paper the following piece to make a conical top.
Add some decorations.
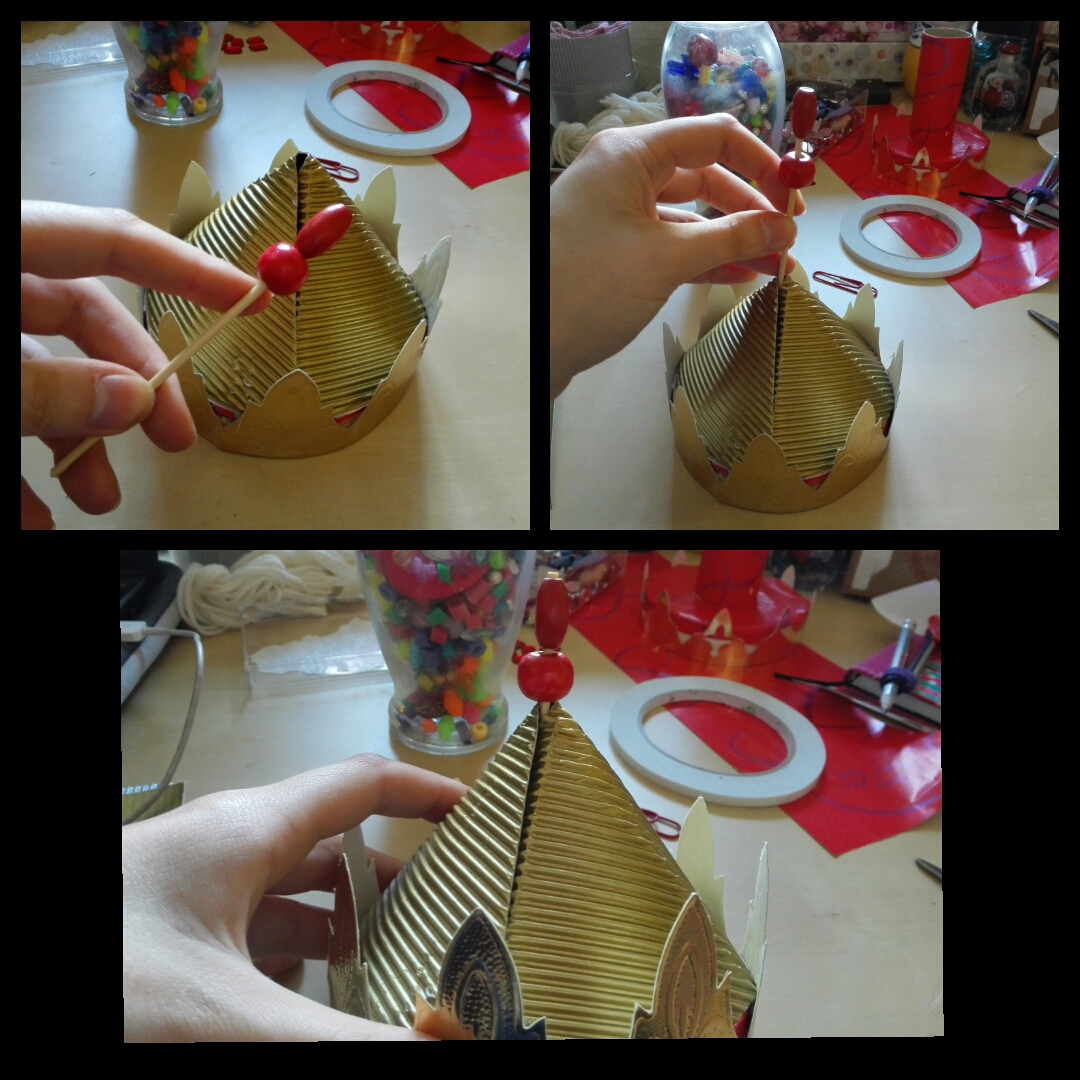
On the top, leave a small hole like so :

Thread beads on a stick and glue this stick into the hole we previously left.
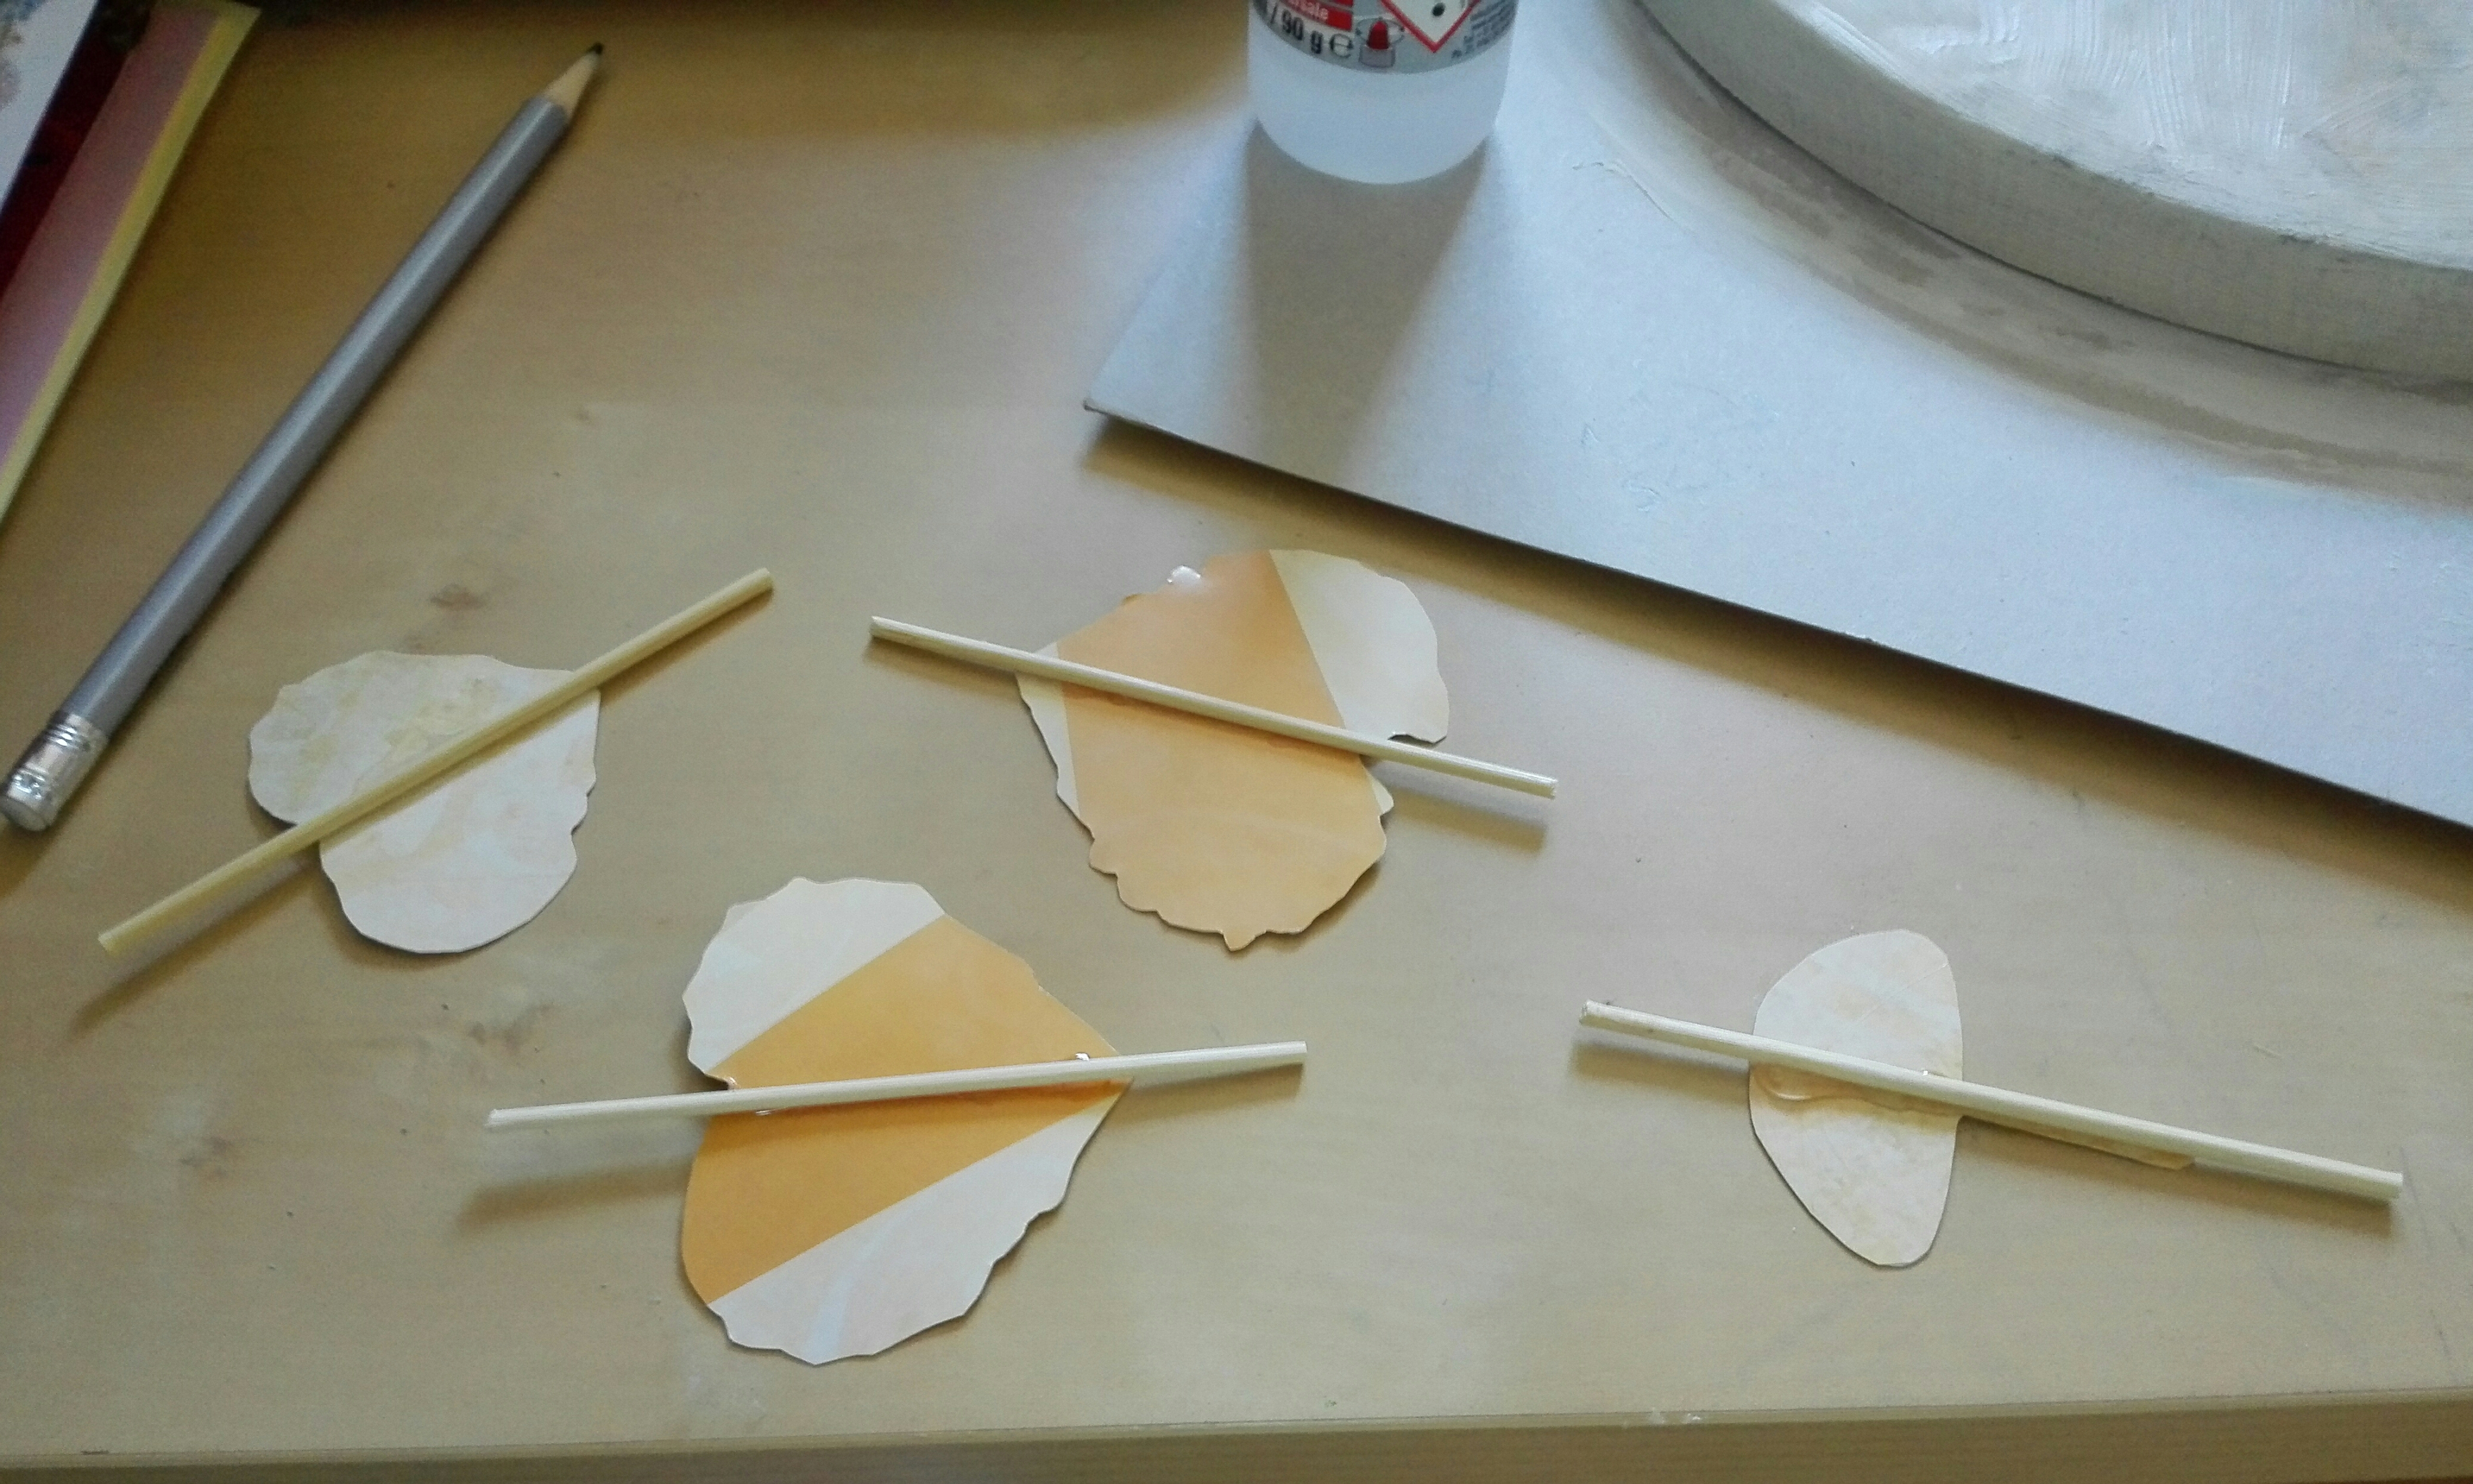
For the carousel figurines, I used sticks and paper figurines.
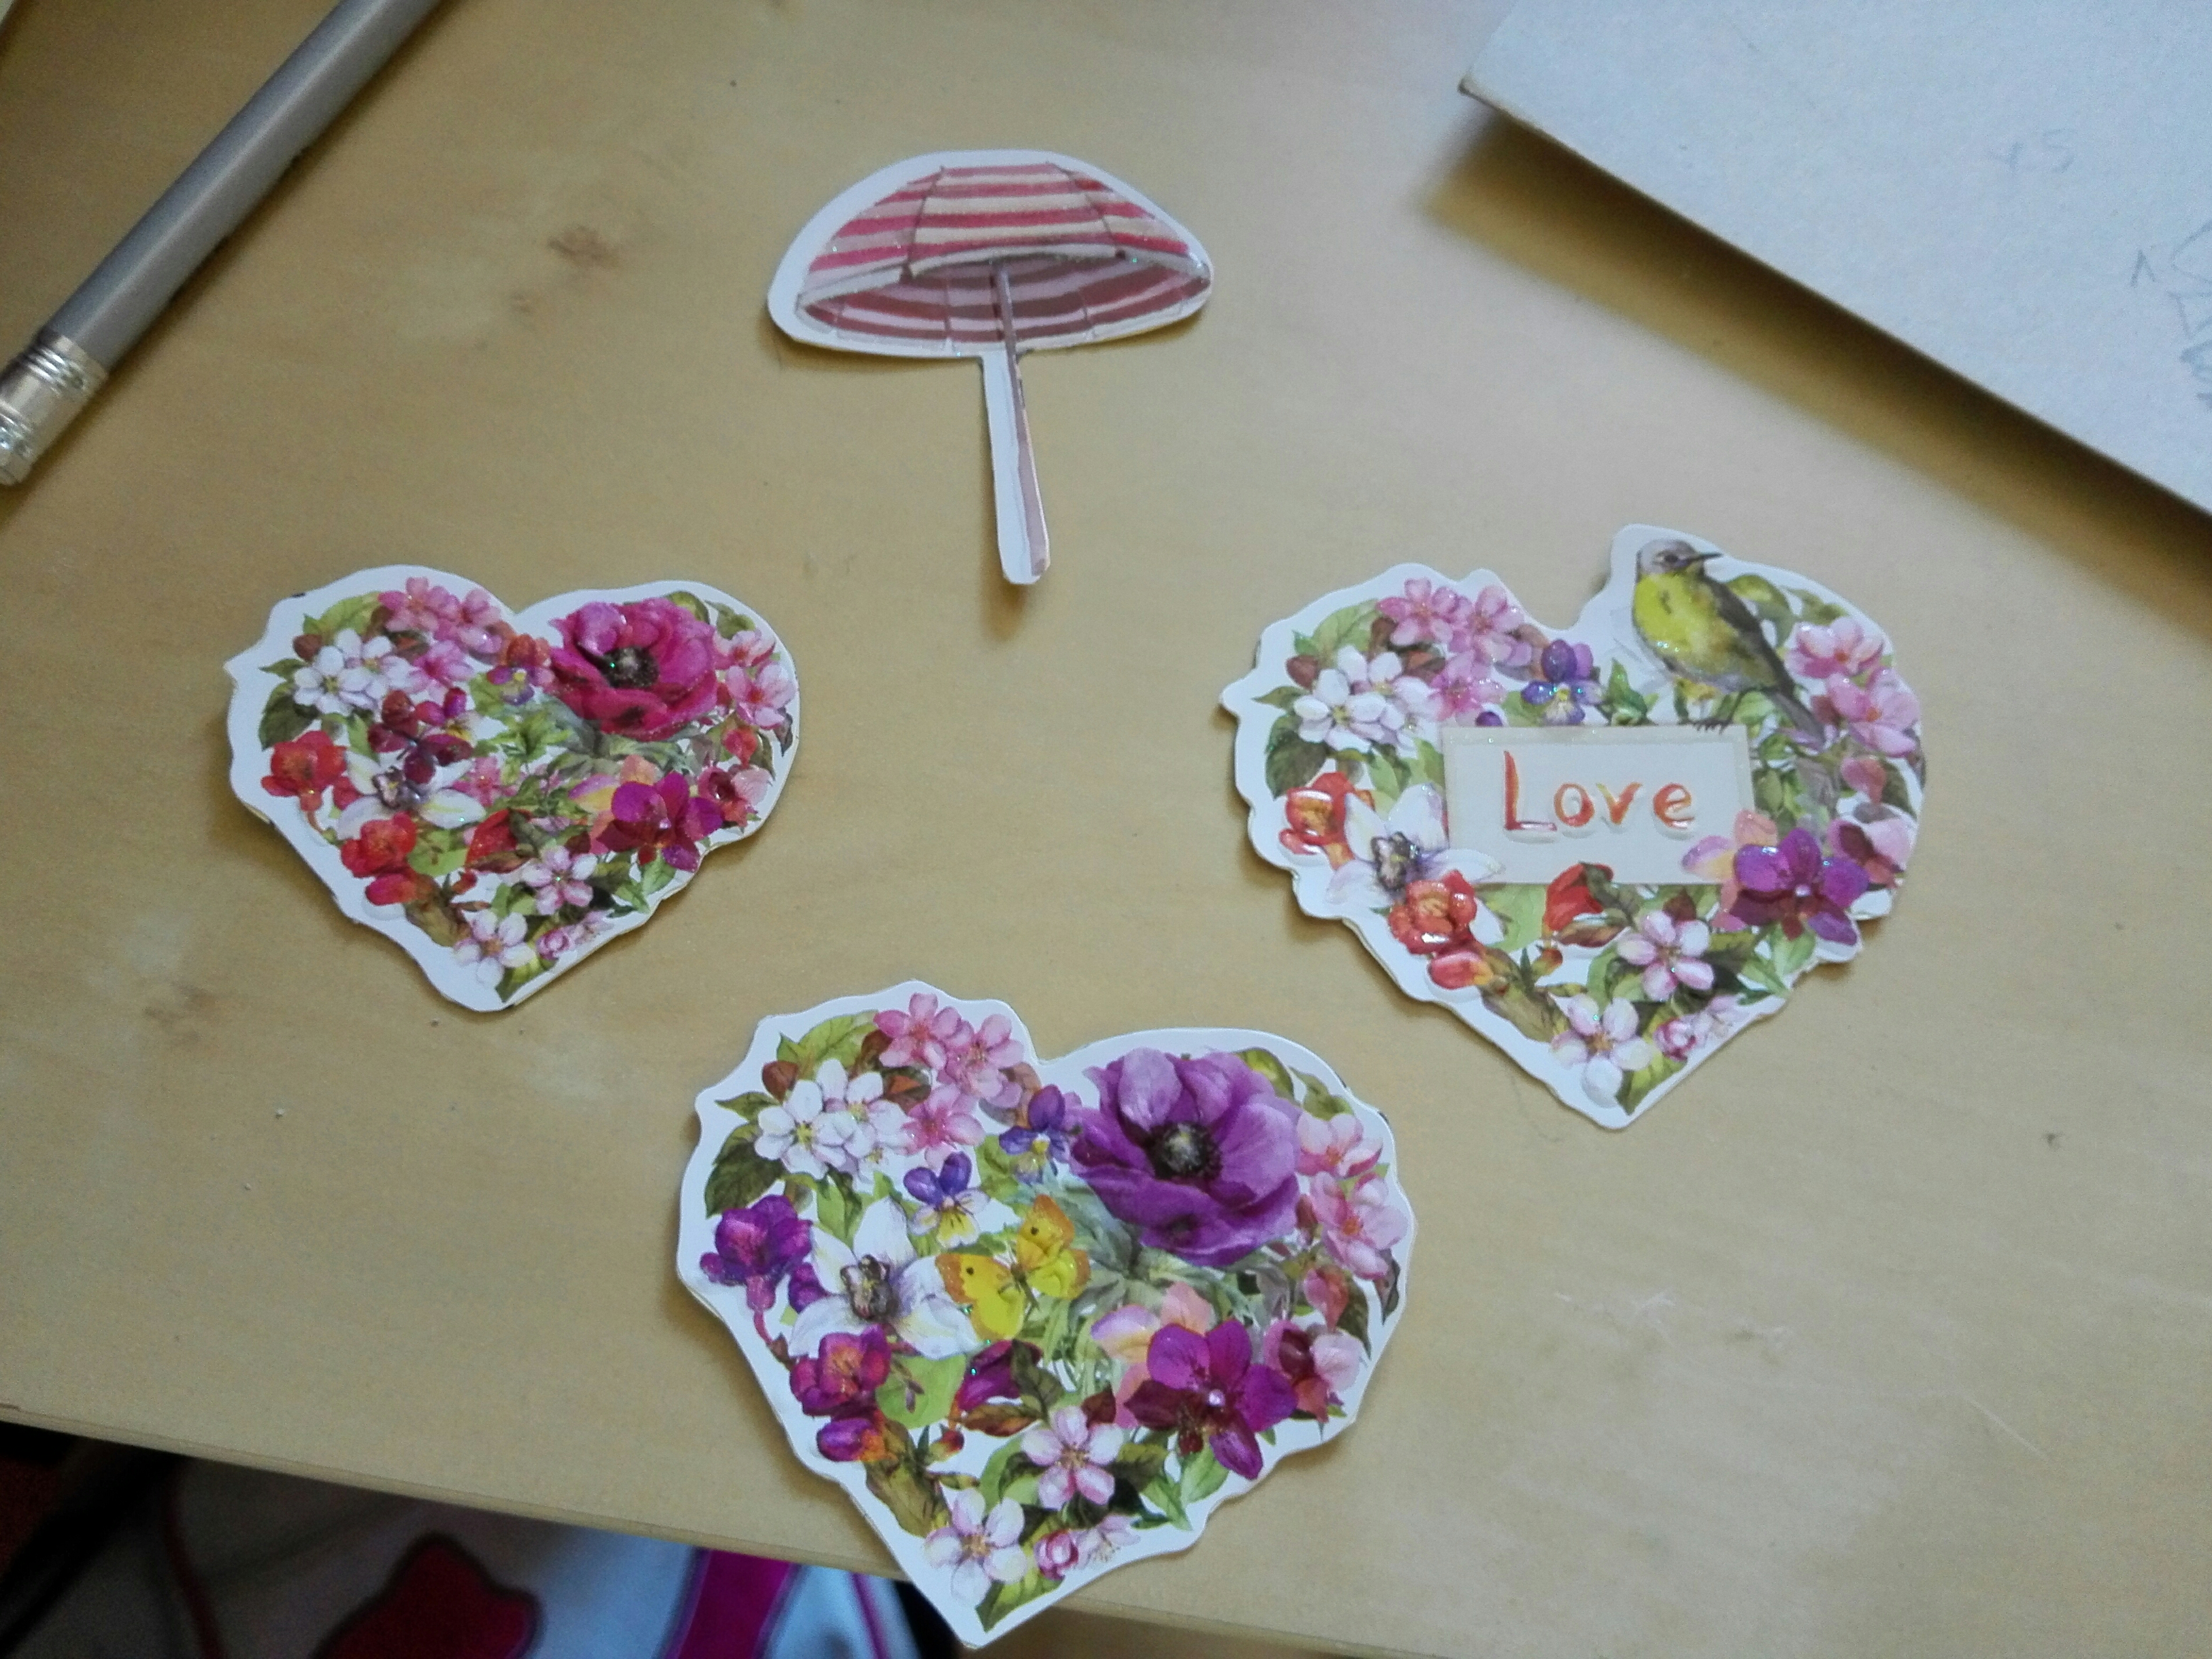
I glued the paper figurines on the sticks.
Then I glued the sticks on the base of the carousel. Finally, glue the top on the rest of the carousel. Be very careful and very patient, it’s a very delicate step. And here is the final result !
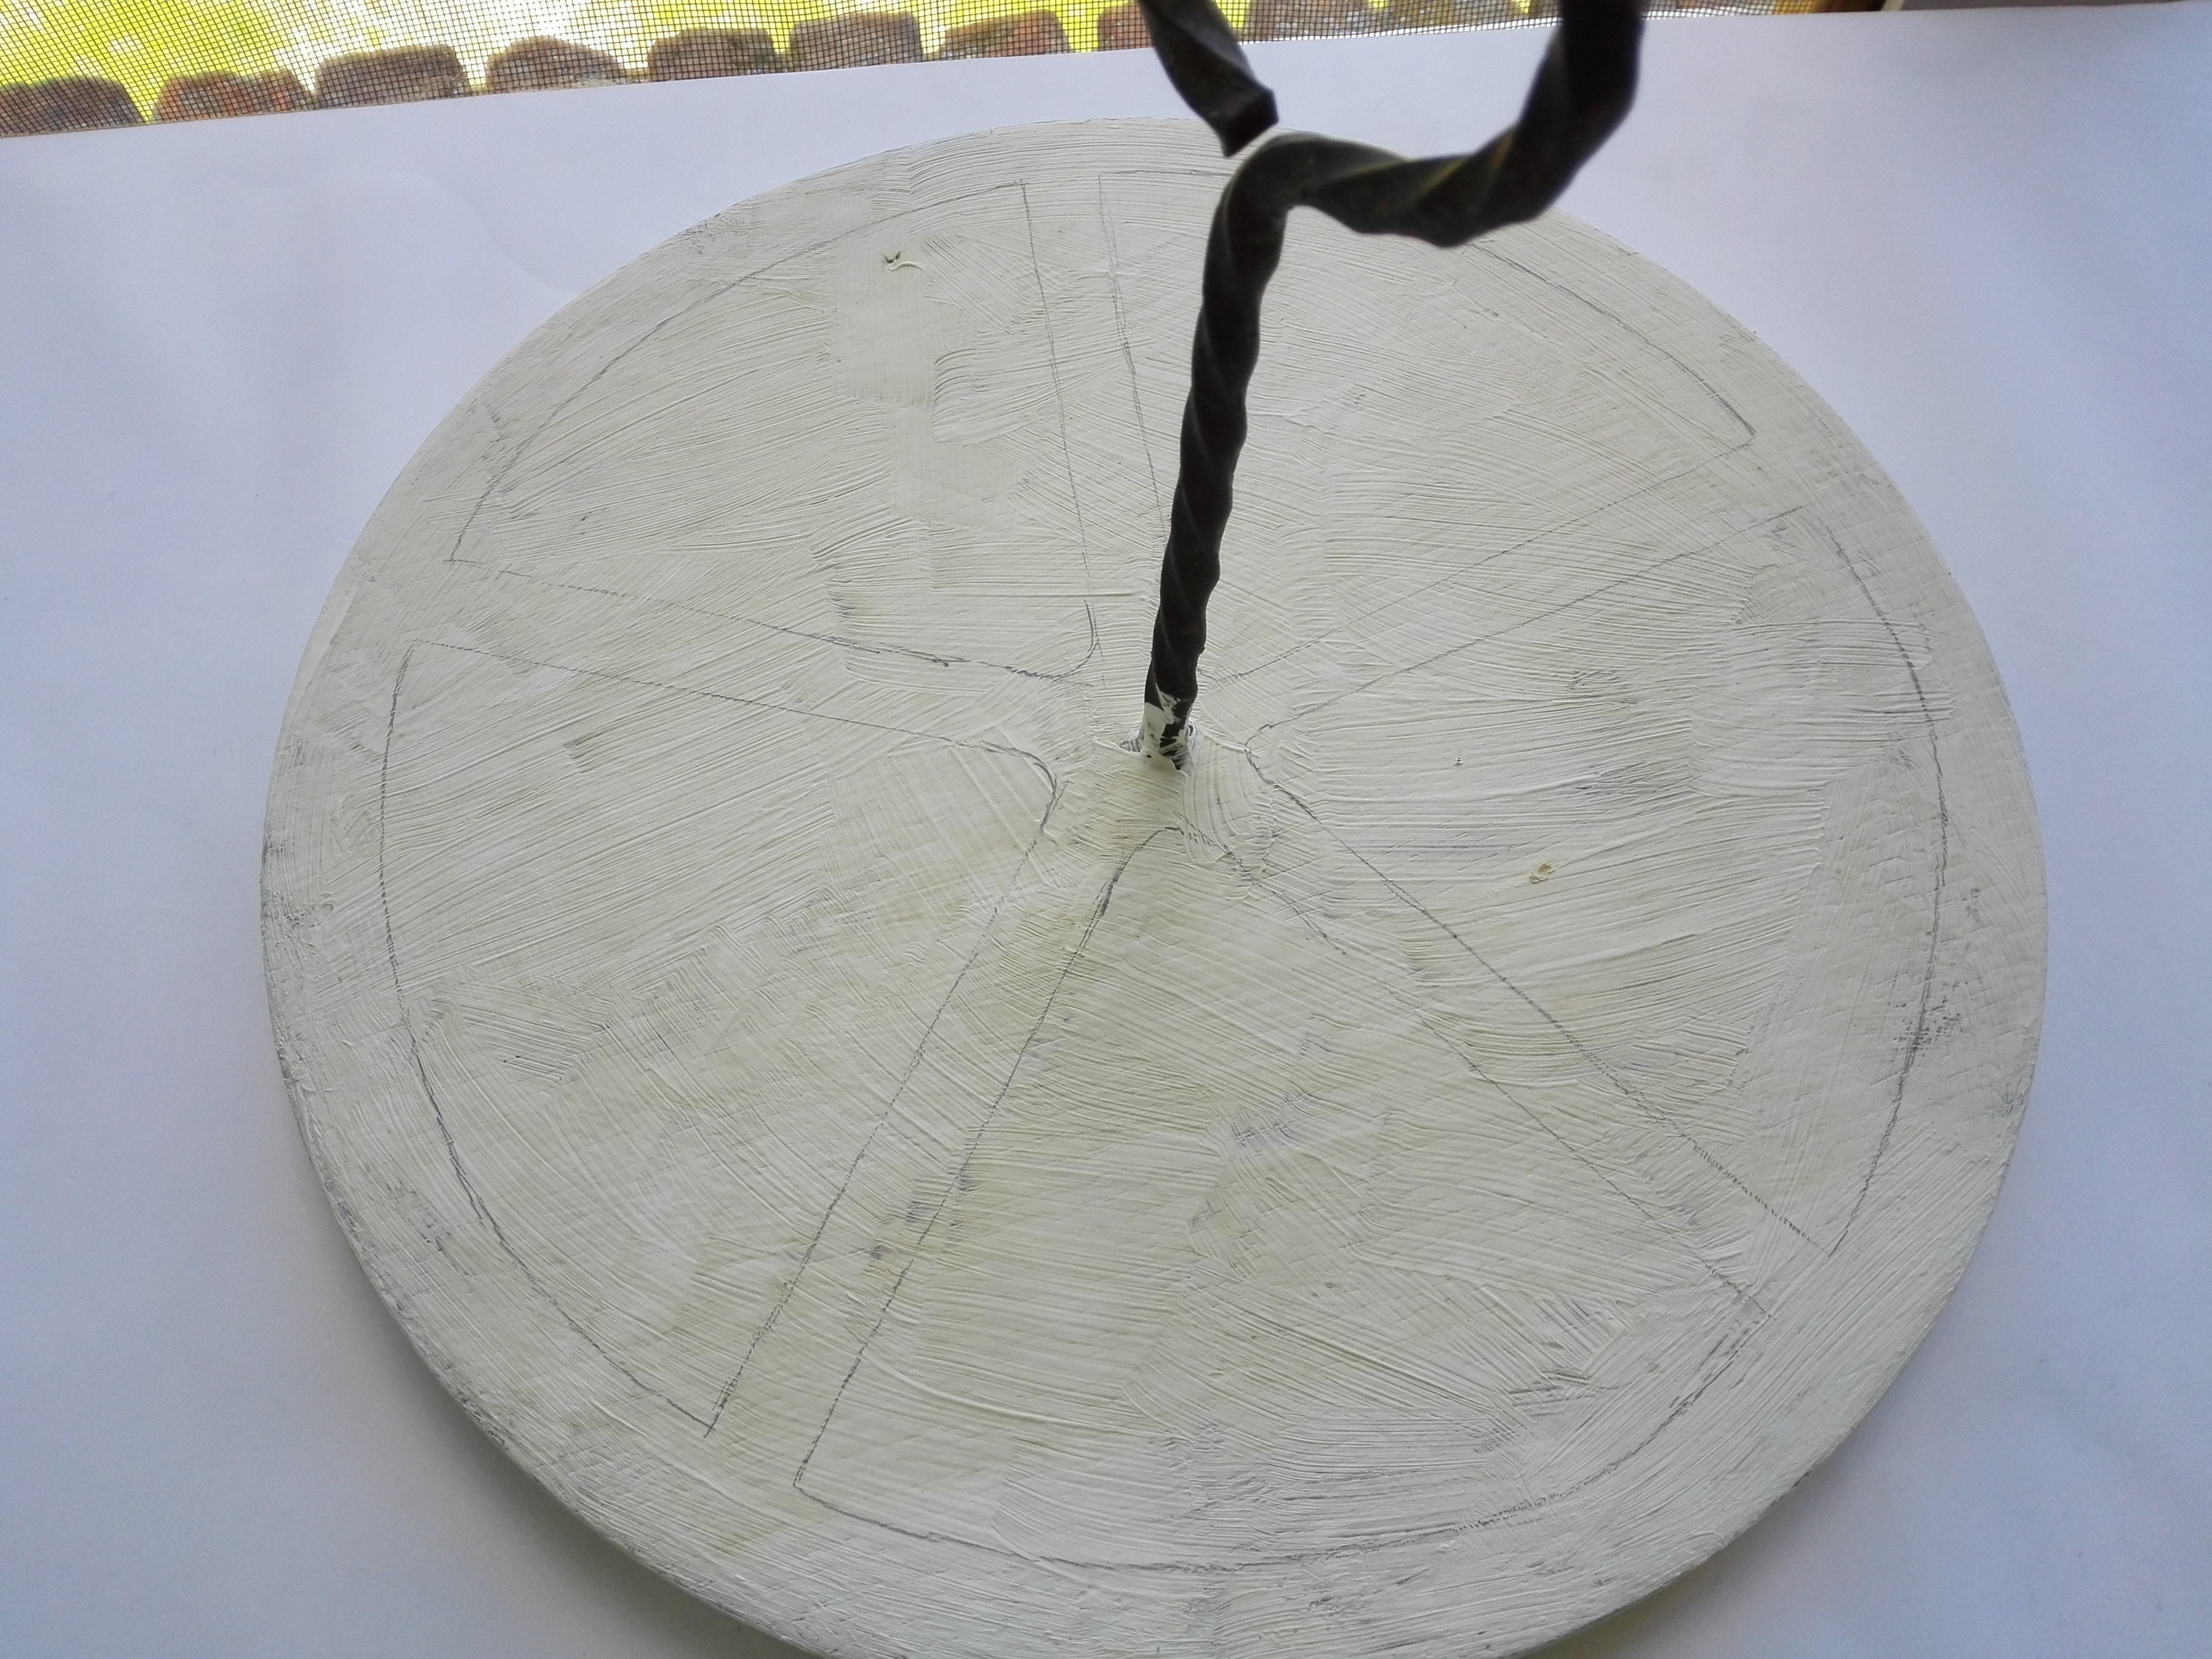
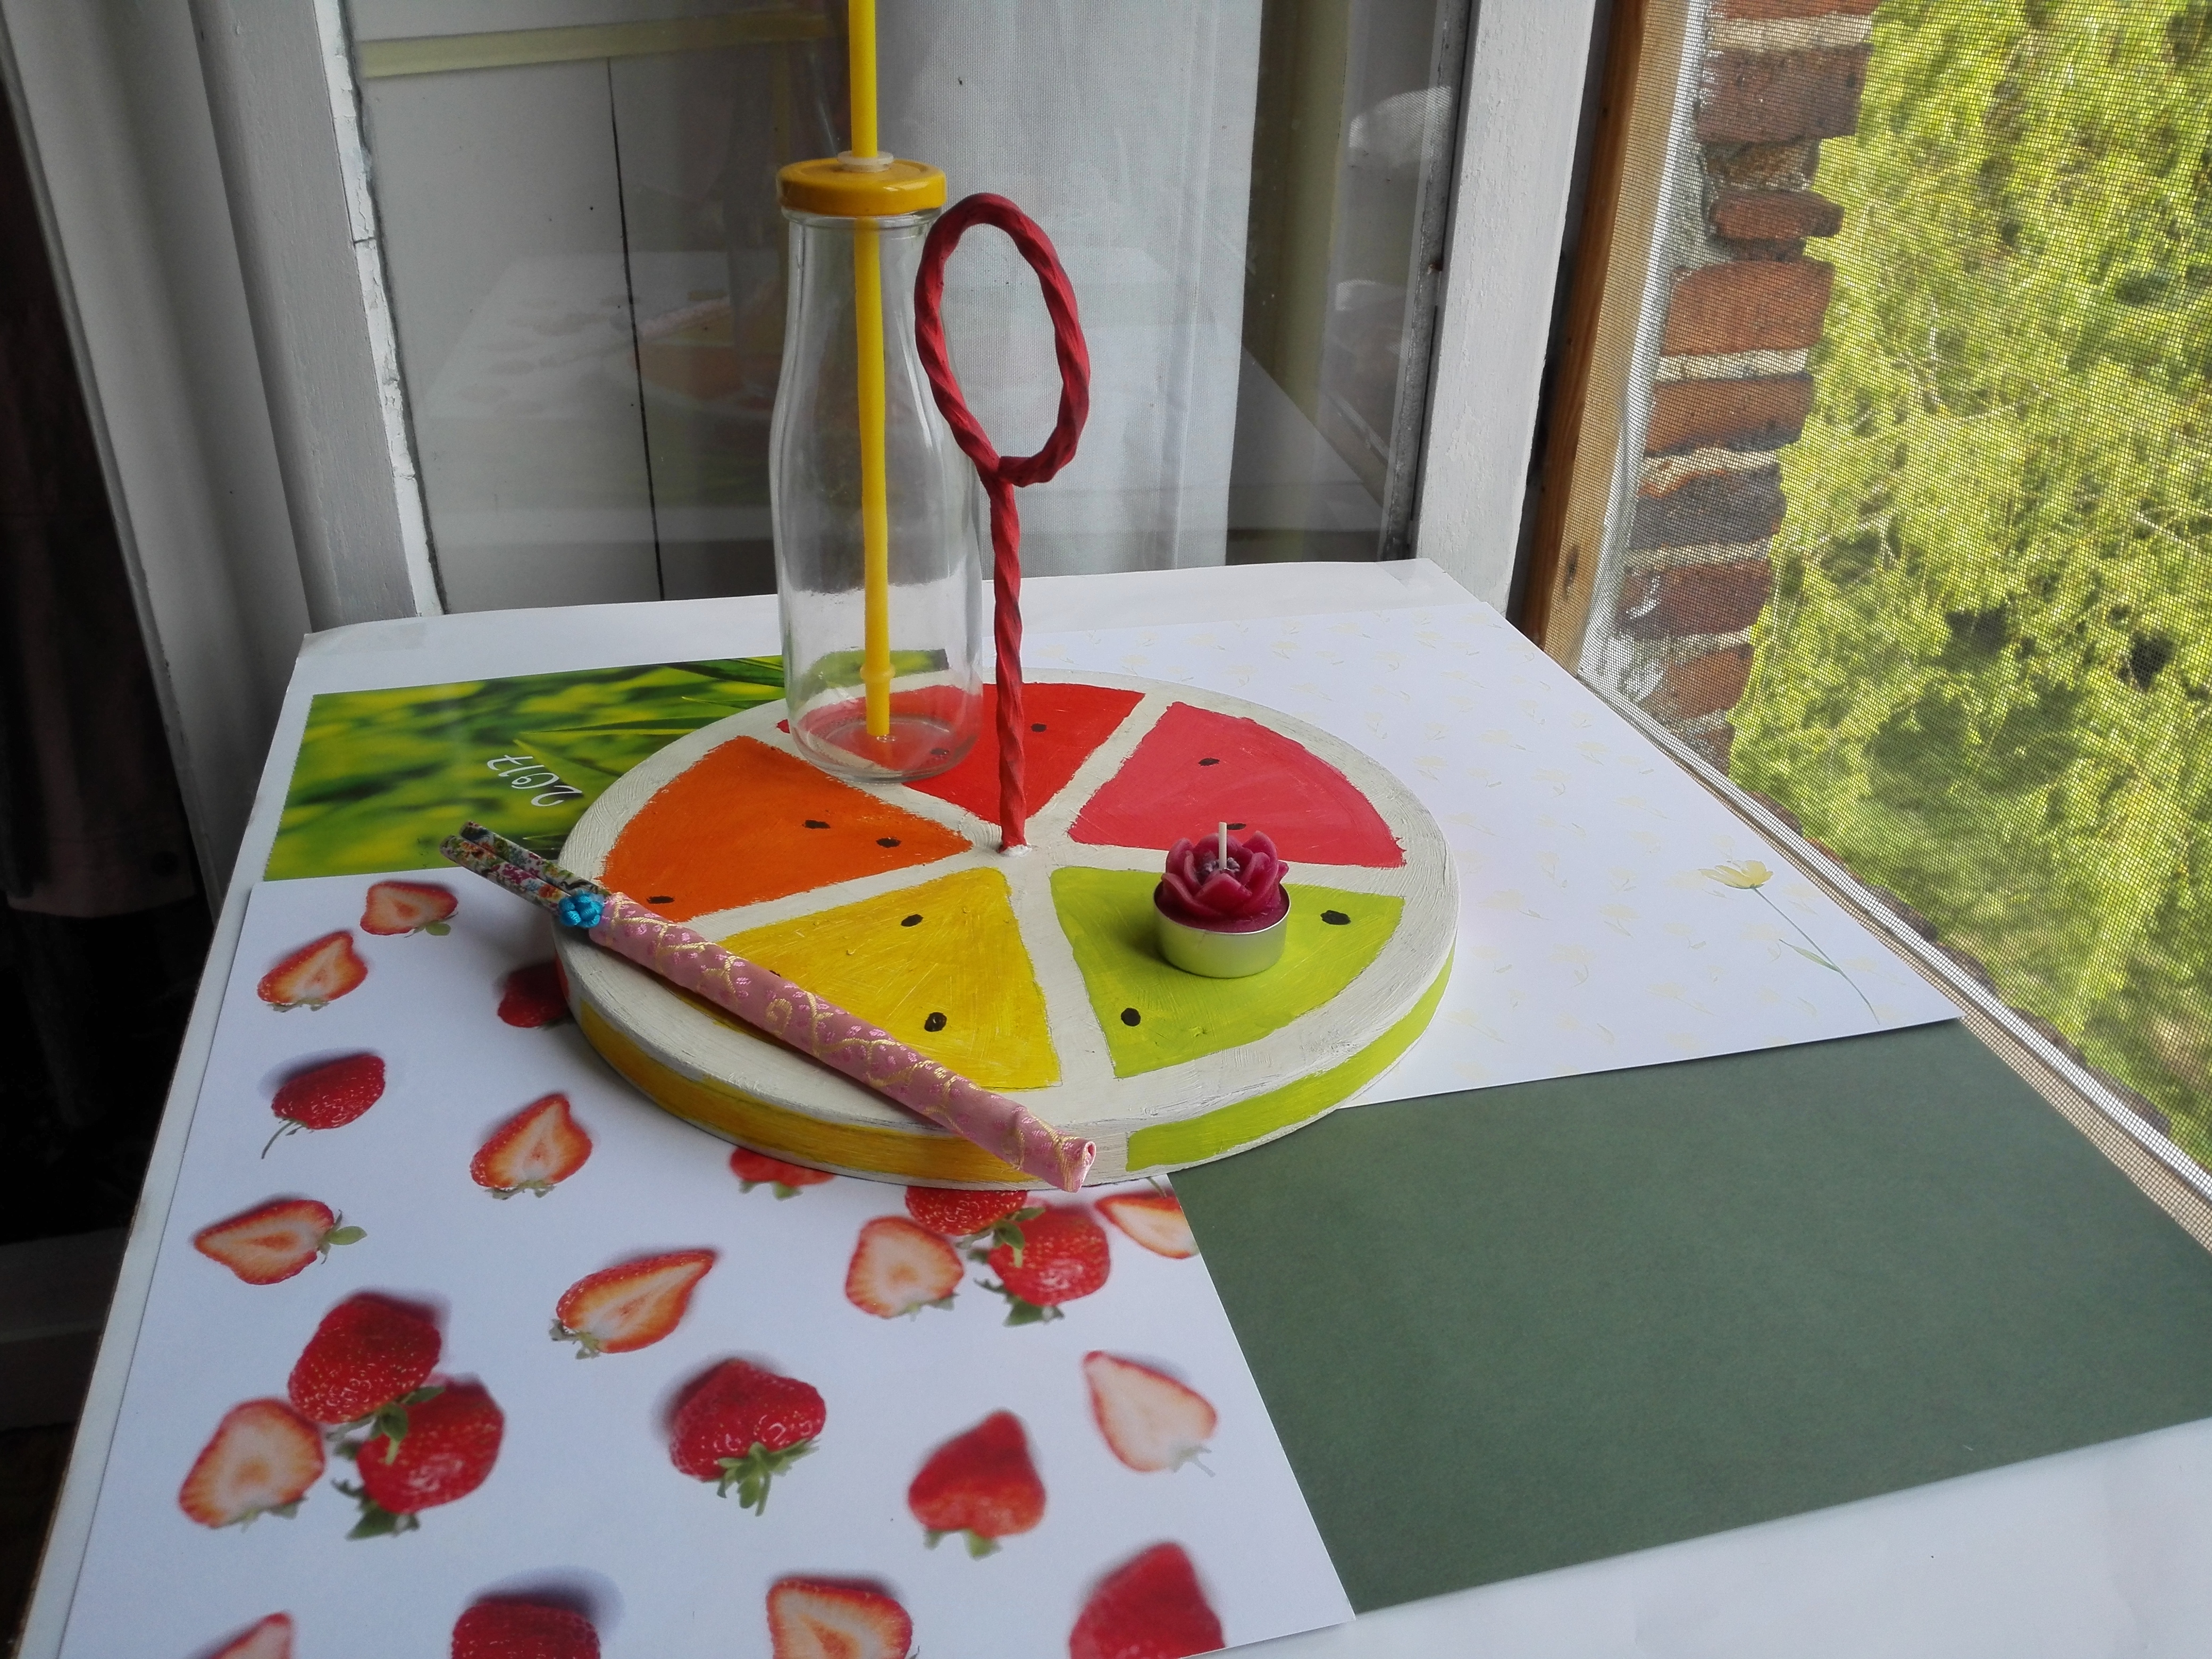
❤ §The Citrus Displayer§ ❤
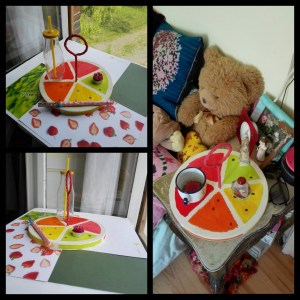
This one is probably the easiest, but it’s so cool ! Take an old and ugly displayer( for me it used to be a cheese tray)
Paint it in white, let it dry. Then, draw 5 parts like so :
Paint them in 5 different colors to imitate orange, lime, lemon, grapefruit and blood orange. Also paint the parts on the side as I did. I think it make it look a little bit more realistic. AT the end, use a permanent marker or black paint to make small seeds. And to make it cuter, I paint the metallic handle in… PINK, of course 😉 Let it dry and here it is ! You got a lovely displayer with ( almost) nothing.
Tell me, which one of these DIYs is your favourite ? Personally, I hesitate between the carousel and the displayer, they are both so cute. It’s very hard to say… So far, I think today’s post is my favourite, I love so much how these DIYs turned out !
I hope you enjoyed these DIYs as much as I did. If there are some DIYs you want me to make, tell me. 😉
Thank you for reading today’s post and passing by. ❤
See you in a next post ❤
Ady<3


One thought on “Getting cuter by recycling ”